Stucco Repaint: Tips for a Long-Lasting Finish
Written by Stucco Champions — Southern California’s Authority on Exterior Plastering.
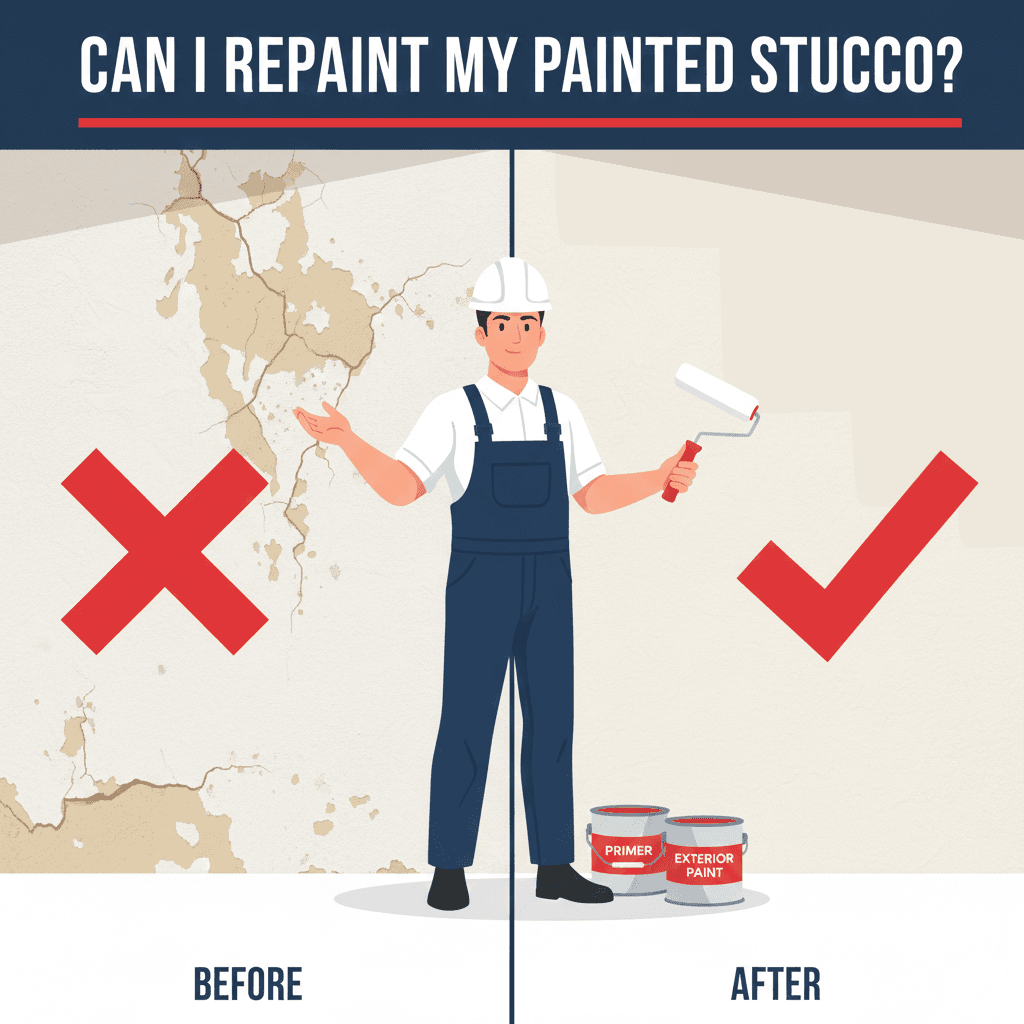
Can I Repaint My Stucco? An Expert Guide to Recoating
The short answer is: Yes. You can absolutely paint over stucco that has been previously painted. In fact, if the existing paint is sound and well-adhered, it creates a sealed substrate that can make the new application smoother than coating raw cement.
However, painting over old paint is not without risk. In Southern California, years of UV exposure can cause old paint to oxidize ("chalk"). If you roll new paint over a chalky or peeling wall without the correct preparation, the new coat will fail within a year. This guide explains the technical protocol for a successful recoat.
Free Assessment
Noticing Stucco Damage?
Get a free on-site assessment from a licensed contractor. $0 deposit, no obligation.
GET FREE ASSESSMENT1. The Pre-Paint Diagnostic
Before buying a single gallon, assess the current condition of your walls:
- The Chalk Test: Rub your palm firmly on the wall. If you see a white, dusty residue on your hand, the old paint is oxidizing. New paint will not bond to this dust. You must pressure wash and potentially use a bonding masonry primer.
- The Adhesion Test: If the old paint is flaking or peeling, it must be scraped, ground, or blasted off. You cannot paint over loose, unstable material.
2. Preparation: The 90% Rule
A paint job is only as good as the surface it sits on. Professional painters spend 90% of their time prepping and 10% painting.
- Pressure Washing (Soft Wash): Stucco texture traps dirt, dust, and mold. Use a pressure washer (1,500 – 2,000 PSI) with a wide fan tip to lift contaminants. **Warning:** Do not use high-pressure "zero-degree tips" as they can gouge the plaster texture and force water behind the paper.
- Crack Repair: Paint does not fill cracks; it highlights them. For hairline cracks, use a brush-grade elastomeric patch. For structural cracks, do not use silicone; use a textured acrylic stucco patch that mimics the aggregate of the wall.
- Spot Priming: If you patched cracks or holes using **ASTM C926** plaster, it must cure for at least **7 to 14 days** and dry below **15% moisture content**. Applying paint over green plaster causes alkalinity burn, causing color bleaching and blistering. You must spot-prime them with a high-pH-resistant masonry primer.
3. Choosing the Right Coating
You must choose a product compatible with the existing layer:
100% Acrylic Latex: The standard for repainting. It is highly vapor-permeable (breathable), allowing moisture vapor to escape the wall cavity, which prevents dry rot.
High-Perm Elastomeric/Acrylic: A thick, rubberized coating. Use this only if the home was previously coated with elastomeric or has significant hairline cracking. Note: Elastomeric is less breathable and requires specific application thickness to prevent trapping vapor.
4. Cost and Maintenance Factors
Understanding the variables helps you budget for a lasting finish:
| Factor | Details | Impact on Cost |
|---|---|---|
| Square Footage | Larger surface area increases material and labor. | Primary cost driver. |
| Surface Prep | Removing chalking, peeling paint, or mold. | High. Skipping this leads to failure. |
| Texture Depth | Heavy textures (Lace/Dash) absorb 30-50% more paint than smooth walls. | Increases gallon count significantly. |
| Paint Type | Standard Acrylic vs. High-Build Elastomeric. | Elastomeric costs 30-50% more per gallon. |
| Lifespan | Cheap paint lasts 3-5 years. Quality acrylics last 10-15 years. | Invest now to save later. |
5. Pro Tips for Homeowners
The foundation weep screed at the bottom of the wall assembly must remain open under **ASTM C1063**. Painting the weep screed holes shut or burying the flashing flange traps moisture within the drainage cavity, leading to dry rot in the wooden sill plate and termite entry. Ensure paint or sealants never block these drainage paths.
- Sheen Selection: Always use a **Flat** sheen on stucco. Satin or Eggshell reflects light, highlighting every wave, trowel mark, and imperfection in the wall texture.
- Spray and Back-Roll: If spraying, always have a second person "back-roll" with a thick nap roller. This pushes the paint into the deep pinholes of the stucco for a watertight seal.
Conclusion: Refresh and Protect
Repainting is the most cost-effective way to extend the life of your stucco exterior. By respecting the chemistry of the wall—cleaning the chalk, priming the patches, and using breathable acrylics—you ensure your home remains beautiful and weather-resistant for the next decade.
Read our guide on What Caulking Should I Use for Stucco? Before you paint, ensure your cracks are sealed with the right material (not silicone!).
Frequently Asked Questions About Stucco
How much does stucco repair cost in Orange County and Los Angeles?+
Stucco repair typically ranges from $500 for minor crack patching to $5,000+ for full re-stucco of a single elevation. The exact cost depends on the damage type (hairline cracks, water damage, delamination, weep screed failure), the square footage involved, and whether the original three-coat or one-coat stucco system needs to be matched. Stucco Champions provides fixed-price written estimates after a free on-site assessment — no hourly billing, no surprise change orders. See our stucco repair cost guide for detailed pricing by repair type.
How long does stucco last in Southern California?+
Properly installed three-coat stucco lasts 50-80+ years in Southern California's climate. The most common failure points aren't the stucco itself — they're the supporting components: corroded weep screed, deteriorated building paper behind the stucco, and improperly sealed window flashing. Most "stucco failures" are actually moisture-intrusion failures that start at one of these points. Annual visual inspection catches problems before they spread, which is why we offer free weep screed assessments for homeowners in our service area.
Can I repair stucco myself, or do I need a contractor?+
Hairline cracks under 1/8 inch wide can be sealed with elastomeric caulk by a homeowner. Anything larger — pattern cracks, delamination (where stucco pulls away from the wall), water-damaged areas, or chimney/window leak repairs — requires a licensed contractor. Improper DIY repair on these is the #1 cause of repeat failures because the underlying cause (usually moisture) isn't addressed. California's CSLB requires a license for any stucco work over $500. Looking for a highly-rated stucco contractor in Southern California? We are a CSLB-licensed and insured team ready to help.
How do I know if I need stucco repair vs. full re-stucco?+
If less than 30% of an elevation has visible damage, repair is the right call. If you see large areas of cracking, multiple zones of delamination, or the underlying paper and lath have rotted across an entire wall, full re-stucco of that elevation is more cost-effective long-term. Our free assessment includes a moisture survey and lath inspection so you get a defensible recommendation either way — not just a quote pushing whichever option costs more.
Do you offer warranties on stucco work?+
Yes. Stucco Champions provides a written 5-year workmanship warranty on all stucco repairs and a 10-year warranty on full re-stucco. We're a CSLB-licensed and insured contractor (license #1122006 — verifiable at cslb.ca.gov), which means our work is backed by California's contractor licensing board, not just our own promise. Request a free estimate to see the warranty terms in writing before you sign anything.
How long does a stucco repair take?+
Most patch repairs are completed in 1-2 days, including a 24-hour cure time before texture matching and color application. Full re-stucco of a single elevation runs 5-7 working days because each coat (scratch, brown, finish) needs to cure properly before the next is applied. We schedule around weather — California stucco needs daytime temperatures above 50°F with no rain forecast for at least 24 hours after each coat. Our crew shows up on time, every time.
Related Professional Services
A licensed assessment identifies the cause before the finish is opened or replaced.