How to Apply a Scratch Coat Over Concrete & Block Walls: Mix Ratios, Scoring & Bonding Guide

📋 Professional Scope & Engineering Notice: Stucco Champions is a licensed plastering contractor specializing in above-grade exterior stucco application, CMU block wall plastering, re-stucco, and cosmetic/structural stucco repairs across Southern California. This technical guide outlines ASTM C 926 and Portland Cement Association (PCA) standards for scratch coat application over masonry and concrete. If your concrete foundation exhibits active below-grade water seepage or major structural settling, consult a licensed structural/foundation waterproofing engineer prior to plastering.
What Is a Scratch Coat and Why Is It Essential for Concrete & Masonry?
In traditional Portland cement plastering (stucco), the scratch coat is the foundational base coat applied directly to the substrate or metal lath. As detailed in the Portland Cement Plaster/Stucco Manual (PCA EB049) and ASTM C 926, its primary function is twofold:
- Create Full-Depth Adhesion: It establishes complete, intimate contact and bond with the concrete, masonry block, or lath reinforcement.
- Provide Mechanical Keying: When scored horizontally with a notched scarifier, it forms horizontal grooves (mechanical "keys") that physically lock the second (brown) coat to the wall.
Without a properly mixed, embedded, and scored scratch coat, subsequent plaster layers suffer from differential shrinkage, hollow debonding, and structural delamination.
Free Assessment
Noticing Stucco Damage?
Get a free on-site assessment from a licensed contractor. $0 deposit, no obligation.
GET FREE ASSESSMENTEvaluating the Concrete Substrate: Suction & Bond Requirements
According to the Stucco Manufacturers Association (SMA) and PCA standards, concrete and masonry surfaces fall into different suction categories that dictate surface preparation:
1. Concrete Masonry Units (CMU Block Walls) — Medium Suction
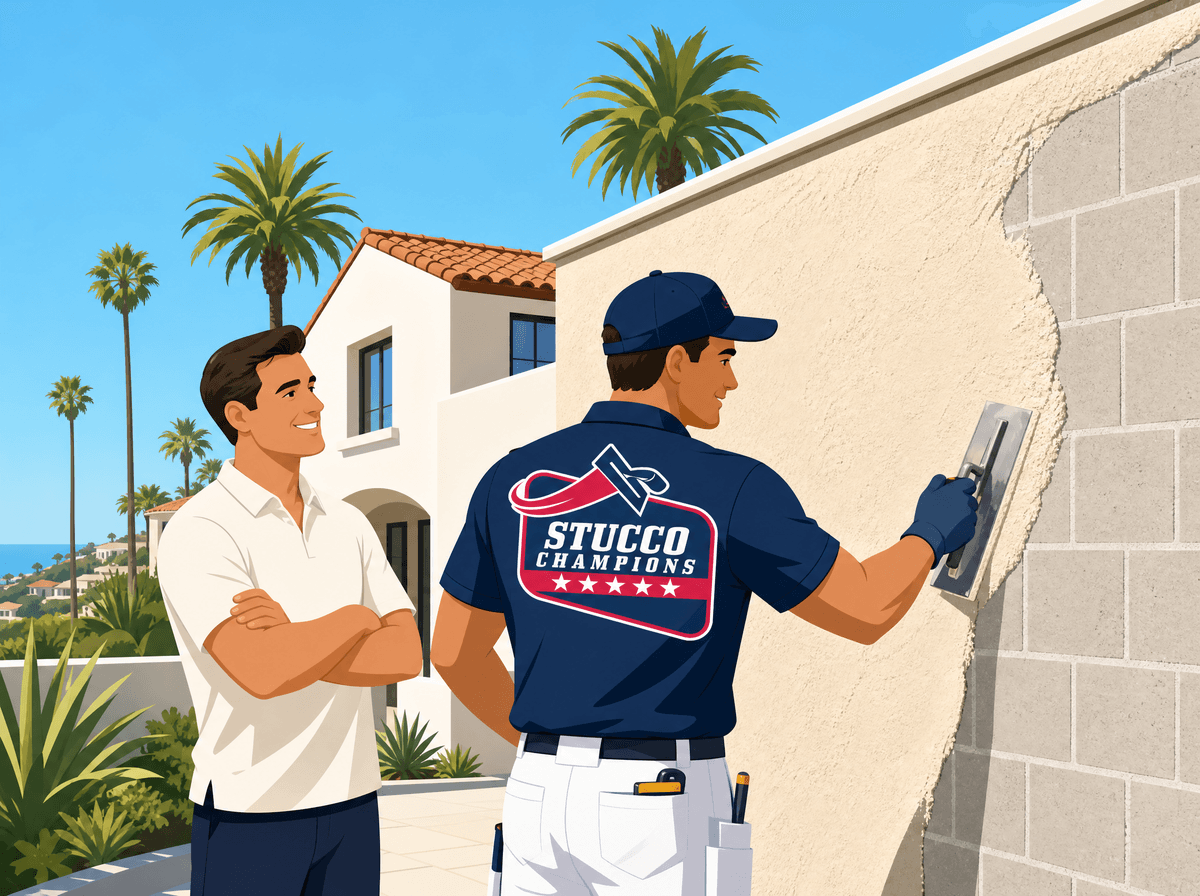
Open-textured concrete masonry provides an excellent natural mechanical key for plaster because both materials share identical Portland cement binders. Mortar joints must be struck flush (not tooled concave or sponge-floated), and surface mortar droppings must be scraped clean before application.
2. Smooth or Cast-in-Place Concrete — Low Suction
Dense, poured-in-place concrete or surfaces retaining oily form-release agents will resist suction and prevent adhesion. To prepare smooth concrete, you must choose one of three approved methods:
- Mechanical Diamond Mesh Lath (ASTM C 1063): Attach self-furring galvanized metal lath with concrete fasteners. A bond breaker (building paper) is recommended to prevent partial bonding stresses.
- Dash-Bond Coat: Dash a high-cement slurry (1 part cement to 1.5–2 parts sand) onto the wall and allow it to set unfinished for 24 hours.
- Surface-Applied Bonding Agent (ASTM C 932): Roll or spray a non-re-emulsifiable acrylic bonding agent according to manufacturer specifications.
The Splash Test for Substrate Absorption
To verify if concrete is receptive to a direct scratch coat, splash clean water onto the wall:
- Water beads up and runs off: Surface is non-porous, sealed, or oily. Direct application will fail; install mechanical lath or etch/sandblast the surface.
- Water is rapidly absorbed: Surface has high suction. The wall must be premoistened to a Surface Saturated Dry (SSD) state before plastering to prevent the dry wall from sucking mix water out of the plaster.
ASTM C 926 Scratch Coat Mix Proportions
Per ASTM C 926 (Table 3), base-coat plaster mixtures must balance workability, strength gain, and drying shrinkage control. The recommended field mix for the first (scratch) coat over solid masonry or lath is:
- 1 Part Portland Cement (ASTM C 150 Type I, II, or plastic cement ASTM C 1328)
- 0 to 3/4 Part Hydrated Lime (ASTM C 206/207 Type S)
- 2.5 to 4 Parts Clean, Damp Sand (ASTM C 897 plaster sand)
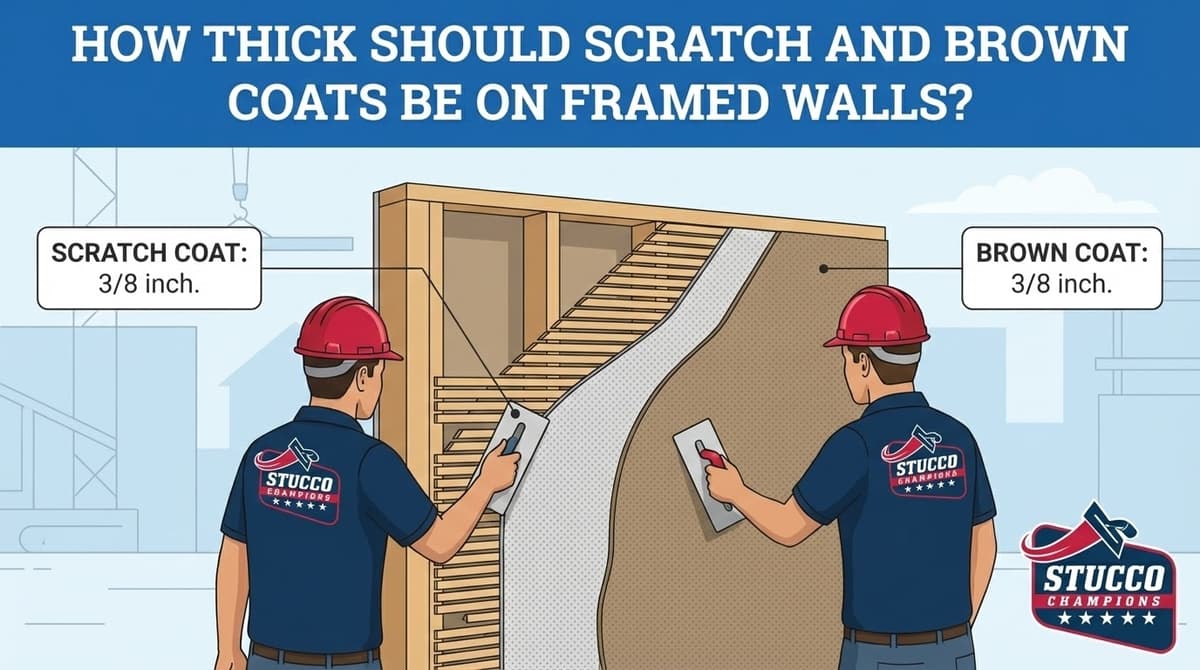
Rule of Thumb: Always use clean, potable water. The scratch coat must be applied at a nominal thickness of 3/8 inch (9.5 mm) to ensure full encapsulation and allow proper scoring depth without exposing the backing.
Step-by-Step Scratch Coat Application & Scoring
Step 1: Forcing Plaster Against the Substrate
Using a steel plastering trowel and hawk, apply the fresh mortar under firm, even pressure to force the paste into the pores of the masonry or through the metal lath. Avoid excessive over-troweling, which brings weak cement paste to the surface.
Step 2: Horizontal Scoring with a Scarifier
While the plaster is still plastic but firm enough to retain its shape, draw a notched plaster scarifier across the surface. Scoring must always be done horizontally on vertical walls.
⚠️ Critical Rule from PCA Manual: Never score vertically or cross-scratch. Horizontal score lines act as mini water reservoirs during moist curing. Vertical scratches channel water downward, promote wash-out erosion during curing, and induce vertical cracking along framing lines.
Proper Moist Curing & Delay Between Coats
Hydration is the chemical process that gives Portland cement its permanent strength. If fresh plaster dries out too quickly—especially in Southern California’s hot, arid climate—it suffers from crazing cracks and low compressive strength.
- Moist Curing: Fog the scratch coat with a fine water spray at the start and end of each workday for a minimum of 24 to 48 hours (unless ambient relative humidity exceeds 75%).
- Delay for Brown Coat: Per modern PCA recommendations, apply the brown (leveling) coat as soon as the scratch coat has achieved sufficient rigidity to resist cracking under trowel pressure (typically within 24 to 48 hours).
Common Scratch Coat Pitfalls to Avoid
- Plastering Over Sealed or Painted Masonry: Acrylic paint or waterproofing sealers eliminate suction. The entire coat will peel off in sheets unless sandblasted or covered with anchored metal lath.
- Letting the Plaster Dry Without Water Curing: Rapid evaporation creates "chalky," soft plaster that cannot support the weight of the brown and finish coats.
- Scoring Too Deep: Raking all the way through to the block or bare lath creates weak fracture lines in the wall assembly.
Need Professional Plastering or Re-Stucco in Southern California?
Whether you're building a new CMU block perimeter wall, plastering a concrete retaining wall, or performing a complete re-stucco makeover on your home, Stucco Champions delivers master craftsmanship backed by decades of local experience.
Our licensed crews strictly adhere to ASTM C 926 and SMA building standards to ensure your stucco exterior lasts for generations. Contact Stucco Champions today for a free, transparent estimate.
Frequently Asked Questions About Stucco
How much does stucco repair cost in Orange County and Los Angeles?+
Stucco repair typically ranges from $500 for minor crack patching to $5,000+ for full re-stucco of a single elevation. The exact cost depends on the damage type (hairline cracks, water damage, delamination, weep screed failure), the square footage involved, and whether the original three-coat or one-coat stucco system needs to be matched. Stucco Champions provides fixed-price written estimates after a free on-site assessment — no hourly billing, no surprise change orders. See our stucco repair cost guide for detailed pricing by repair type.
How long does stucco last in Southern California?+
Properly installed three-coat stucco lasts 50-80+ years in Southern California's climate. The most common failure points aren't the stucco itself — they're the supporting components: corroded weep screed, deteriorated building paper behind the stucco, and improperly sealed window flashing. Most "stucco failures" are actually moisture-intrusion failures that start at one of these points. Annual visual inspection catches problems before they spread, which is why we offer free weep screed assessments for homeowners in our service area.
Can I repair stucco myself, or do I need a contractor?+
Hairline cracks under 1/8 inch wide can be sealed with elastomeric caulk by a homeowner. Anything larger — pattern cracks, delamination (where stucco pulls away from the wall), water-damaged areas, or chimney/window leak repairs — requires a licensed contractor. Improper DIY repair on these is the #1 cause of repeat failures because the underlying cause (usually moisture) isn't addressed. California's CSLB requires a license for any stucco work over $500. Looking for a highly-rated stucco contractor in Southern California? We are a CSLB-licensed and insured team ready to help.
How do I know if I need stucco repair vs. full re-stucco?+
If less than 30% of an elevation has visible damage, repair is the right call. If you see large areas of cracking, multiple zones of delamination, or the underlying paper and lath have rotted across an entire wall, full re-stucco of that elevation is more cost-effective long-term. Our free assessment includes a moisture survey and lath inspection so you get a defensible recommendation either way — not just a quote pushing whichever option costs more.
Do you offer warranties on stucco work?+
Approved stucco repair work includes a 1-year written workmanship warranty. The applicable terms are documented with the approved scope. Stucco Champions is CSLB licensed and insured; verify license #1122006 through the official state lookup. Request a free estimate to review the scope and warranty terms before you sign.
How long does a stucco repair take?+
Most patch repairs are completed in 1-2 days, including a 24-hour cure time before texture matching and color application. Full re-stucco of a single elevation runs 5-7 working days because each coat (scratch, brown, finish) needs to cure properly before the next is applied. We schedule around weather — California stucco needs daytime temperatures above 50°F with no rain forecast for at least 24 hours after each coat. Our crew shows up on time, every time.
Stucco Diagnostics & Calculators
Diagnose specific wall damage symptoms or estimate job scope with our free guides and calculators.
Related Professional Services
A licensed assessment identifies the cause before the finish is opened or replaced.