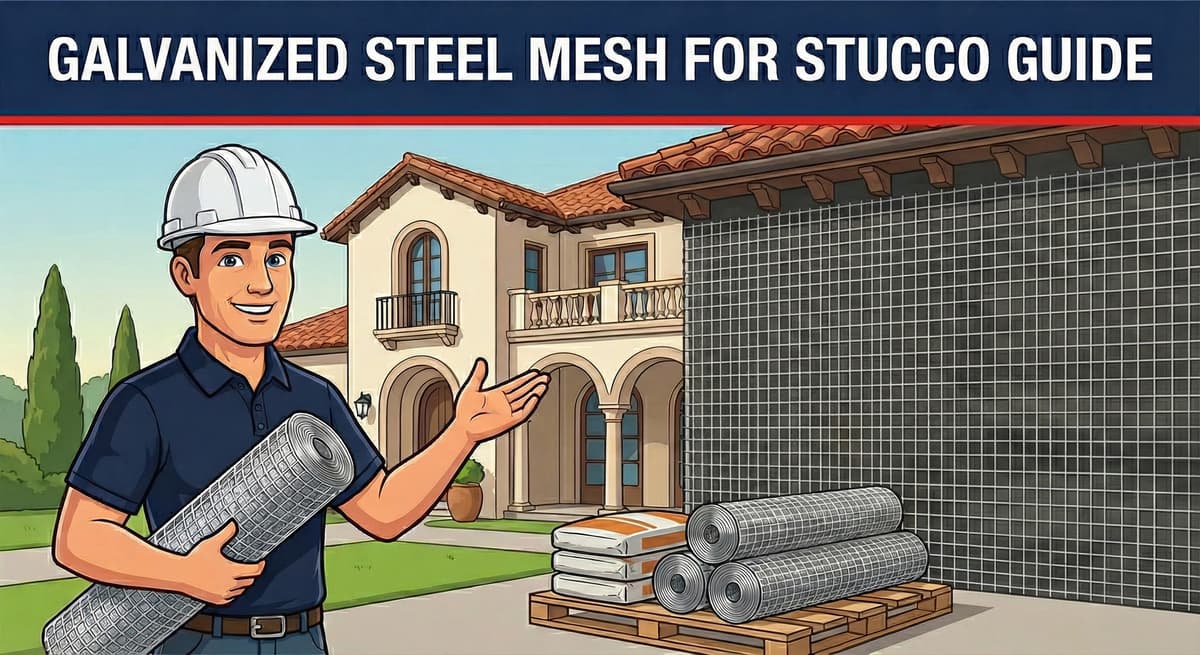
Galvanized Steel Mesh for Stucco: Types & Installation
Written by Stucco Champions — Southern California’s Authority on Exterior Plastering.
Galvanized Steel Mesh for Stucco: Types & Installation
If stucco is the skin of your home, then galvanized steel mesh is the skeleton. Also known as "metal lath," this grid is what physically holds the thousands of pounds of cement plaster to your wood framing. Without it, gravity would pull the stucco right off the wall.
In Southern California, where marine environments and seismic activity place high demands on buildings, lathing must be installed to precise standards. This guide explains the different types of galvanized metal lath and the strict installation protocols dictated by ASTM C1063 that we follow to build a strong three-coat stucco system.
Free Assessment
Noticing Stucco Damage?
Get a free on-site assessment from a licensed contractor. $0 deposit, no obligation.
GET FREE ASSESSMENT1. The Function: Mechanical Keying
Cement plaster does not bond chemically to waterproof building paper; it requires a mechanical lock.
When we apply the scratch coat, we push the wet mortar through the openings in the galvanized metal mesh. The mortar slumps over the back of the wire, hardening into a "key." This mechanical keying is what keeps the stucco monolithically attached to the wall for decades.
2. Types of Galvanized Metal Lath
Different lath designs are selected based on the specific location and application details:
| Mesh Type | Description & Specifications | Primary Application |
|---|---|---|
| Expanded Metal Lath (Diamond Mesh) | Rigid steel sheets cut and cold-stretched into diamond-shaped openings. Typically weighs 2.5 or 3.4 lbs per square yard. | Used for flat walls, soffits, columns, and structural corners where extra rigidity is required. |
| Woven Wire Lath (Chicken Wire) | A flexible, woven 17-gauge wire mesh with 1.5-inch hexagonal openings, conforming to ASTM C1032. | The standard for residential wood-framed walls. It wraps around corners easily and relieves localized stress. |
| Self-Furring Lath | Features mechanically embossed dimples or crimps that hold the wire mesh 1/4 inch away from the sheathing. | Mandatory for all wood-framed walls to ensure plaster keys behind the lath. |
ASTM C1063 mandates that lath must be furred out at least 1/4 inch from the substrate. If you use flat wire stapled tight to the paper, the cement cannot key behind the mesh. This results in a weak surface bond that causes plaster delamination, wire corrosion, and premature failure.
3. Installation Protocol: Lapping is Critical
The most common cracking points occur at the seams between adjacent lath sheets. We enforce strict overlap rules to prevent straight-line cracks:
- Side Overlaps (Horizontal): Sheets must overlap by a minimum of 1 inch.
- End Overlaps (Vertical): Sheets must overlap by a minimum of 2 inches.
- Lath Tying: We tie the overlaps with galvanized wire between framing studs to prevent the mesh from flexing during plastering.
4. Fastening Schedule & Stud Penetration
Stucco is heavy, weighing approximately 10 to 12 lbs per square foot. The lath fasteners must transfer this entire weight directly to the structural framing studs.
- Fastener Spacing: Fasteners must be spaced no more than 6 inches apart vertically along each framing stud.
- Stud Penetration: Staples or nails must penetrate the structural wood framing studs by a minimum of 3/4 inch. Fastening into the plywood sheathing alone does not provide adequate load support and causes wall sagging over time.
- Depth Control: Staples must be driven flush with the wire. Overdriven staples crush the wood sheathing fibers and tear the underlying Grade D waterproofing paper.
Conclusion: The Strength in the Skeleton
Once the plaster coats are applied, the metal skeleton is hidden. However, the lifespan of the entire system relies on how the mesh was installed. At Stucco Champions, we never compromise on our lath inspections, gauge weights, or fastening schedules, ensuring your home’s envelope is structurally sound from day one.
Last week, we shared the The Comprehensive Guide to Stucco Lathing Wire Types. Read more about gauges and compliance guidelines.
Frequently Asked Questions About Stucco
How much does stucco repair cost in Orange County and Los Angeles?+
Stucco repair typically ranges from $500 for minor crack patching to $5,000+ for full re-stucco of a single elevation. The exact cost depends on the damage type (hairline cracks, water damage, delamination, weep screed failure), the square footage involved, and whether the original three-coat or one-coat stucco system needs to be matched. Stucco Champions provides fixed-price written estimates after a free on-site assessment — no hourly billing, no surprise change orders. See our stucco repair cost guide for detailed pricing by repair type.
How long does stucco last in Southern California?+
Properly installed three-coat stucco lasts 50-80+ years in Southern California's climate. The most common failure points aren't the stucco itself — they're the supporting components: corroded weep screed, deteriorated building paper behind the stucco, and improperly sealed window flashing. Most "stucco failures" are actually moisture-intrusion failures that start at one of these points. Annual visual inspection catches problems before they spread, which is why we offer free weep screed assessments for homeowners in our service area.
Can I repair stucco myself, or do I need a contractor?+
Hairline cracks under 1/8 inch wide can be sealed with elastomeric caulk by a homeowner. Anything larger — pattern cracks, delamination (where stucco pulls away from the wall), water-damaged areas, or chimney/window leak repairs — requires a licensed contractor. Improper DIY repair on these is the #1 cause of repeat failures because the underlying cause (usually moisture) isn't addressed. California's CSLB requires a license for any stucco work over $500. Looking for a highly-rated stucco contractor in Southern California? We are a CSLB-licensed and insured team ready to help.
How do I know if I need stucco repair vs. full re-stucco?+
If less than 30% of an elevation has visible damage, repair is the right call. If you see large areas of cracking, multiple zones of delamination, or the underlying paper and lath have rotted across an entire wall, full re-stucco of that elevation is more cost-effective long-term. Our free assessment includes a moisture survey and lath inspection so you get a defensible recommendation either way — not just a quote pushing whichever option costs more.
Do you offer warranties on stucco work?+
Approved stucco repair work includes a 1-year written workmanship warranty. The applicable terms are documented with the approved scope. Stucco Champions is CSLB licensed and insured; verify license #1122006 through the official state lookup. Request a free estimate to review the scope and warranty terms before you sign.
How long does a stucco repair take?+
Most patch repairs are completed in 1-2 days, including a 24-hour cure time before texture matching and color application. Full re-stucco of a single elevation runs 5-7 working days because each coat (scratch, brown, finish) needs to cure properly before the next is applied. We schedule around weather — California stucco needs daytime temperatures above 50°F with no rain forecast for at least 24 hours after each coat. Our crew shows up on time, every time.
Related Professional Services
A licensed assessment identifies the cause before the finish is opened or replaced.