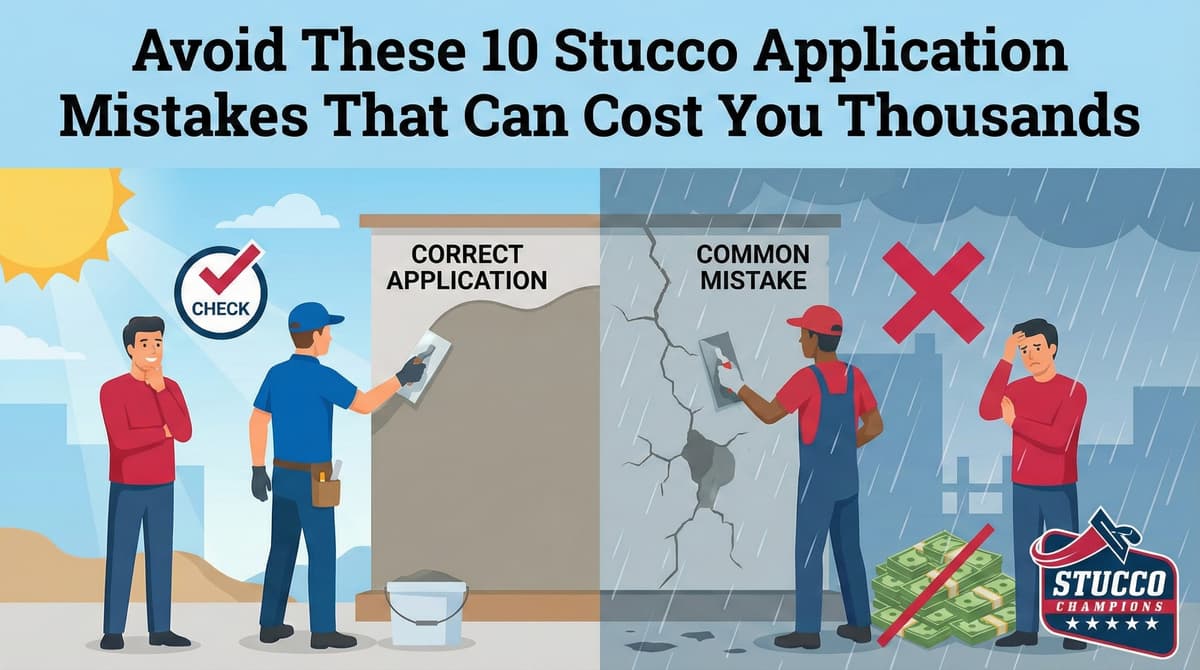
Stucco Application Mistakes That Lead to Costly Repairs
Written by Stucco Champions — Southern California’s Authority on Exterior Plastering.
Stucco is one of the most durable, fire-resistant, and visually appealing finishes for residential and commercial buildings in Southern California—but only when installed correctly. Poor stucco application is more than just an eyesore; it is a ticking time bomb for moisture intrusion, structural wood rot, mold, and massive repair bills.
At Stucco Champions, we see firsthand how avoidable errors turn a promising remodel into a long-term liability. Whether you are a contractor, property manager, or homeowner, understanding these common plastering pitfalls is essential to protecting your property's envelope.
1. Using the Wrong (or Incompatible) Materials
A common mistake is using generic cement mixes not formulated for exterior plastering, or mixing incompatible acrylic finish coats over weak base coats. This leads to poor adhesion, map cracking, and severe color blotchiness.
The Fix: Always use high-quality, Plastic Cement (conforming to ASTM C1328) or standard Portland Cement (conforming to ASTM C150) mixed with hydrated lime (conforming to ASTM C207). Ensure that your scratch, brown, and finish coats are chemically compatible. Avoid cheap chemical additives that promise fast curing times but sacrifice long-term flexibility.
Free Assessment
Noticing Stucco Damage?
Get a free on-site assessment from a licensed contractor. $0 deposit, no obligation.
GET FREE ASSESSMENT2. Skipping Surface Preparation (The Bond Failure)
Applying stucco directly to dirty, painted, sealed, or extremely smooth concrete surfaces is a recipe for delamination (peeling). If the cement base cannot bond chemically or mechanically to the substrate, gravity and thermal changes will eventually pull it off the wall.
If you are applying a new stucco color coat or re-stuccoing over an existing painted surface, Sandblasting is mandatory. You cannot bond cement plaster directly to paint. We must strip the old paint layers to expose the raw, open-pore stucco underneath, creating the necessary mechanical key (learn more in our guide on stucco over concrete and masonry).
3. Inconsistent or Improper Mixing Ratios
Stucco is chemistry. Adding too much water (creating a "soupy" mix) weakens the cement matrix, while too little water prevents proper hydration. Furthermore, inconsistent sand-to-cement proportions between batches results in patchy color variations across the wall (known as "checkerboarding").
The Fix: Adhere strictly to the volumetric proportions defined in ASTM C926 (typically 1 part cementitious binder to 3 or 4 parts plaster sand conforming to ASTM C897). Use calibrated batch containers rather than guessing with shovel counts, and mix each batch for exactly 3 to 5 minutes.
4. Rushed Curing (Ignoring Hydration)
This is the most common technical error in hot climates. Portland cement plaster does not simply "dry"; it cures through a chemical reaction with water known as hydration. If the sun or wind evaporates the mix water too quickly, the hydration process stops, leaving behind a weak, crumbly layer prone to dusting and cracking.
The Fix: Implement a strict Moist Curing schedule. Mist the walls with water at least twice daily for a minimum of 48 hours for both the scratch and brown coats. This is critical in Southern California to prevent shrinkage cracks (refer to our detailed scratch and brown coat curing guide).
5. Neglecting Control and Expansion Joints
Stucco is rigid, but buildings move. Without control joints, natural structural settling, seismic activity, and thermal expansion will force the plaster to crack—typically diagonally off the corners of window and door frames.
Under ASTM C1063, control joints must be installed to create panels that do not exceed 144 square feet (for vertical walls) or 100 square feet (for ceilings and curves). The distance between joints should never exceed 18 feet, and the length-to-width ratio of any panel must be kept under 2.5:1. Wire lath must be cut and stopped on each side of the joint to allow free movement.
6. Poor Weather Timing (Flash Drying)
Plastering is highly sensitive to ambient conditions. Applying stucco during extreme heat, direct sunlight, or dry "Santa Ana" winds sucks the water out of the plaster too quickly (known as flash drying), destroying the bond.
The Fix: Schedule stucco application when temperatures are between 40°F and 90°F. In hot weather, work on the shady sides of the building, pre-dampen the substrate to reduce water absorption, and use windbreaks if necessary.
7. Inadequate Moisture Barrier (WRB)
Stucco is porous and absorbs bulk water during rains. If you fail to install a proper drainage plane behind the plaster, water will seep through and saturate the wood framing, causing dry rot, structural instability, and black mold.
The Fix: Never compromise on the water-resistive barrier. We strictly adhere to building codes requiring **two layers of Grade D building paper** (or an approved equivalent) over wood sheathing. Additionally, ensure a metal foundation weep screed is installed at the bottom of the wall, located at least 4 inches above raw earth and 2 inches above paved concrete patios (see our weep screed repair guide).
8. Uneven Application Thickness
Applying stucco too thick in a single pass causes the wet mortar to sag and crack under its own weight. Applying it too thin exposes the wire lath to salt-air moisture, which leads to rust, expansion, and delamination (rust jacking).
The Fix: Maintain standard thicknesses under ASTM C926. A traditional three-coat plaster system over metal lath must have a nominal thickness of 7/8 inch (consisting of a 3/8-inch scratch coat, a 3/8-inch brown coat, and a 1/8-inch finish coat). Professional plasterers use wood or metal straightedges ("rods") to keep the base coats perfectly uniform.
9. Ignoring Local Wildfire and Permitting Codes
In Southern California, building codes vary by zone. Applying a non-compliant cladding in a Wildland-Urban Interface (WUI) zone or starting work without pulling permits can halt your project and result in code enforcement fines.
The Fix: Ensure all assemblies comply with local municipality codes. If your home is in a WUI zone, you must install Class A, fire-rated assemblies under Chapter 7A of the California Building Code. Always pull municipal permits, which mandate a critical lath inspection before plastering begins (read more in our guide on stucco repair permits).
10. Hiring General Handymen Instead of Plastering Specialists
Plastering is a specialized trade requiring muscle memory, material chemistry knowledge, and precise detailing. Handymen often miss critical flashing details, overlap lath incorrectly, or reverse lath orientation, resulting in system failures that appear months down the road.
The Fix: Protect your home by hiring a dedicated, CSLB-licensed plastering contractor who understands flashing integration, building paper flashing loops, and moisture management systems.
Stucco Mistakes, Impacts, and Standards-Compliant Solutions
| Application Mistake | Structural Impact | Standards-Compliant Solution |
|---|---|---|
| Skipped Surface Preparation | Plaster delaminates, peels, and drops off the wall | Sandblast all painted, sealed, or dirty masonry substrates to expose raw pores. |
| Rushed Curing Schedule | Cement matrix fails to hydrate, resulting in crumbly plaster | Mist base coats with water (moist curing) for at least 48 hours per ASTM C926. |
| Missing Control Joints | Uncontrolled stress cracks form diagonally off window corners | Install ASTM C1063 control joints to segment walls into panels under 144 sq ft. |
| Inadequate Moisture Barrier | Rainwater penetrates porous stucco, causing wood rot and mold | Install two layers of Grade D paper and a weep screed with code clearances. |
| Improper Mix Proportions | Checkerboarding color patterns and structurally weak base coats | Adhere strictly to ASTM C926 volumetric binder-to-sand ratios (1:3 or 1:4). |
Conclusion: Get It Right the First Time
Stucco is designed to last a lifetime, but it is unforgiving of poor installation. Taking shortcuts with material prep, curing times, or hydration guarantees failures that are expensive to correct. Follow ASTM and PCA specifications to ensure your building remains watertight, fire-safe, and visually appealing.
Need Professional Stucco Help?
If you are facing stucco cracking, bubbling, or failed inspection details in Southern California, Stucco Champions is here to help. Our CSLB-licensed specialists ensure every project meets strict California Residential Code standards. Contact Stucco Champions today for a professional consultation and free estimate!
Frequently Asked Questions About Stucco
How much does stucco repair cost in Orange County and Los Angeles?+
Stucco repair typically ranges from $500 for minor crack patching to $5,000+ for full re-stucco of a single elevation. The exact cost depends on the damage type (hairline cracks, water damage, delamination, weep screed failure), the square footage involved, and whether the original three-coat or one-coat stucco system needs to be matched. Stucco Champions provides fixed-price written estimates after a free on-site assessment — no hourly billing, no surprise change orders. See our stucco repair cost guide for detailed pricing by repair type.
How long does stucco last in Southern California?+
Properly installed three-coat stucco lasts 50-80+ years in Southern California's climate. The most common failure points aren't the stucco itself — they're the supporting components: corroded weep screed, deteriorated building paper behind the stucco, and improperly sealed window flashing. Most "stucco failures" are actually moisture-intrusion failures that start at one of these points. Annual visual inspection catches problems before they spread, which is why we offer free weep screed assessments for homeowners in our service area.
Can I repair stucco myself, or do I need a contractor?+
Hairline cracks under 1/8 inch wide can be sealed with elastomeric caulk by a homeowner. Anything larger — pattern cracks, delamination (where stucco pulls away from the wall), water-damaged areas, or chimney/window leak repairs — requires a licensed contractor. Improper DIY repair on these is the #1 cause of repeat failures because the underlying cause (usually moisture) isn't addressed. California's CSLB requires a license for any stucco work over $500. Looking for a highly-rated stucco contractor in Southern California? We are a CSLB-licensed and insured team ready to help.
How do I know if I need stucco repair vs. full re-stucco?+
If less than 30% of an elevation has visible damage, repair is the right call. If you see large areas of cracking, multiple zones of delamination, or the underlying paper and lath have rotted across an entire wall, full re-stucco of that elevation is more cost-effective long-term. Our free assessment includes a moisture survey and lath inspection so you get a defensible recommendation either way — not just a quote pushing whichever option costs more.
Do you offer warranties on stucco work?+
Yes. Stucco Champions provides a written 5-year workmanship warranty on all stucco repairs and a 10-year warranty on full re-stucco. We're a CSLB-licensed and insured contractor (license #1122006 — verifiable at cslb.ca.gov), which means our work is backed by California's contractor licensing board, not just our own promise. Request a free estimate to see the warranty terms in writing before you sign anything.
How long does a stucco repair take?+
Most patch repairs are completed in 1-2 days, including a 24-hour cure time before texture matching and color application. Full re-stucco of a single elevation runs 5-7 working days because each coat (scratch, brown, finish) needs to cure properly before the next is applied. We schedule around weather — California stucco needs daytime temperatures above 50°F with no rain forecast for at least 24 hours after each coat. Our crew shows up on time, every time.
Related Professional Services
A licensed assessment identifies the cause before the finish is opened or replaced.