How to Apply Stucco Fog Coat: A Step-by-Step Guide
Written by Stucco Champions — Southern California’s Authority on Exterior Plastering.
Stucco Champions does not offer fog coating as a standalone service. This article is informational content for homeowners comparing stucco color refresh options. We focus on stucco repair, patching, water damage repair, inspections, and related stucco restoration work.
How to Apply Stucco Fog Coat: A Step-by-Step Guide
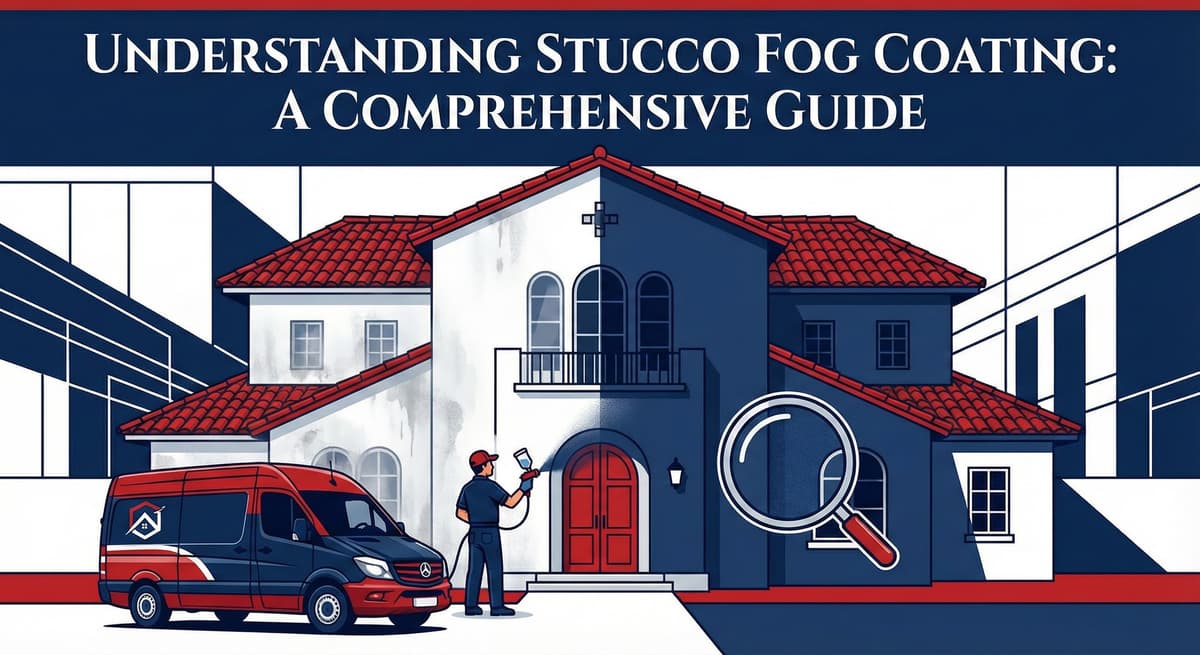
In previous articles, we established that Fog Coating is the superior alternative to painting for traditional, unpainted stucco walls because it maintains the masonry's breathability. This guide shifts from the "why" to the "how," detailing the professional protocol for mixing, applying, and curing cementitious fog coat.
Free Assessment
Noticing Stucco Damage?
Get a free on-site assessment from a licensed contractor. $0 deposit, no obligation.
GET FREE ASSESSMENT1. The Mandatory "Water Test"
Before purchasing material, you must verify that your wall can physically accept a fog coat.
The Protocol: Splash water against the wall. If the water immediately darkens the wall and absorbs into the cement, the surface is porous and ready for fog coat. If the water beads up and rolls off, the wall has been previously painted, sealed, or finished with an acrylic synthetic topcoat. Fog coat will not bond to sealed or painted surfaces; it will flake off immediately.
2. Surface Preparation
Fog coat is a dye, not a filler. It will not hide dirt, oil, or rust stains.
- Cleaning: Lightly pressure wash the wall (under 1500 PSI) to remove dust, smog, and biological growth (algae/mildew). Allow the wall to dry completely before proceeding.
- Masking: Fog coat is essentially colored cement water. It will aggressively stain windows, concrete flatwork, and metal framing. You must mask all adjacent surfaces meticulously using 6-mil plastic and heavy-duty tape.
3. The Mixing Ratio
Fog coat is sold as a dry powder (a blend of Portland cement, lime, and iron oxide pigments) in 25lb bags.
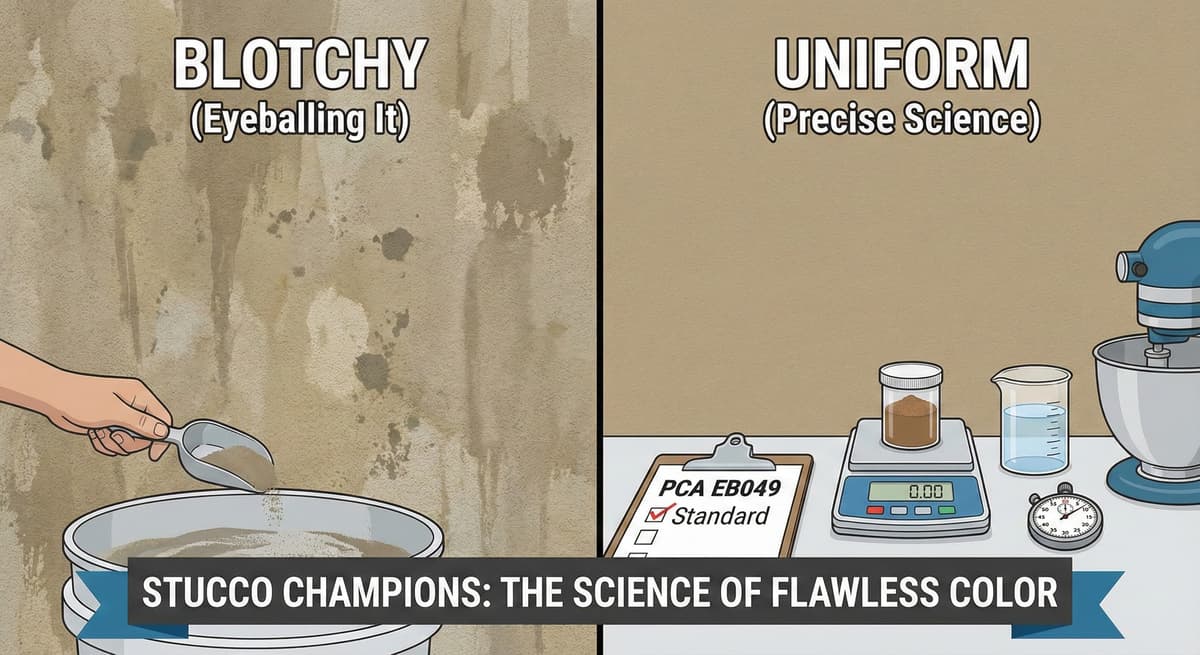
The Standard Ratio: We typically mix 1 part dry powder to 1 part clean water by volume. However, because it is used to "tint" the wall, you can adjust the water content to make the fog coat lighter (more translucent) or heavier (more opaque). Always use a mechanical drill mixer to ensure the pigments are fully dispersed. Because the mixture lacks sand, the cement particles will settle rapidly; you must continuously agitate the bucket during application.
4. Application: The Atomized Mist
For large elevations, professionals utilize pneumatic texture sprayers. For smaller repairs or localized blending, a high-quality pump garden sprayer is highly effective.
- Pre-Wetting: Very lightly mist the dry stucco wall with clean water. This prevents the dry, thirsty wall from instantly sucking the moisture out of the fog coat, which would cause a chalky, weak bond.
- The Spray Technique: Pump the sprayer to maximum pressure to ensure the nozzle atomizes the liquid into a fine mist (hence the name "Fog"). Spray in sweeping, overlapping circular motions.
- Avoid Flooding: Do not spray so heavily that the liquid runs or drips down the wall. If it runs, you are applying too much volume. It is far better to apply three light, translucent coats than one heavy, dripping coat.
5. Blending and Curing
If you are using fog coat to blend a localized patch repair into the surrounding wall, "feather" the spray. Apply a slightly heavier coat directly over the new patch, and gradually mist it lighter as you move outward into the existing wall.
The Cure: Just like traditional stucco base coats, fog coat must hydrate to cure properly. Once the application has dried to the touch, lightly mist the wall with clean water twice a day for 48 hours to ensure maximum crystalline bond strength.
Conclusion
Fog coating requires patience and a strict adherence to mixing and curing protocols. When executed correctly, it permanently dyes the stucco matrix, restoring the home's aesthetic without turning the exterior into a continuous painting maintenance liability.
Fog coat is a thin cementitious color layer. It recolors the wall, but it does not fill, hide, or resurface what is already there, so on an older home it will telegraph the existing issues: hairline cracks, old patch lines, previous repairs, and surface blemishes read straight through the fresh color and often stand out more than they did before.
There is a structural reason too. A fog coat only bonds as well as the surface it lands on, and it needs sound, clean, uniformly porous stucco to key into. When the wall underneath is in rough shape, the bond itself is weaker and the coat can dust off, peel, or re-crack over:
- Chalky or weathered surfaces, where the coat grabs a loose, powdery top layer instead of solid stucco.
- Drummy or delaminating areas that are already pulling away from the lath and take the new coat with them.
- Active cracks and old patches, where rigid cement re-cracks over moving joints and mismatched patch material absorbs unevenly.
- Previously painted or sealed spots, which cement cannot penetrate, so it has almost nothing to grip.
- Weak, over-sanded, or moisture-damaged base coats that cap the bond at a crumbly layer the coat can peel away with.
That is why Stucco Champions does not fog coat older or previously repaired homes. For those walls we recommend a fresh finish coat (re-stucco) so the surface is sound and uniform before it is colored.
Frequently Asked Questions About Stucco
How much does stucco repair cost in Orange County and Los Angeles?+
Small stucco patches start at $650, larger repairs start at $1,200, and re-stucco of a single elevation up to about 400 sq ft runs about $1,400 - $5,900+. The exact cost depends on the damage type (hairline cracks, water damage, delamination, weep screed failure), the square footage involved, and whether the original three-coat or one-coat stucco system needs to be matched. Stucco Champions provides fixed-price written estimates after a free on-site assessment — no hourly billing, no surprise change orders. See our stucco repair cost guide for detailed pricing by repair type.
How long does stucco last in Southern California?+
Properly installed three-coat stucco lasts 50-80+ years in Southern California's climate. The most common failure points aren't the stucco itself — they're the supporting components: corroded weep screed, deteriorated building paper behind the stucco, and improperly sealed window flashing. Most "stucco failures" are actually moisture-intrusion failures that start at one of these points. Annual visual inspection catches problems before they spread, which is why we offer free weep screed assessments for homeowners in our service area.
Can I repair stucco myself, or do I need a contractor?+
Hairline cracks under 1/8 inch wide can be sealed with elastomeric caulk by a homeowner. Anything larger — pattern cracks, delamination (where stucco pulls away from the wall), water-damaged areas, or chimney/window leak repairs — requires a licensed contractor. Improper DIY repair on these is the #1 cause of repeat failures because the underlying cause (usually moisture) isn't addressed. California's CSLB requires a license for any stucco work over $500. Looking for a highly-rated stucco contractor in Southern California? We are a CSLB-licensed and insured team ready to help.
How do I know if I need stucco repair vs. full re-stucco?+
If less than 30% of an elevation has visible damage, repair is the right call. If you see large areas of cracking, multiple zones of delamination, or the underlying paper and lath have rotted across an entire wall, full re-stucco of that elevation is more cost-effective long-term. Our free assessment includes a moisture survey and lath inspection so you get a defensible recommendation either way — not just a quote pushing whichever option costs more.
Do you offer warranties on stucco work?+
Approved stucco repair work includes a 1-year written workmanship warranty. The applicable terms are documented with the approved scope. Stucco Champions is CSLB licensed and insured; verify license #1122006 through the official state lookup. Request a free estimate to review the scope and warranty terms before you sign.
How long does a stucco repair take?+
Most patch repairs are completed in 1-2 days, including a 24-hour cure time before texture matching and color application. Full re-stucco of a single elevation runs 5-7 working days because each coat (scratch, brown, finish) needs to cure properly before the next is applied. We schedule around weather — California stucco needs daytime temperatures above 50°F with no rain forecast for at least 24 hours after each coat. Our crew shows up on time, every time.
Stucco Diagnostics & Calculators
Diagnose specific wall damage symptoms or estimate job scope with our free guides and calculators.
Related Professional Services
A licensed assessment identifies the cause before the finish is opened or replaced.