The Best Dog Doors for Stucco Walls: Installation & Waterproofing
Written by Stucco Champions — Southern California’s Authority on Exterior Plastering.
The Best Dog Doors for Stucco Walls: Installation & Waterproofing
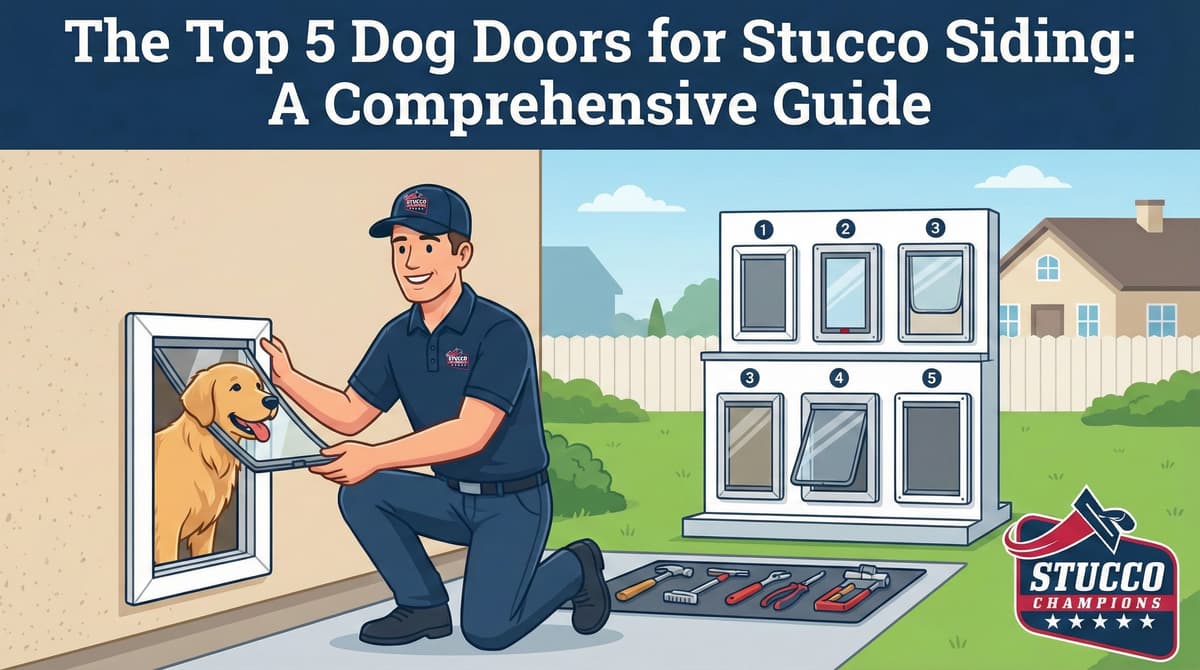
Installing a dog door in a standard wooden door is a simple carpentry project. Installing a dog door through an exterior stucco wall is a major structural modification. You are cutting a massive hole through the 7/8-inch cement shell, the waterproofing paper, the plywood sheathing, the insulation, and the interior drywall.
If you fail to seal this penetration correctly, rainwater will run down the stucco, enter the cut, and systematically rot the wooden framing of your home. Therefore, you cannot use a standard "door mount" kit; you must purchase a specialized Wall Mount Kit featuring an integrated tunnel and heavy-duty weather sealing. This guide reviews the top options for stucco homes.
Free Assessment
Noticing Stucco Damage?
Get a free on-site assessment from a licensed contractor. $0 deposit, no obligation.
GET FREE ASSESSMENT1. The Premium Choice: The Endura Flap Wall Mount
The Endura Flap is widely considered the gold standard for in-wall pet doors, specifically engineered for extreme weather and security.
- The Stucco Advantage: It includes a robust aluminum wall tunnel that bridges the gap between the exterior stucco and the interior drywall, ensuring water cannot leak into the wall cavity.
- Insulation: It features a double-flap system with heavy magnetic sealing. Because stucco walls contain your home's primary insulation, cutting a hole in one creates a massive thermal draft. The Endura Flap is one of the few doors that actually maintains the thermal barrier of the wall.
- Security: Includes a heavy-duty locking cover to prevent human intrusion.
2. The Bifold Innovation: Carlson Pro Pets Wall Mount
The Carlson Pro Pets Door deviates from the standard flap design by utilizing a rigid bifold system.
- The Stucco Advantage: The telescoping tunnel is highly adaptable to varying wall thicknesses (stucco walls can range from 4 to 8 inches thick depending on the framing and foam layers).
- Security: It features a stainless steel security panel, making it exceptionally resilient against both weather and forced entry when locked.
3. The Budget Option: PetSafe Wall Entry Pet Door
For homeowners requiring a more cost-effective solution, the PetSafe Wall Entry model is the standard go-to.
- The Stucco Advantage: It comes with a plastic telescoping tunnel designed to fit walls up to 7.25 inches thick.
- The Compromise: While affordable, the plastic tunnel and standard dual-flap system do not offer the extreme insulation or durability of the aluminum Endura Flap. It is suitable for mild Southern California weather, but requires meticulous caulking around the exterior stucco flange.
4. The Alternative: The Sliding Glass Pet Door
If cutting a massive hole through your stucco and waterproofing paper makes you nervous (and it should), there is a highly practical alternative.
- The Concept: Instead of modifying the stucco wall, you purchase a glass panel insert that mounts directly into the track of your existing sliding patio door.
- The Advantage: Zero structural modification. No risk of dry rot, no cutting wire lath, and no stucco patching required. It can also be easily removed if you decide to sell the home.
If you choose to cut through the stucco, you must treat the new dog door exactly like a new window installation:
- Flashing: The bottom of the wall cut must be lined with self-adhering flashing tape (e.g., FortiFlash) to protect the exposed wood.
- Polyurethane Sealant: Once the exterior frame is screwed into the stucco, you must run a thick bead of high-grade Polyurethane Sealant (not silicone) around the entire perimeter of the flange to permanently bridge the gap between the aluminum frame and the rough cement.
Conclusion
A wall-mounted dog door provides unparalleled convenience, but it compromises the integrity of your exterior cladding. Invest in a premium model with an aluminum tunnel, utilize proper flashing tape, and seal the exterior flange with polyurethane to ensure your home remains waterproof.
Frequently Asked Questions About Stucco
How much does stucco repair cost in Orange County and Los Angeles?+
Stucco repair typically ranges from $500 for minor crack patching to $5,000+ for full re-stucco of a single elevation. The exact cost depends on the damage type (hairline cracks, water damage, delamination, weep screed failure), the square footage involved, and whether the original three-coat or one-coat stucco system needs to be matched. Stucco Champions provides fixed-price written estimates after a free on-site assessment — no hourly billing, no surprise change orders. See our stucco repair cost guide for detailed pricing by repair type.
How long does stucco last in Southern California?+
Properly installed three-coat stucco lasts 50-80+ years in Southern California's climate. The most common failure points aren't the stucco itself — they're the supporting components: corroded weep screed, deteriorated building paper behind the stucco, and improperly sealed window flashing. Most "stucco failures" are actually moisture-intrusion failures that start at one of these points. Annual visual inspection catches problems before they spread, which is why we offer free weep screed assessments for homeowners in our service area.
Can I repair stucco myself, or do I need a contractor?+
Hairline cracks under 1/8 inch wide can be sealed with elastomeric caulk by a homeowner. Anything larger — pattern cracks, delamination (where stucco pulls away from the wall), water-damaged areas, or chimney/window leak repairs — requires a licensed contractor. Improper DIY repair on these is the #1 cause of repeat failures because the underlying cause (usually moisture) isn't addressed. California's CSLB requires a license for any stucco work over $500. Looking for a highly-rated stucco contractor in Southern California? We are a CSLB-licensed and insured team ready to help.
How do I know if I need stucco repair vs. full re-stucco?+
If less than 30% of an elevation has visible damage, repair is the right call. If you see large areas of cracking, multiple zones of delamination, or the underlying paper and lath have rotted across an entire wall, full re-stucco of that elevation is more cost-effective long-term. Our free assessment includes a moisture survey and lath inspection so you get a defensible recommendation either way — not just a quote pushing whichever option costs more.
Do you offer warranties on stucco work?+
Yes. Stucco Champions provides a written 5-year workmanship warranty on all stucco repairs and a 10-year warranty on full re-stucco. We're a CSLB-licensed and insured contractor (license #1122006 — verifiable at cslb.ca.gov), which means our work is backed by California's contractor licensing board, not just our own promise. Request a free estimate to see the warranty terms in writing before you sign anything.
How long does a stucco repair take?+
Most patch repairs are completed in 1-2 days, including a 24-hour cure time before texture matching and color application. Full re-stucco of a single elevation runs 5-7 working days because each coat (scratch, brown, finish) needs to cure properly before the next is applied. We schedule around weather — California stucco needs daytime temperatures above 50°F with no rain forecast for at least 24 hours after each coat. Our crew shows up on time, every time.