How to Repair Stucco Cracks and Prevent Damage
Written by Stucco Champions — Southern California’s Authority on Exterior Plastering.
Understanding Stucco Cracks: Why They Happen
Stucco is essentially a thin, concrete shell wrapped around your home. Because cement is highly rigid and has excellent compressive strength but low tensile strength, some level of cracking is physically inevitable. In Southern California, our homes endure constant structural stress from seismic tremors, thermal expansion cycles, and foundation settlement, all of which manifest as cracks in the plaster.
For a homeowner, diagnosing the severity of a crack is critical. A cosmetic crack can be easily sealed, but a structural crack indicates movement or moisture risk that requires specialized remediation. This guide breaks down the classifications of stucco cracks, code-compliant prevention methods, and step-by-step repair protocols.
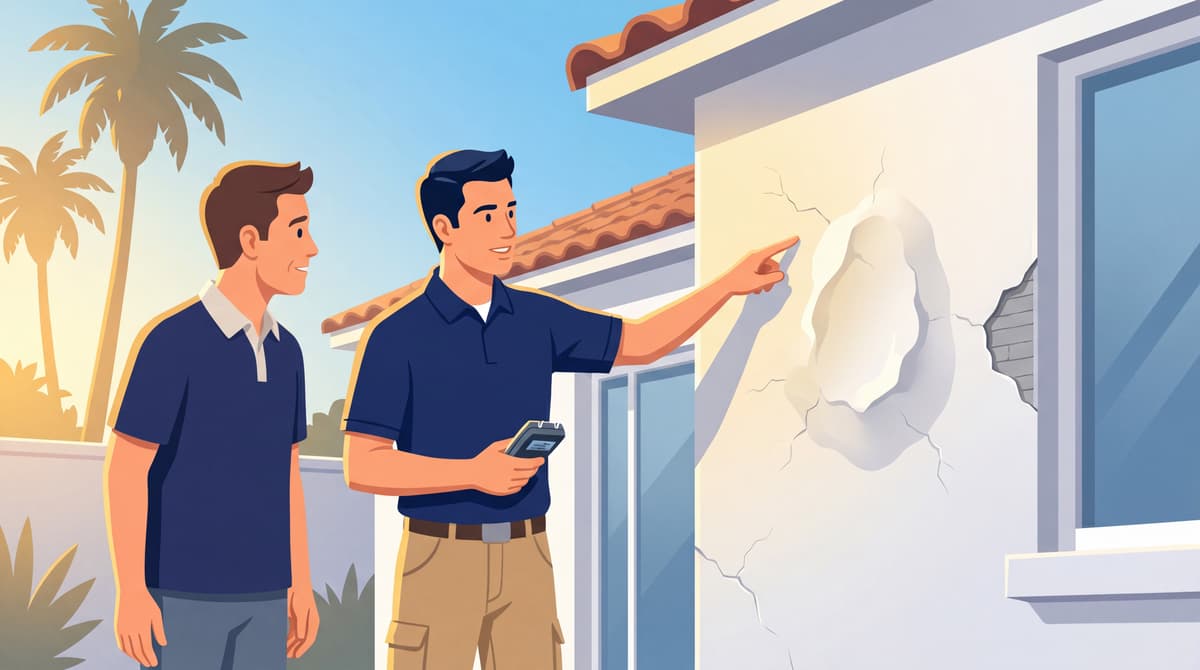
Free Assessment
Noticing Stucco Damage?
Get a free on-site assessment from a licensed contractor. $0 deposit, no obligation.
GET FREE ASSESSMENT1. Classifying Crack Types and Their Causes
Different crack patterns point to different underlying structural issues:
- Hairline & Crazing Cracks (< 1/16"): Fine, shallow spiderweb patterns across a panel. These are usually cosmetic shrinkage cracks caused by rapid water evaporation during hydration (flash drying) or daily thermal cycling.
- Diagonal Stress Cracks: Usually run diagonally from the corners of windows, doors, or wall penetrations. These are caused by structural settlement or a lack of diagonal wire mesh reinforcement (called "butterflies") installed at window/door corners before plastering.
- Pattern / Framing Cracks: Horizontal or vertical cracks that track the wood framing studs underneath. These are caused by lumber shrinkage, building movement, or lath that was not secured properly to the studs.
- Map Cracks: Widespread, deeper blocky cracks across a wall. Often indicates incorrect sand-to-cement ratios (violating **ASTM C926** mix proportions) or base coats that were applied too thick without proper curing.
2. Code-Compliant Crack Prevention: Spacing and Joints (ASTM C1063)
To control cracks, building codes require plaster systems to have control and expansion joints. Under **ASTM C1063** (Standard Specification for Lathing and Furring), continuous stucco panels on wood-framed walls are subject to strict limits:
- Panel Size: A single continuous stucco panel cannot exceed **144 square feet** on wood-framed structures.
- Panel Dimensions: No panel can have a length-to-width ratio greater than **2.5 to 1**, and no panel can exceed **18 feet** in any direction without a control joint.
- Lath Discontinuity: The metal wire lath must be cut underneath all control joints. If the wire mesh runs continuously behind the joint, the plaster cannot move, rendering the joint useless and causing diagonal stress cracks to form nearby.
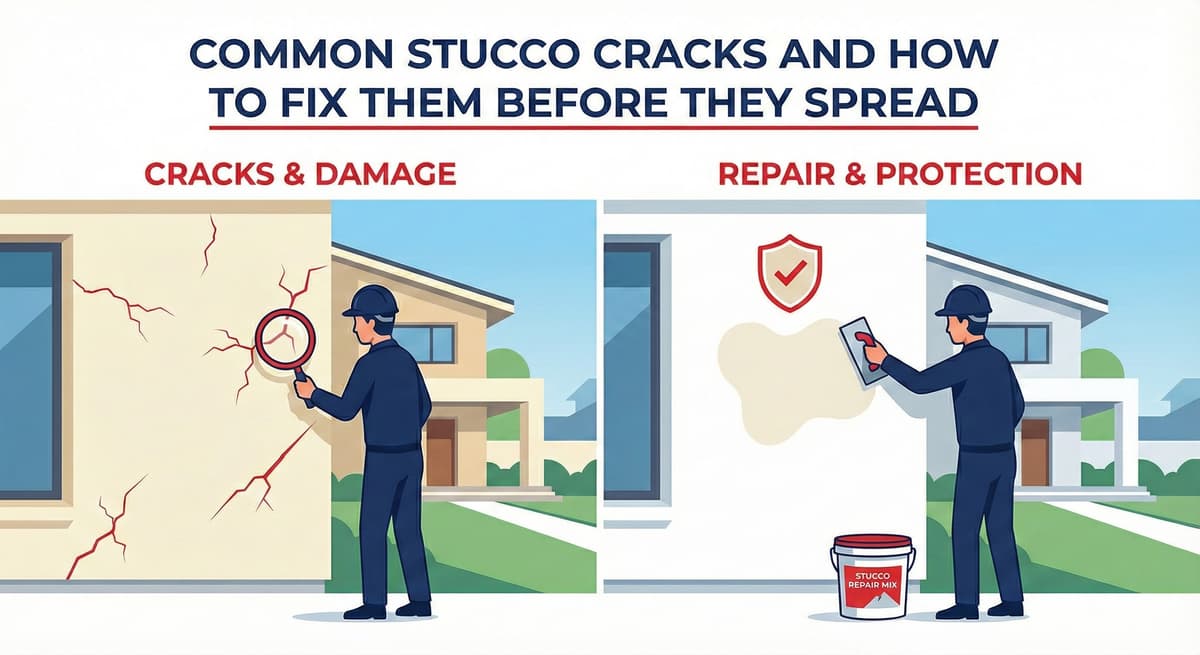
3. Step-by-Step Crack Repair Protocols
Cosmetic and structural cracks require different repair methods to ensure durability:
For Hairline Cracks
Clean the crack of dust and seal it using a high-quality, highly breathable elastomeric patch or a flexible acrylic finish coat. Never use silicone caulk; paint and stucco will not adhere to it, leaving a permanent blemish on your wall.
For Structural Cracks (> 1/8")
Fixing structural cracks requires a multi-step surgical repair:
- V-Cut Routing: We route the crack using an angle grinder with a diamond blade, cutting a clean V-groove down to the wire lath to remove loose material.
- Lath Inspection: We inspect the wire lath for corrosion. If rusted, we cut back the plaster to the studs and tie in new galvanized wire mesh with a minimum 2-inch overlap under **ASTM C1063**.
- Mesh Reinforcement: We apply a polymer-modified base coat and embed a high-tensile fiberglass mesh over the crack to act as a bridge, isolating future movement.
- Texture and Color Match: We apply the final scratch, brown, and finish coat to match the surrounding texture (float, sand, dash, or smooth). For unpainted surfaces, we refresh color using a breathable cementitious fog-coating (such as **Omega SuperFog**).
4. Moisture Management Behind the Crack (CRC Section R703.7.3)
Stucco is a water-shedding system, not a waterproof barrier. Rainwater entering cracks must drain down the cleavage plane—the water-resistive barrier (WRB)—which consists of a double-layer of **Grade D building paper** (or equivalent) per **CRC Section R703.7.3**.
To prevent rot, moisture must drain freely out of the bottom of the wall via the foundation weep screed. Weep screeds must remain clear and maintain code-specified clearances under **ASTM C1063**: at least 4 inches above raw earth/soil and at least 2 inches above paved/concrete surfaces.
Conclusion: Invest in Professional Craftsmanship
Cosmetic crack patches can be tackled as a DIY project, but structural cracks indicate movement that requires professional intervention. Stucco Champions is a CSLB-licensed C-35 plastering specialist (CSLB License #1122006), providing full-envelope inspections and a written 5-year workmanship warranty on repairs.
Check out our guide on 5 Common Stucco Problems and How to Prevent Them to diagnose other potential issues on your home's exterior.
Frequently Asked Questions About Stucco
How much does stucco repair cost in Orange County and Los Angeles?+
Stucco repair typically ranges from $500 for minor crack patching to $5,000+ for full re-stucco of a single elevation. The exact cost depends on the damage type (hairline cracks, water damage, delamination, weep screed failure), the square footage involved, and whether the original three-coat or one-coat stucco system needs to be matched. Stucco Champions provides fixed-price written estimates after a free on-site assessment — no hourly billing, no surprise change orders. See our stucco repair cost guide for detailed pricing by repair type.
How long does stucco last in Southern California?+
Properly installed three-coat stucco lasts 50-80+ years in Southern California's climate. The most common failure points aren't the stucco itself — they're the supporting components: corroded weep screed, deteriorated building paper behind the stucco, and improperly sealed window flashing. Most "stucco failures" are actually moisture-intrusion failures that start at one of these points. Annual visual inspection catches problems before they spread, which is why we offer free weep screed assessments for homeowners in our service area.
Can I repair stucco myself, or do I need a contractor?+
Hairline cracks under 1/8 inch wide can be sealed with elastomeric caulk by a homeowner. Anything larger — pattern cracks, delamination (where stucco pulls away from the wall), water-damaged areas, or chimney/window leak repairs — requires a licensed contractor. Improper DIY repair on these is the #1 cause of repeat failures because the underlying cause (usually moisture) isn't addressed. California's CSLB requires a license for any stucco work over $500. Looking for a highly-rated stucco contractor in Southern California? We are a CSLB-licensed and insured team ready to help.
How do I know if I need stucco repair vs. full re-stucco?+
If less than 30% of an elevation has visible damage, repair is the right call. If you see large areas of cracking, multiple zones of delamination, or the underlying paper and lath have rotted across an entire wall, full re-stucco of that elevation is more cost-effective long-term. Our free assessment includes a moisture survey and lath inspection so you get a defensible recommendation either way — not just a quote pushing whichever option costs more.
Do you offer warranties on stucco work?+
Yes. Stucco Champions provides a written 5-year workmanship warranty on all stucco repairs and a 10-year warranty on full re-stucco. We're a CSLB-licensed and insured contractor (license #1122006 — verifiable at cslb.ca.gov), which means our work is backed by California's contractor licensing board, not just our own promise. Request a free estimate to see the warranty terms in writing before you sign anything.
How long does a stucco repair take?+
Most patch repairs are completed in 1-2 days, including a 24-hour cure time before texture matching and color application. Full re-stucco of a single elevation runs 5-7 working days because each coat (scratch, brown, finish) needs to cure properly before the next is applied. We schedule around weather — California stucco needs daytime temperatures above 50°F with no rain forecast for at least 24 hours after each coat. Our crew shows up on time, every time.