Understanding Weep Screed Holes: Why You Should Never Plug Them
Written by Stucco Champions — Southern California’s Authority on Exterior Plastering.
The Science of Drainage: Why Weep Screed Holes Are Non-Negotiable
There is a fundamental misunderstanding among many homeowners: the belief that stucco is a waterproof barrier. It is not. Stucco is an exterior cladding and a cementitious material that absorbs moisture. Water management comes from the WRB, flashing, drainage, weep screed, lath integration, and correct laps—not just the finish coat.
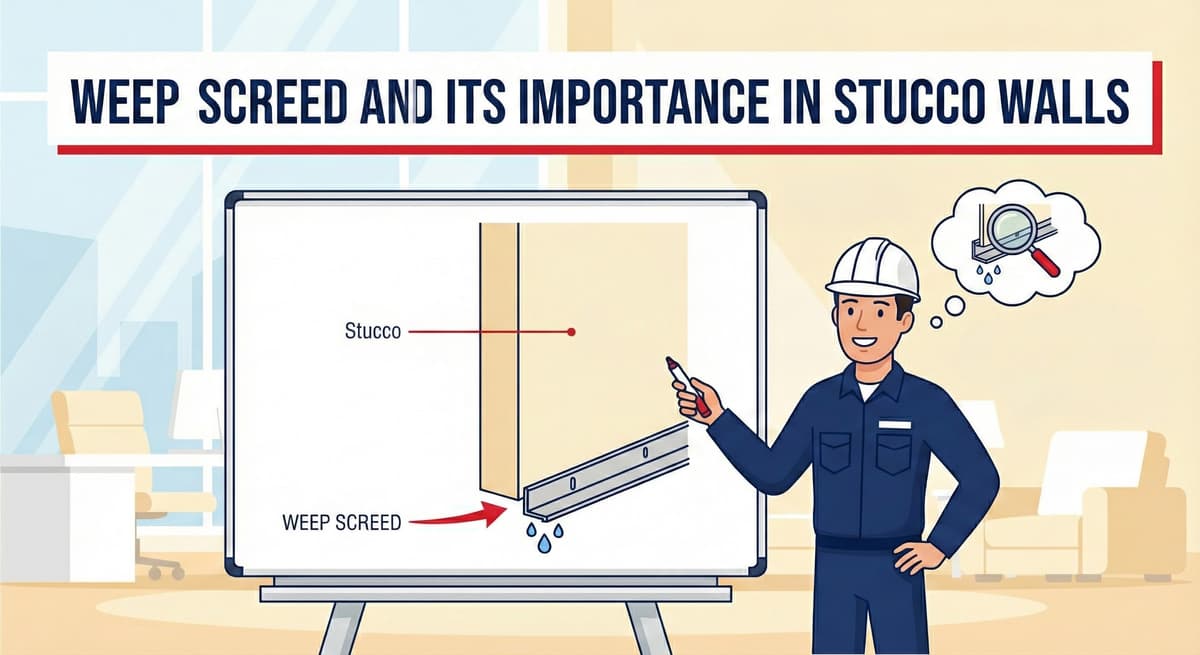
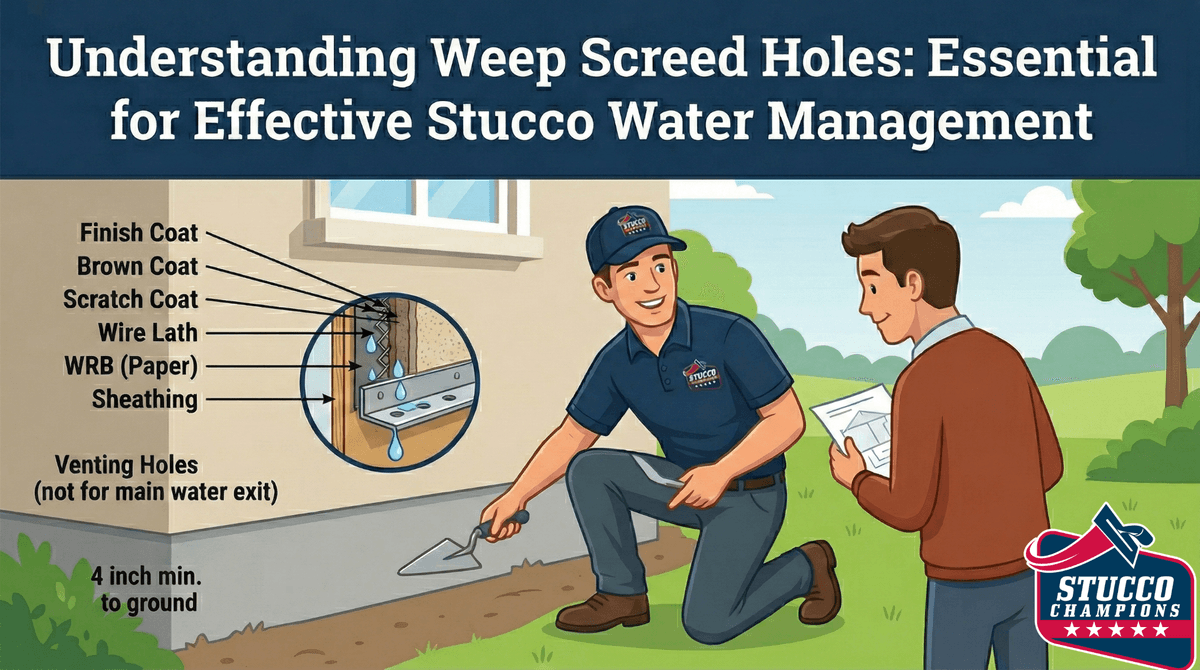
A compliant stucco assembly relies on a drainage plane behind the cement. Gravity pulls incidental moisture down the wall until it reaches the termination point. This is where the weep screed functions as the critical exit point.
Free Assessment
Noticing Stucco Damage?
Get a free on-site assessment from a licensed contractor. $0 deposit, no obligation.
GET FREE ASSESSMENT1. The Mechanics of the Weep Screed
According to ASTM C1063 (Standard Specification for Installation of Lathing and Furring), a foundation weep screed must be installed at the bottom of all exterior stucco walls. It serves two primary technical functions:
- Straight Edge (Depth Gauge): It provides a rigid ground for the plasterer to ensure uniform thickness (commonly 7/8" total for three-coat stucco over framed walls).
- Moisture Ejection: The holes punched into the bottom flange allow trapped water to escape the wall cavity rather than pooling at the framing plate.
Think your weep holes might be clogged or missing? Run our free weep screed Assessment.
2. Identifying Your Hardware: Type #7 vs. Plaster Stop
Not all termination metals are the same. In our inspections, we typically encounter two profiles at the base of walls:
The #7 Foundation Weep Screed (The Standard)
This is the required choice for drainage at the foundation line. It features a slanted leg that extends 3.5 inches up the wall.
- Design: The V-shape and 3.5-inch flange ensure that the water resistive barrier (WRB) overlaps the metal correctly, directing water out effectively.
- Drainage: It has holes punched along the bottom edge specifically designed to let water escape.
In many older homes or improper renovations, we find Casing Beads (Plaster Stops) installed at the foundation line instead of a weep screed. Plaster stops have zero holes. This creates a dam at the bottom of the wall, trapping moisture and potentially leading to wood rot. Addressing this usually requires professional stucco repair services to cut the wall and integrate a proper screed.
3. The Homeowner’s Dilemma: Pests vs. Physics
We frequently field calls from homeowners asking: "Can I caulk these holes to stop ants or bugs from getting in?"
The answer is an absolute NO.
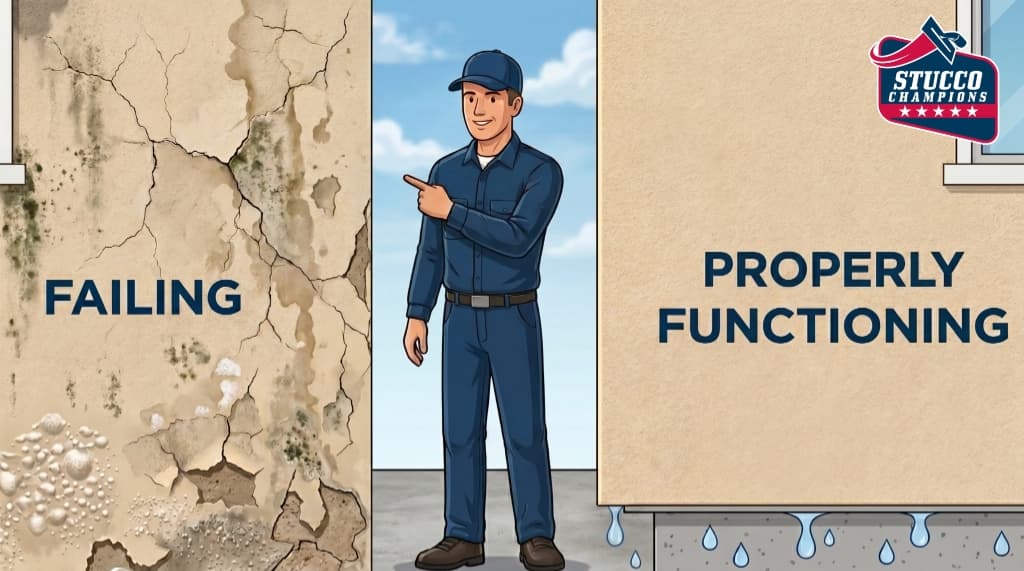
Sealing weep holes creates a "bathtub effect" inside your wall assembly. The standing water will degrade the WRB and damage the wood framing. Instead of caulking:
- Exterior Perimeter Sprays: Rely on chemical barriers applied by pest control professionals.
- Keep Clearances: Ensure soil and mulch remain at least 4 inches below the weep screed to discourage pests from bridging the gap.
4. Why "Drilling Holes" Is Not a Fix
If you identify that your home was built with a hole-less plaster stop at the foundation, you might be tempted to drill relief holes yourself. This is not a compliant or effective repair.
Drilling holes into a plaster stop does not fix the underlying issue: a plaster stop lacks the 3.5-inch vertical flange required for proper WRB overlap. Furthermore, if the drill bit punctures the waterproof paper behind the metal, you create a direct injection point for water into the framing. Proper repair requires cutting the stucco up 4 to 6 inches, installing a true foundation weep screed, integrating the counterflashing and WRB, and patching the stucco.
Do not assume that simply applying a fog coat, acrylic finish, caulk, or paint will fix hidden moisture, failed flashing, hollow plaster, damaged lath, or WRB issues.
5. Critical Code Clearances
Codes (CRC/IBC) dictate strict clearances for the bottom of the weep screed:
- Earth/Soil: Minimum 4-inch clearance required above earth.
- Paved Surfaces: Minimum 2-inch clearance required above finished grade (concrete/pavement).
For a deeper dive into sizing and material selection, read Weep Screed Dimensions and Material Options. If you suspect your screed has failed, review our protocol for Repairing and Replacing Damaged Weep Screed.
Not Sure About Your Weep Screed's Health?
Our free visual self-check guides you through key warning signs in 2 minutes.
Looking for local assistance? Contact our weep screed repair in Brea today.
A note on fog coat: Stucco Champions does not fog coat older or previously repaired walls. On aged stucco a fog coat telegraphs existing cracks, patch lines, and prior repairs, and it bonds poorly to a rough, chalky, or previously coated surface, so it can dust off or peel. Those walls get a fresh finish coat (re-stucco) instead.
Frequently Asked Questions About Stucco
How much does stucco repair cost in Orange County and Los Angeles?+
Stucco repair typically ranges from $500 for minor crack patching to $5,000+ for full re-stucco of a single elevation. The exact cost depends on the damage type (hairline cracks, water damage, delamination, weep screed failure), the square footage involved, and whether the original three-coat or one-coat stucco system needs to be matched. Stucco Champions provides fixed-price written estimates after a free on-site assessment — no hourly billing, no surprise change orders. See our stucco repair cost guide for detailed pricing by repair type.
How long does stucco last in Southern California?+
Properly installed three-coat stucco lasts 50-80+ years in Southern California's climate. The most common failure points aren't the stucco itself — they're the supporting components: corroded weep screed, deteriorated building paper behind the stucco, and improperly sealed window flashing. Most "stucco failures" are actually moisture-intrusion failures that start at one of these points. Annual visual inspection catches problems before they spread, which is why we offer free weep screed assessments for homeowners in our service area.
Can I repair stucco myself, or do I need a contractor?+
Hairline cracks under 1/8 inch wide can be sealed with elastomeric caulk by a homeowner. Anything larger — pattern cracks, delamination (where stucco pulls away from the wall), water-damaged areas, or chimney/window leak repairs — requires a licensed contractor. Improper DIY repair on these is the #1 cause of repeat failures because the underlying cause (usually moisture) isn't addressed. California's CSLB requires a license for any stucco work over $500. Looking for a highly-rated stucco contractor in Southern California? We are a CSLB-licensed and insured team ready to help.
How do I know if I need stucco repair vs. full re-stucco?+
If less than 30% of an elevation has visible damage, repair is the right call. If you see large areas of cracking, multiple zones of delamination, or the underlying paper and lath have rotted across an entire wall, full re-stucco of that elevation is more cost-effective long-term. Our free assessment includes a moisture survey and lath inspection so you get a defensible recommendation either way — not just a quote pushing whichever option costs more.
Do you offer warranties on stucco work?+
Approved stucco repair work includes a 1-year written workmanship warranty. The applicable terms are documented with the approved scope. Stucco Champions is CSLB licensed and insured; verify license #1122006 through the official state lookup. Request a free estimate to review the scope and warranty terms before you sign.
How long does a stucco repair take?+
Most patch repairs are completed in 1-2 days, including a 24-hour cure time before texture matching and color application. Full re-stucco of a single elevation runs 5-7 working days because each coat (scratch, brown, finish) needs to cure properly before the next is applied. We schedule around weather — California stucco needs daytime temperatures above 50°F with no rain forecast for at least 24 hours after each coat. Our crew shows up on time, every time.
Stucco Diagnostics & Calculators
Diagnose specific wall damage symptoms or estimate job scope with our free guides and calculators.
Related Professional Services
A licensed assessment identifies the cause before the finish is opened or replaced.