Spanish Style Stucco: Textures, Colors, and Architecture
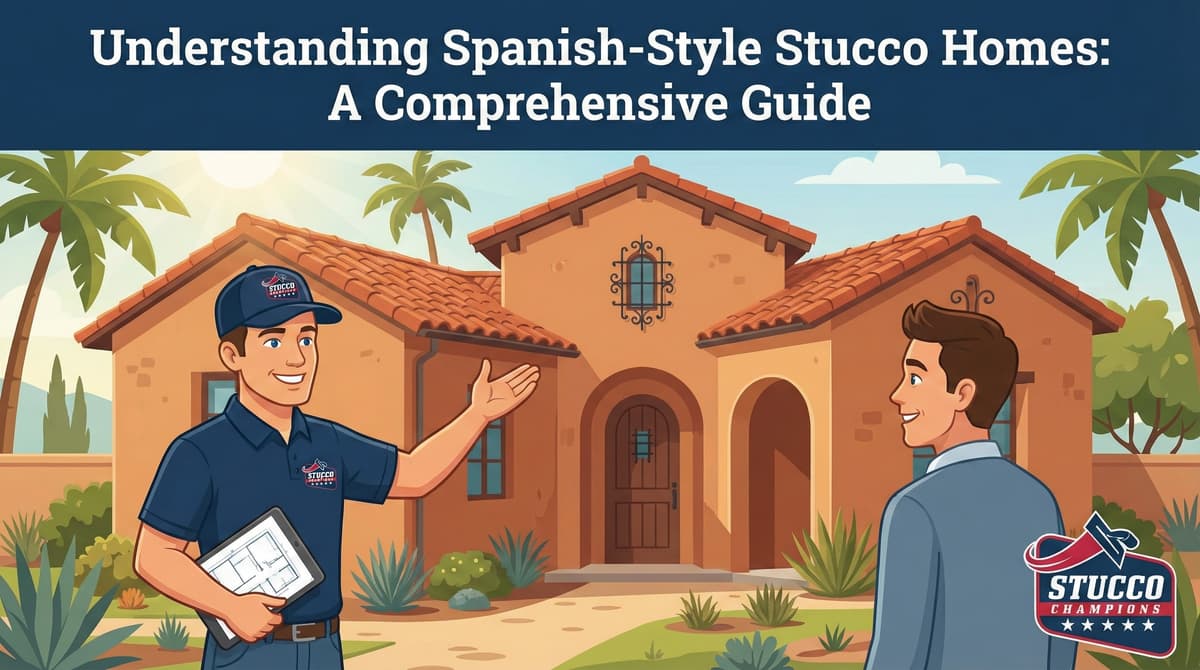
The Spanish Colonial Revival style is the architectural soul of Southern California. From the red-tiled roofs of Santa Barbara to the coastal courtyards of San Clemente, this style endures because it is perfectly adapted to our climate. However, achieving an authentic look requires more than just painting a house white.
True Spanish architecture is defined by "Mass"—the appearance of thick, heavy masonry or adobe clay walls. Replicating this look on modern 2x4 wood framing requires specific lathing techniques, texture selection, and architectural detailing. This guide breaks down the elements of authenticity.
1. The Texture: Smooth vs. Cat Face
If you put a heavy "Knockdown" or modern synthetic texture on a Spanish home, it ruins the aesthetic. Authenticity lies in the hand-troweled cement finish.
Free Assessment
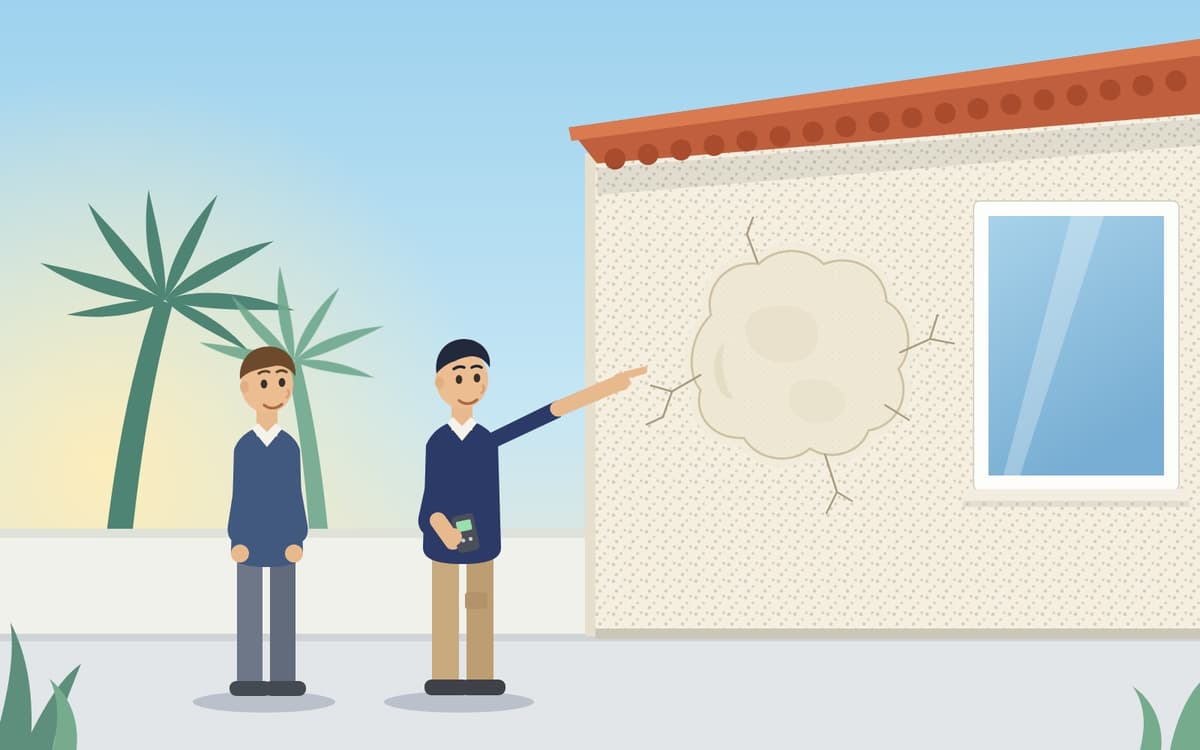
Noticing Stucco Damage?
Get a free on-site assessment from a licensed contractor. $0 deposit, no obligation.
GET FREE ASSESSMENTSanta Barbara Smooth
This is the gold standard. It mimics the look of old adobe mud plaster.
- The Technique: A dense, fine-sand cement finish is applied and heavily burnished with a steel pool trowel to create a glass-like surface with subtle, organic undulations.
Santa Barbara smooth stucco is inherently brittle. Without large aggregate (sand) to relieve tension, it will develop fine hairline cracks (known as crazing). In historic preservation, this crazing is considered part of the rustic charm, but modern homeowners must be prepared for it.
Cat Face (Montalvo)
This is the "Old World" compromise.
- The Look: A predominantly smooth surface interrupted by small, rough patches ("inclusions" or "cat faces") where the heavier sand texture underneath peeks through. It looks like an aged wall that has been plastered over many times.
- The Benefit: The rough inclusions help relieve tension, meaning it hides imperfections and resists cracking far better than a perfectly smooth finish while retaining the historic feel.
2. Creating "Mass": Bullnose and Recesses
Spanish homes should look like they are built of thick clay blocks, not thin wood panels.
- Bullnose Corners: We replace sharp, 90-degree metal "corner aid" with specially rounded Bullnose wire bead. This rounds off and softens all the outside corners of the building, simulating eroded, hand-formed adobe.
- Recessed Windows: In standard construction, windows sit relatively flush with the exterior wall. In Spanish design, windows should be recessed (inset) 2 to 4 inches. We achieve this by building out the window surround with foam pop-outs or extra lath layers prior to stuccoing, creating a deep, dramatic shadow line.
3. Architectural Details: Vents and Eaves
The devil is in the details.
- Gable Vents: Replace cheap metal attic vents with "Clay Pipe" vents (terracotta tubes embedded directly in the stucco) or custom decorative wood grilles.
- Eaves (Corbels): Spanish homes rarely have modern boxed soffits. They feature "Exposed Rafter Tails" or decorative corbels. The plasterer must lath and stucco carefully between these wooden tails to create a clean seal without staining the exposed wood with cement.
4. Color Palette: Warmth over Starkness
While white is the default, the shade matters immensely.
- Avoid: Stark, blue-based, or "appliance" whites. They look clinical, modern, and glare harshly in the sun.
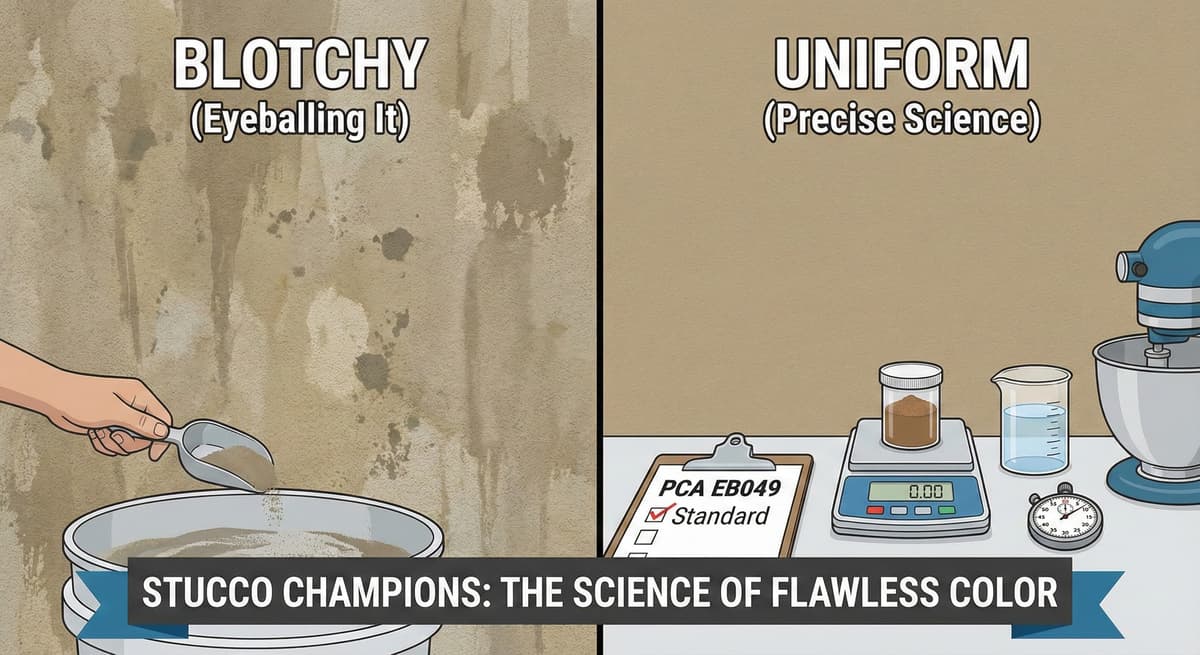
- Choose: Creamy, warm whites (e.g., Swiss Coffee, Greek Villa, Alabaster). These warm tones absorb the harsh California sun and glow beautifully during Golden Hour.
- The Material: Use a Traditional Cement Finish (not Acrylic). The natural mottling and slight color variations of cement as it dries add depth and age that flat acrylic paint simply cannot replicate.
Frequently Asked Questions About Stucco
How much does stucco repair cost in Orange County and Los Angeles?+
Stucco repair typically ranges from $500 for minor crack patching to $5,000+ for full re-stucco of a single elevation. The exact cost depends on the damage type (hairline cracks, water damage, delamination, weep screed failure), the square footage involved, and whether the original three-coat or one-coat stucco system needs to be matched. Stucco Champions provides fixed-price written estimates after a free on-site assessment — no hourly billing, no surprise change orders. See our stucco repair cost guide for detailed pricing by repair type.
How long does stucco last in Southern California?+
Properly installed three-coat stucco lasts 50-80+ years in Southern California's climate. The most common failure points aren't the stucco itself — they're the supporting components: corroded weep screed, deteriorated building paper behind the stucco, and improperly sealed window flashing. Most "stucco failures" are actually moisture-intrusion failures that start at one of these points. Annual visual inspection catches problems before they spread, which is why we offer free weep screed assessments for homeowners in our service area.
Can I repair stucco myself, or do I need a contractor?+
Hairline cracks under 1/8 inch wide can be sealed with elastomeric caulk by a homeowner. Anything larger — pattern cracks, delamination (where stucco pulls away from the wall), water-damaged areas, or chimney/window leak repairs — requires a licensed contractor. Improper DIY repair on these is the #1 cause of repeat failures because the underlying cause (usually moisture) isn't addressed. California's CSLB requires a license for any stucco work over $500. Looking for a highly-rated stucco contractor in Southern California? We are a CSLB-licensed and insured team ready to help.
How do I know if I need stucco repair vs. full re-stucco?+
If less than 30% of an elevation has visible damage, repair is the right call. If you see large areas of cracking, multiple zones of delamination, or the underlying paper and lath have rotted across an entire wall, full re-stucco of that elevation is more cost-effective long-term. Our free assessment includes a moisture survey and lath inspection so you get a defensible recommendation either way — not just a quote pushing whichever option costs more.
Do you offer warranties on stucco work?+
Yes. Stucco Champions provides a written 5-year workmanship warranty on all stucco repairs and a 10-year warranty on full re-stucco. We're a CSLB-licensed and insured contractor (license #1122006 — verifiable at cslb.ca.gov), which means our work is backed by California's contractor licensing board, not just our own promise. Request a free estimate to see the warranty terms in writing before you sign anything.
How long does a stucco repair take?+
Most patch repairs are completed in 1-2 days, including a 24-hour cure time before texture matching and color application. Full re-stucco of a single elevation runs 5-7 working days because each coat (scratch, brown, finish) needs to cure properly before the next is applied. We schedule around weather — California stucco needs daytime temperatures above 50°F with no rain forecast for at least 24 hours after each coat. Our crew shows up on time, every time.