Stucco Color Samples: How to Test Exterior Colors Before Re-Stucco

Stucco Color Samples: How to Test Exterior Colors Before Re-Stucco
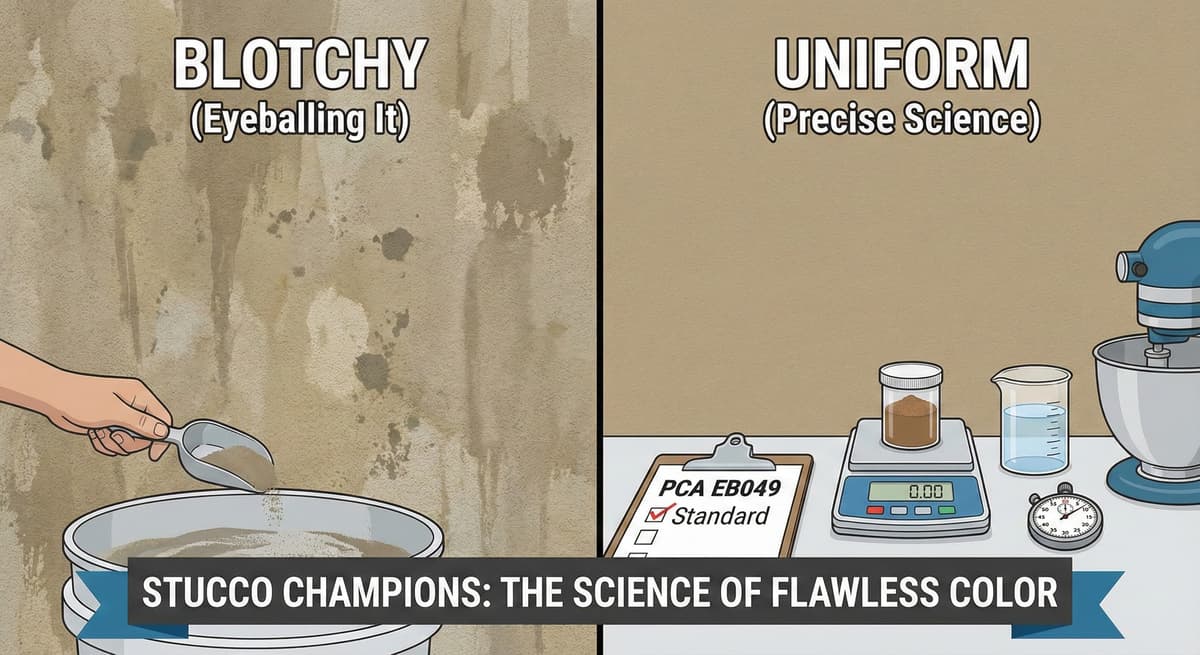
Stucco color should be approved from real samples, not only from a paper chart or screen image. Cement, aggregate, texture, water, light, and curing all change how the final wall looks.
The PCA stucco manual recommends selecting finish color and texture from suitably sized sample panels made with the same base, materials, mixes, and application techniques planned for the job. That is the practical standard to follow before re-stuccoing a large elevation.
Free Assessment
Noticing Stucco Damage?
Get a free on-site assessment from a licensed contractor. $0 deposit, no obligation.
GET FREE ASSESSMENTWhy Paper Charts Are Not Enough
Printed charts are useful for narrowing options, but they cannot show real stucco texture, aggregate shadow, wall suction, or curing behavior. A color that looks soft on paper may look darker on rough texture or brighter in direct sun.
Use charts only to choose finalists. Use sample panels to make the final decision.
Test More Than One Shade
Choose the target color plus one lighter and one darker option when possible. This gives room for the fact that stucco can read differently once applied to the real wall. For light neutrals, also test undertones. A warm white, cool white, and gray-white can look very different beside the same roof.
Match the Real Texture
The sample must use the same finish texture planned for the house. A smooth sample does not predict a lace finish. A sand finish does not predict a dash texture. Texture changes shadow, reflectivity, and perceived color.
The PCA texture guidance notes that final appearance depends on aggregate size and shape, mix consistency, tools, equipment, surface treatment, and application technique. The sample should reflect those variables.
Place Samples Where They Matter
Do not test only in a hidden corner. Place samples where the color decision matters:
- Near the roof edge or tile.
- Beside window trim or fascia.
- Near stone, brick, pavers, or driveway.
- On both sun-exposed and shaded elevations when possible.
- Where the homeowner will see it from the street.
Wait Before Judging the Color
Fresh cementitious finish can look darker while damp and then lighten as it dries. The amount of change depends on the product, color, texture, weather, and wall conditions. Avoid relying on a fixed “number of shades” because every finish behaves differently.
Judge the sample after it has dried under normal conditions, then review it again in morning, afternoon, sun, and shade.
Custom Color Rules
Custom stucco colors can be useful, but they need more control. Confirm lead time, minimum order quantities, batch requirements, and whether enough material will be ordered for the entire project. Running short on a custom finish can create avoidable color variation.
For cementitious finishes, pigment dosage and mixing must stay within manufacturer limits. Factory-prepared finish products usually provide better consistency than improvised field pigmenting.
Sample Panel Checklist
- Same finish product planned for the job.
- Same texture and aggregate size.
- Same base coat condition when practical.
- Same tools and application method.
- Reviewed in sun and shade.
- Approved beside roof, trim, stone, and hardscape.
- Documented with product name, color code, batch details, and texture.
What If the Sample Looks Wrong?
Adjust before the full wall is finished. Change the color, texture, material type, or trim pairing while the decision is still cheap. Once the finish is on the full house, correction may require fog coat, another finish strategy, or compatible coating depending on the system.
Bottom Line
Stucco color testing should use real sample panels with the actual finish texture. Check samples in real light, beside fixed materials, after drying, and with enough documentation to reproduce the approved result. This prevents expensive color surprises during re-stucco work.
A note on fog coat: Stucco Champions does not fog coat older or previously repaired walls. On aged stucco a fog coat telegraphs existing cracks, patch lines, and prior repairs, and it bonds poorly to a rough, chalky, or previously coated surface, so it can dust off or peel. Those walls get a fresh finish coat (re-stucco) instead.
Frequently Asked Questions About Stucco
How much does stucco repair cost in Orange County and Los Angeles?+
Stucco repair typically ranges from $500 for minor crack patching to $5,000+ for full re-stucco of a single elevation. The exact cost depends on the damage type (hairline cracks, water damage, delamination, weep screed failure), the square footage involved, and whether the original three-coat or one-coat stucco system needs to be matched. Stucco Champions provides fixed-price written estimates after a free on-site assessment — no hourly billing, no surprise change orders. See our stucco repair cost guide for detailed pricing by repair type.
How long does stucco last in Southern California?+
Properly installed three-coat stucco lasts 50-80+ years in Southern California's climate. The most common failure points aren't the stucco itself — they're the supporting components: corroded weep screed, deteriorated building paper behind the stucco, and improperly sealed window flashing. Most "stucco failures" are actually moisture-intrusion failures that start at one of these points. Annual visual inspection catches problems before they spread, which is why we offer free weep screed assessments for homeowners in our service area.
Can I repair stucco myself, or do I need a contractor?+
Hairline cracks under 1/8 inch wide can be sealed with elastomeric caulk by a homeowner. Anything larger — pattern cracks, delamination (where stucco pulls away from the wall), water-damaged areas, or chimney/window leak repairs — requires a licensed contractor. Improper DIY repair on these is the #1 cause of repeat failures because the underlying cause (usually moisture) isn't addressed. California's CSLB requires a license for any stucco work over $500. Looking for a highly-rated stucco contractor in Southern California? We are a CSLB-licensed and insured team ready to help.
How do I know if I need stucco repair vs. full re-stucco?+
If less than 30% of an elevation has visible damage, repair is the right call. If you see large areas of cracking, multiple zones of delamination, or the underlying paper and lath have rotted across an entire wall, full re-stucco of that elevation is more cost-effective long-term. Our free assessment includes a moisture survey and lath inspection so you get a defensible recommendation either way — not just a quote pushing whichever option costs more.
Do you offer warranties on stucco work?+
Yes. Stucco Champions provides a written 5-year workmanship warranty on all stucco repairs and a 10-year warranty on full re-stucco. We're a CSLB-licensed and insured contractor (license #1122006 — verifiable at cslb.ca.gov), which means our work is backed by California's contractor licensing board, not just our own promise. Request a free estimate to see the warranty terms in writing before you sign anything.
How long does a stucco repair take?+
Most patch repairs are completed in 1-2 days, including a 24-hour cure time before texture matching and color application. Full re-stucco of a single elevation runs 5-7 working days because each coat (scratch, brown, finish) needs to cure properly before the next is applied. We schedule around weather — California stucco needs daytime temperatures above 50°F with no rain forecast for at least 24 hours after each coat. Our crew shows up on time, every time.