Retrofitting Weep Screed on Older Homes: A Professional Guide
Written by Stucco Champions — Southern California’s Authority on Exterior Plastering.
Retrofitting Weep Screed on Older Homes: A Surgical Guide
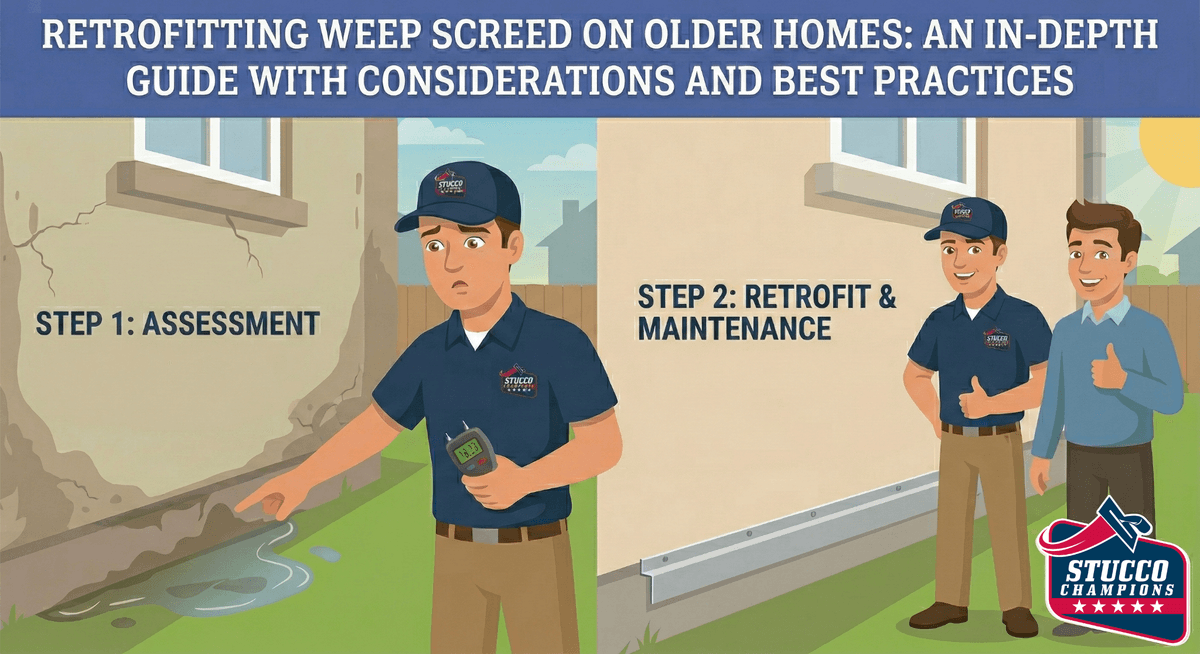
If your home was built before the weep screed mandate in the 1970 Uniform Building Code (UBC), it likely has "buried stucco." The exterior plaster runs straight down past the foundation plate line and into the soil. While common decades ago, we now understand this allows capillary action—pulling ground moisture up into the wood framing.
Retrofitting a weep screed is the standard mitigation to manage this moisture. However, it is invasive surgery on your home's exterior cladding. This guide outlines the professional protocol for the retrofit.
Free Assessment
Noticing Stucco Damage?
Get a free on-site assessment from a licensed contractor. $0 deposit, no obligation.
GET FREE ASSESSMENT1. The Investigative Cut: Locating the Plate
We cannot guess where the foundation ends and the wood begins. We must locate the Sill Plate (the bottom piece of wood framing).
The Process:
We start at a corner, carefully removing a small vertical section of stucco to find the exact line where the concrete footing meets the wood framing. This line dictates where the new weep screed will sit.
2. Surgical Demolition & Prep
Once the line is established, a horizontal cut is made around the perimeter—typically 4 to 6 inches above the foundation line.
- The Cut: We cut through the existing stucco using a diamond blade equipped with a depth guard to avoid slicing the WRB (Water Resistive Barrier) and wood studs.
- Removal: The bottom strip of old stucco is removed, exposing the building paper and wire lath.
- Preparation: We remove old nails and staples from the bottom section so the new metal flange can slide behind the existing paper.
3. Installing the Screed & Counter-Flashing
This is the step where most DIY attempts fail.
The Hardware: We install a #7 Foundation weep screed directly to the framing. The screed's vertical attachment flange must be a minimum of 3-1/2 inches wide per code.
You cannot just nail the screed on. You must Counter-Flash. We slide a new strip of Grade D Building Paper (or equivalent WRB) UP and UNDER the existing building paper, and DOWN OVER the new metal flange. If the WRB is placed behind the metal flange, water will be funneled into the wall cavity.
4. Lathing and Structural Integration
With the WRB secure, we install new wire lath. The new wire mesh must overlap the existing wire mesh. Lath should be terminated at any functioning control joints rather than continuing continuously across expansion lines.
5. The Three-Coat Patch
Because we removed a full-depth section, we rebuild the stucco in layers.
- Scratch Coat: The first layer embeds the wire.
- Brown Coat: The leveling layer. The screed's ground width (typically 7/8") dictates the total depth of these two base coats.
- Finish Coat: Applied after the base coat cures. The finish coat is typically a minimum of 1/8" thick and provides the final texture.
6. The Reality of "Color Matching"
We can match texture, but matching the color of aged, sun-faded stucco with fresh cement is nearly impossible. After curing, the wall typically needs to be painted or fog coated. Please note that paint or fog coats are purely aesthetic; they do not fix hidden moisture, damaged lath, or WRB issues.
Conclusion: A Vital Upgrade
Retrofitting a weep screed brings an older home closer to modern drainage standards. It separates the porous stucco from the wet earth and provides a designated exit path for incidental moisture within the wall cavity.
A note on fog coat: Stucco Champions does not fog coat older or previously repaired walls. On aged stucco a fog coat telegraphs existing cracks, patch lines, and prior repairs, and it bonds poorly to a rough, chalky, or previously coated surface, so it can dust off or peel. Those walls get a fresh finish coat (re-stucco) instead.
Frequently Asked Questions About Stucco
How much does stucco repair cost in Orange County and Los Angeles?+
Stucco repair typically ranges from $500 for minor crack patching to $5,000+ for full re-stucco of a single elevation. The exact cost depends on the damage type (hairline cracks, water damage, delamination, weep screed failure), the square footage involved, and whether the original three-coat or one-coat stucco system needs to be matched. Stucco Champions provides fixed-price written estimates after a free on-site assessment — no hourly billing, no surprise change orders. See our stucco repair cost guide for detailed pricing by repair type.
How long does stucco last in Southern California?+
Properly installed three-coat stucco lasts 50-80+ years in Southern California's climate. The most common failure points aren't the stucco itself — they're the supporting components: corroded weep screed, deteriorated building paper behind the stucco, and improperly sealed window flashing. Most "stucco failures" are actually moisture-intrusion failures that start at one of these points. Annual visual inspection catches problems before they spread, which is why we offer free weep screed assessments for homeowners in our service area.
Can I repair stucco myself, or do I need a contractor?+
Hairline cracks under 1/8 inch wide can be sealed with elastomeric caulk by a homeowner. Anything larger — pattern cracks, delamination (where stucco pulls away from the wall), water-damaged areas, or chimney/window leak repairs — requires a licensed contractor. Improper DIY repair on these is the #1 cause of repeat failures because the underlying cause (usually moisture) isn't addressed. California's CSLB requires a license for any stucco work over $500. Looking for a highly-rated stucco contractor in Southern California? We are a CSLB-licensed and insured team ready to help.
How do I know if I need stucco repair vs. full re-stucco?+
If less than 30% of an elevation has visible damage, repair is the right call. If you see large areas of cracking, multiple zones of delamination, or the underlying paper and lath have rotted across an entire wall, full re-stucco of that elevation is more cost-effective long-term. Our free assessment includes a moisture survey and lath inspection so you get a defensible recommendation either way — not just a quote pushing whichever option costs more.
Do you offer warranties on stucco work?+
Approved stucco repair work includes a 1-year written workmanship warranty. The applicable terms are documented with the approved scope. Stucco Champions is CSLB licensed and insured; verify license #1122006 through the official state lookup. Request a free estimate to review the scope and warranty terms before you sign.
How long does a stucco repair take?+
Most patch repairs are completed in 1-2 days, including a 24-hour cure time before texture matching and color application. Full re-stucco of a single elevation runs 5-7 working days because each coat (scratch, brown, finish) needs to cure properly before the next is applied. We schedule around weather — California stucco needs daytime temperatures above 50°F with no rain forecast for at least 24 hours after each coat. Our crew shows up on time, every time.
Stucco Diagnostics & Calculators
Diagnose specific wall damage symptoms or estimate job scope with our free guides and calculators.
Related Professional Services
A licensed assessment identifies the cause before the finish is opened or replaced.