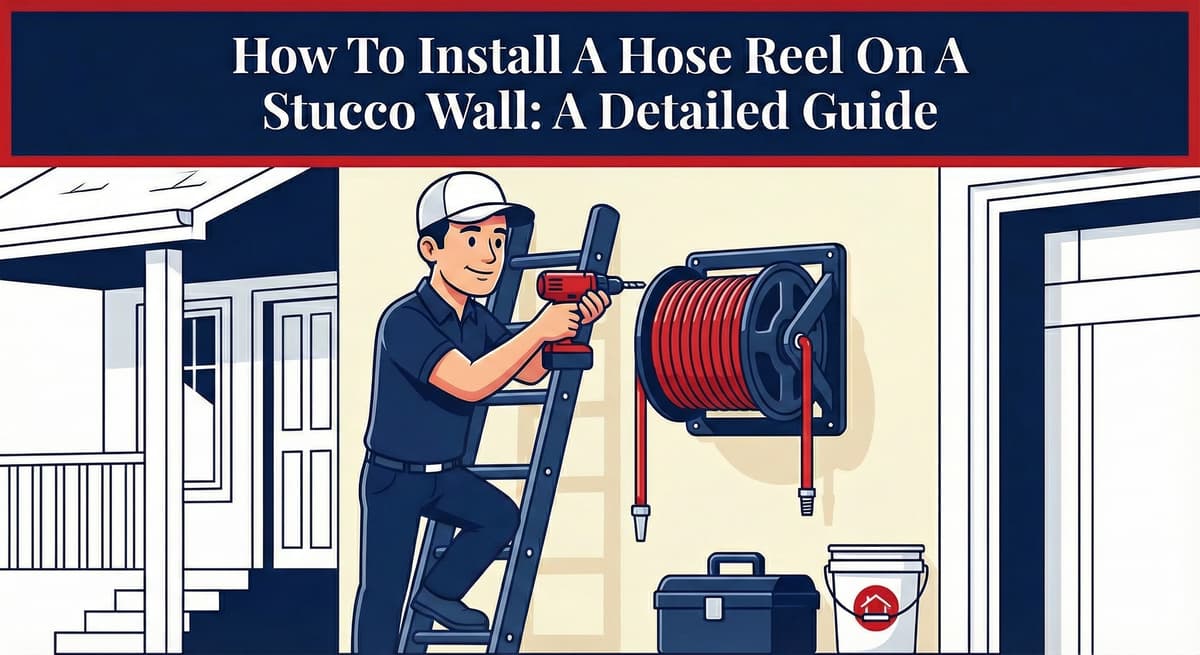
How to Install a Hose Reel on a Stucco Wall: A Detailed Guide
Written by Stucco Champions — Southern California’s Authority on Exterior Plastering.
How to Install a Hose Reel on a Stucco Wall: A Detailed Guide
In Southern California, maintaining landscaping is a year-round necessity, making a sturdy hose reel an essential exterior fixture. However, mounting heavy equipment directly to a stucco wall presents significant structural risks.
Stucco is a rigid cement shell; it is brittle and inherently non-structural. If you attempt to attach a reel supporting 50 pounds of water-filled hose using standard drywall anchors, the cyclic pulling force will quickly rip the fixture out, cracking the facade and exposing the wood framing to water intrusion. This guide details the engineering required to anchor heavy objects safely to an exterior plaster assembly.
Free Assessment
Noticing Stucco Damage?
Get a free on-site assessment from a licensed contractor. $0 deposit, no obligation.
GET FREE ASSESSMENT1. The Physics of Anchoring: Stud vs. Surface
Before drilling, you must determine what structural element will bear the load.
- The Ideal Scenario: Find a Stud. The strongest installation involves driving a heavy lag bolt entirely through the stucco and directly into a vertical wood 2x4 stud. This transfers the entire mechanical load to the home's framing rather than the brittle cement shell.
- The Reality: Masonry Anchors. Locating a stud behind 7/8 inches of cement and wire lath is notoriously difficult for standard stud finders. Consequently, most installations must rely on specialized masonry anchors.
Do not use ribbed plastic drywall plugs. They possess zero pull-out strength in cement and will fail immediately under the dynamic load of a hose reel.
2. Know Your System: 3-Coat vs. 1-Coat (Foam)
The type of stucco system on your home dictates the type of anchor you must utilize.
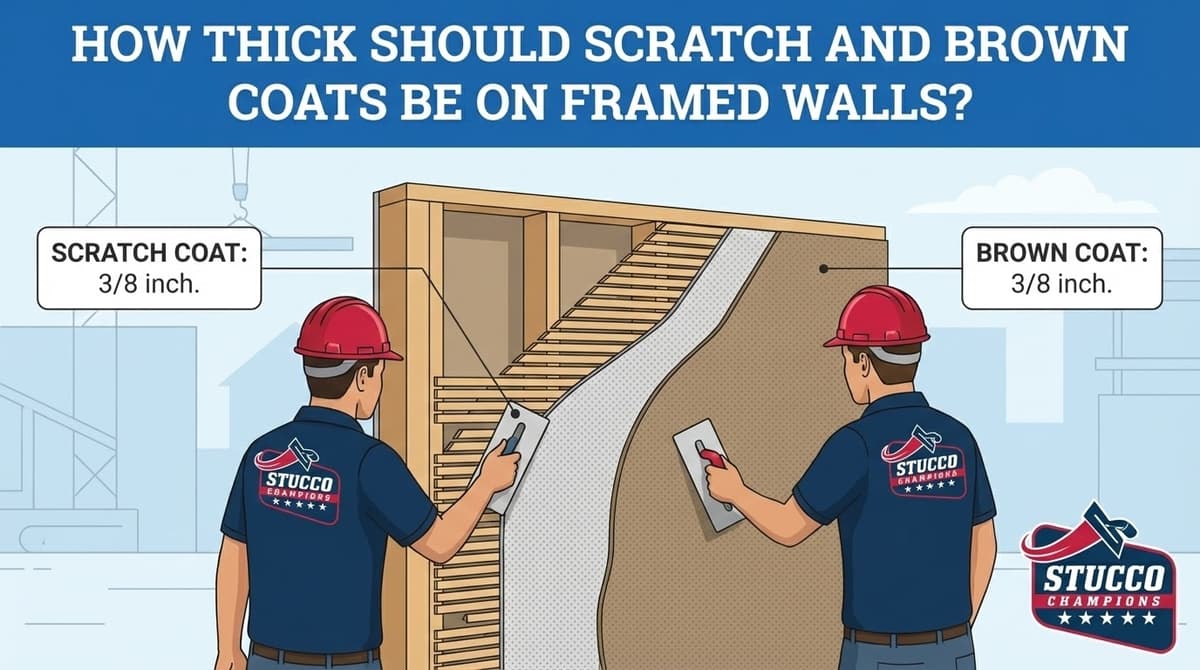
Traditional 3-Coat (Solid Cement): This system features a solid 7/8-inch wall of cement. You must use Lag Shields (lead or heavy nylon). As the bolt is driven in, the shield expands aggressively, biting into the solid masonry.
One-Coat or EIFS (Foam Systems): These systems feature a very thin layer of cement (3/8-inch or less) installed directly over 1 to 2 inches of EPS foam board. DANGER: You cannot use expansion anchors here; the expansion will simply crush the foam behind the cement, providing zero grip. You MUST use heavy-duty Toggle Bolts (e.g., Snaptoggles) that pass entirely through the foam and grab the plywood sheathing behind it.
3. The Installation Protocol
Step A: Tools & Preparation
A standard drill will burn out against Portland cement. You must utilize a Hammer Drill equipped with a Carbide-Tipped Masonry Bit. Ensure the bit size precisely matches the diameter of your chosen anchor.
Step B: Drilling
Hold the reel bracket at the desired height (typically 3 to 4 feet) and mark the holes. Drill straight in. Do not wiggle the drill. Wiggling "ovals" the hole, resulting in a loose anchor fit. Once drilled, use compressed air to thoroughly blow the concrete dust out of the holes.
Step C: The Waterproof Injection
Every hole you drill is a direct puncture through the Water Resistive Barrier (building paper) protecting your wood framing. This is the most critical step.
The Protocol: Before inserting the anchor, inject a high-quality Polyurethane Sealant (such as Sikaflex 1a) deeply into the drill hole. As you insert the anchor and drive the bolt in, the sealant will squeeze outward, coating the threads and permanently sealing the breach in the waterproofing paper. This prevents rainwater from channeling down the bolt and rotting the stud cavity.
Step D: Fastening
Tighten the bolts firmly, but do not over-torque them. Because stucco is brittle, excessive torque from an impact driver can crack the cement immediately surrounding the bracket. Hand-tighten the final few turns with a socket wrench.
Conclusion
Installing a hose reel creates four potential leak points in your home's primary waterproofing envelope. By identifying your stucco system, utilizing the correct heavy-duty anchors, and injecting polyurethane into the penetrations, you ensure that convenience does not result in a catastrophic dry rot repair.
Frequently Asked Questions About Stucco
How much does stucco repair cost in Orange County and Los Angeles?+
Stucco repair typically ranges from $500 for minor crack patching to $5,000+ for full re-stucco of a single elevation. The exact cost depends on the damage type (hairline cracks, water damage, delamination, weep screed failure), the square footage involved, and whether the original three-coat or one-coat stucco system needs to be matched. Stucco Champions provides fixed-price written estimates after a free on-site assessment — no hourly billing, no surprise change orders. See our stucco repair cost guide for detailed pricing by repair type.
How long does stucco last in Southern California?+
Properly installed three-coat stucco lasts 50-80+ years in Southern California's climate. The most common failure points aren't the stucco itself — they're the supporting components: corroded weep screed, deteriorated building paper behind the stucco, and improperly sealed window flashing. Most "stucco failures" are actually moisture-intrusion failures that start at one of these points. Annual visual inspection catches problems before they spread, which is why we offer free weep screed assessments for homeowners in our service area.
Can I repair stucco myself, or do I need a contractor?+
Hairline cracks under 1/8 inch wide can be sealed with elastomeric caulk by a homeowner. Anything larger — pattern cracks, delamination (where stucco pulls away from the wall), water-damaged areas, or chimney/window leak repairs — requires a licensed contractor. Improper DIY repair on these is the #1 cause of repeat failures because the underlying cause (usually moisture) isn't addressed. California's CSLB requires a license for any stucco work over $500. Looking for a highly-rated stucco contractor in Southern California? We are a CSLB-licensed and insured team ready to help.
How do I know if I need stucco repair vs. full re-stucco?+
If less than 30% of an elevation has visible damage, repair is the right call. If you see large areas of cracking, multiple zones of delamination, or the underlying paper and lath have rotted across an entire wall, full re-stucco of that elevation is more cost-effective long-term. Our free assessment includes a moisture survey and lath inspection so you get a defensible recommendation either way — not just a quote pushing whichever option costs more.
Do you offer warranties on stucco work?+
Yes. Stucco Champions provides a written 5-year workmanship warranty on all stucco repairs and a 10-year warranty on full re-stucco. We're a CSLB-licensed and insured contractor (license #1122006 — verifiable at cslb.ca.gov), which means our work is backed by California's contractor licensing board, not just our own promise. Request a free estimate to see the warranty terms in writing before you sign anything.
How long does a stucco repair take?+
Most patch repairs are completed in 1-2 days, including a 24-hour cure time before texture matching and color application. Full re-stucco of a single elevation runs 5-7 working days because each coat (scratch, brown, finish) needs to cure properly before the next is applied. We schedule around weather — California stucco needs daytime temperatures above 50°F with no rain forecast for at least 24 hours after each coat. Our crew shows up on time, every time.
Related Professional Services
A licensed assessment identifies the cause before the finish is opened or replaced.