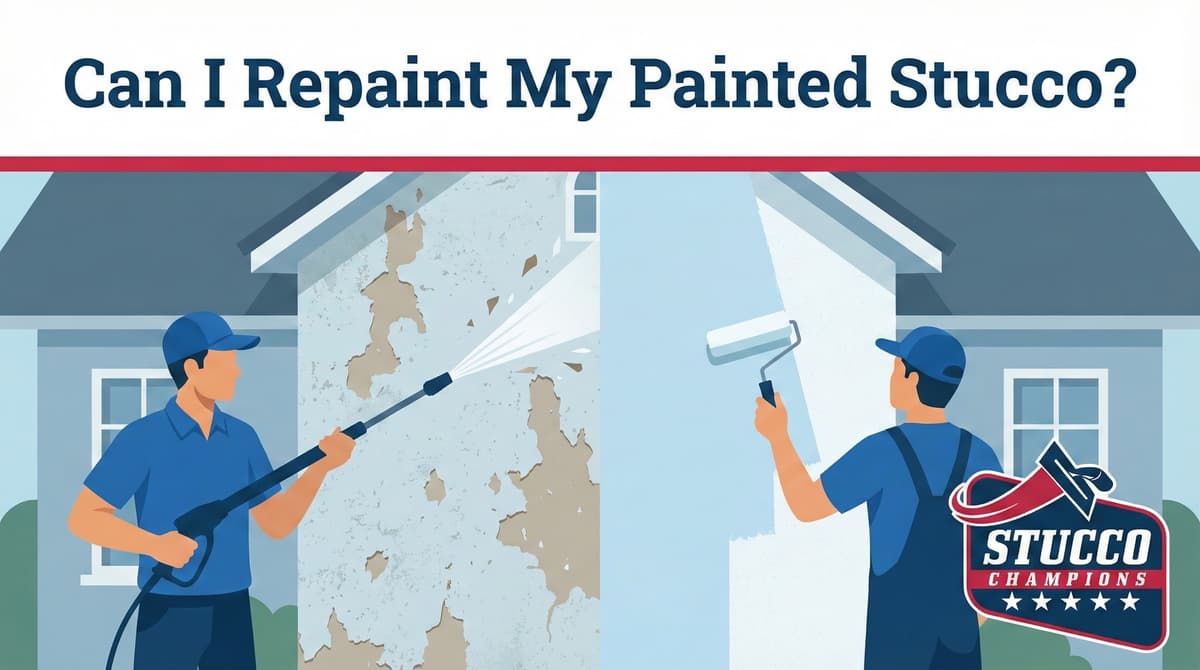
Can You Repaint Painted Stucco? The Technical Guide
Written by Stucco Champions — Southern California’s Authority on Exterior Plastering.
Can You Repaint Painted Stucco? The Technical Guide to Recoating
The short answer is: Yes. You can absolutely paint over stucco that has been previously painted. In fact, if the existing paint film is structurally sound, it acts as a primer, making the recoat process significantly easier than painting raw cement.
However, Southern California homes face unique environmental stressors. Years of intense UV exposure cause old acrylic paint to oxidize ("chalk"), creating a dusty microscopic surface layer that new paint cannot chemically bond to. If new paint is simply rolled over a chalky or dirty wall, catastrophic peeling is inevitable. This guide details the strict preparation protocols required for a successful recoat.
Free Assessment
Noticing Stucco Damage?
Get a free on-site assessment from a licensed contractor. $0 deposit, no obligation.
GET FREE ASSESSMENT1. The Pre-Paint Diagnostic: Is the Substrate Sound?
Before purchasing materials, the condition of the existing coating must be verified. We perform two standard field tests:
- The Chalk Test: Rub a dark cloth or your palm firmly across the wall. If a white, dusty residue remains, the old paint is severely oxidizing. You must perform a deep cleaning and apply a high-adhesion bonding primer before top-coating.
- The Adhesion Test (ASTM D3359): Use a utility blade to cut a small "X" through the old paint. Apply high-tack tape firmly over the X, then rip it off. If the old paint pulls away from the wall, the previous layer is failing. The loose material must be scraped, hydro-blasted, or sandblasted before recoating.
2. Surface Preparation: The "Soft Wash" Protocol
Stucco texture acts like a cheese grater for environmental debris, trapping smog, salt, and mildew.
Blasting a painted wall with a zero-degree tip will strip the paint unevenly and aggressively gouge the cement texture, creating visible scars that paint cannot hide.
The Solution: Soft Washing. We utilize a high-volume, low-pressure rinse combined with a mild TSP (Tri-Sodium Phosphate) detergent. This lifts the dirt and chalking without damaging the underlying texture or forcing bulk water behind the cladding.
3. Repairs: Patching Before Painting
The most common failure in repainting is attempting to use paint as a crack filler.
The Repair Protocol:
- Hairline Cracks: Utilize a brush-grade elastomeric sealant. It remains flexible to bridge the micro-gap.
- Structural Cracks (>1/8"): Do not use standard caulk, as it will "flash" (shine smoothly) through the final paint coat. Use a textured stucco patch that mimics the existing aggregate.
- Priming Cement Patches: New cement patches possess a high pH (alkalinity). You must spot-prime these repairs with an alkali-resistant (masonry) primer to prevent chemical "burnout" of the new acrylic topcoat.
4. Application: The "Spray and Back-Roll" Technique
Airless spraying is the most efficient method for material application, but it is insufficient for textured stucco.
The Physics: The atomized spray hits the high points of the texture but misses the millions of tiny "pinholes" and valleys in the cement matrix.
The Solution: The Spray and Back-Roll method is mandatory. One painter sprays the material, and a second painter immediately follows with a thick-nap roller (1.25"). This physical pressure forces the acrylic resin deep into the pores, creating a uniform, watertight, and pinhole-free seal.
5. The Water Management Warning
At the base of the wall system is a metal flashing called a foundation weep screed, which features drainage holes to allow internal moisture to escape.
The Rule: Never paint the weep screed holes shut. If you seal the weep screed with thick exterior paint, you trap water inside the wall cavity, rapidly inducing dry rot in the structural framing.
Conclusion
In Southern California, a high-build, 100% acrylic paint application should protect the home for 10–15 years—provided the substrate preparation is executed flawlessly. Repainting is the most cost-effective method to maintain the waterproofing envelope, as long as the chemistry of the existing surface is respected.
Frequently Asked Questions About Stucco
How much does stucco repair cost in Orange County and Los Angeles?+
Small stucco patches start at $650, larger repairs start at $1,200, and re-stucco of a single elevation up to about 400 sq ft runs about $1,400 - $5,900+. The exact cost depends on the damage type (hairline cracks, water damage, delamination, weep screed failure), the square footage involved, and whether the original three-coat or one-coat stucco system needs to be matched. Stucco Champions provides fixed-price written estimates after a free on-site assessment — no hourly billing, no surprise change orders. See our stucco repair cost guide for detailed pricing by repair type.
How long does stucco last in Southern California?+
Properly installed three-coat stucco lasts 50-80+ years in Southern California's climate. The most common failure points aren't the stucco itself — they're the supporting components: corroded weep screed, deteriorated building paper behind the stucco, and improperly sealed window flashing. Most "stucco failures" are actually moisture-intrusion failures that start at one of these points. Annual visual inspection catches problems before they spread, which is why we offer free weep screed assessments for homeowners in our service area.
Can I repair stucco myself, or do I need a contractor?+
Hairline cracks under 1/8 inch wide can be sealed with elastomeric caulk by a homeowner. Anything larger — pattern cracks, delamination (where stucco pulls away from the wall), water-damaged areas, or chimney/window leak repairs — requires a licensed contractor. Improper DIY repair on these is the #1 cause of repeat failures because the underlying cause (usually moisture) isn't addressed. California's CSLB requires a license for any stucco work over $500. Looking for a highly-rated stucco contractor in Southern California? We are a CSLB-licensed and insured team ready to help.
How do I know if I need stucco repair vs. full re-stucco?+
If less than 30% of an elevation has visible damage, repair is the right call. If you see large areas of cracking, multiple zones of delamination, or the underlying paper and lath have rotted across an entire wall, full re-stucco of that elevation is more cost-effective long-term. Our free assessment includes a moisture survey and lath inspection so you get a defensible recommendation either way — not just a quote pushing whichever option costs more.
Do you offer warranties on stucco work?+
Approved stucco repair work includes a 1-year written workmanship warranty. The applicable terms are documented with the approved scope. Stucco Champions is CSLB licensed and insured; verify license #1122006 through the official state lookup. Request a free estimate to review the scope and warranty terms before you sign.
How long does a stucco repair take?+
Most patch repairs are completed in 1-2 days, including a 24-hour cure time before texture matching and color application. Full re-stucco of a single elevation runs 5-7 working days because each coat (scratch, brown, finish) needs to cure properly before the next is applied. We schedule around weather — California stucco needs daytime temperatures above 50°F with no rain forecast for at least 24 hours after each coat. Our crew shows up on time, every time.
Stucco Diagnostics & Tools
Diagnose specific wall damage symptoms or estimate job scope with our free guides and calculators.
Related Professional Services
A licensed assessment identifies the cause before the finish is opened or replaced.