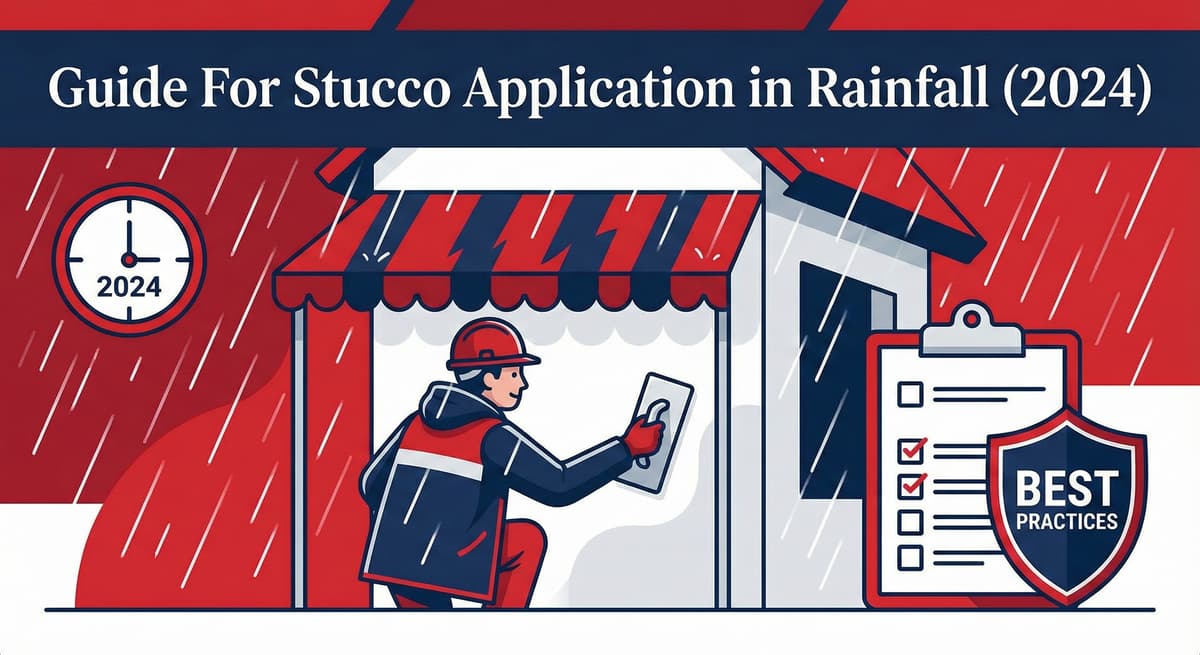
The Rain Protocol: Applying Stucco in Wet Weather
Written by Stucco Champions — Southern California’s Authority on Exterior Plastering.
The Rain Protocol: A Professional Guide to Stucco Application in Wet Weather
In Southern California, our construction schedules are heavily dictated by the weather. When winter storms arrive, homeowners and contractors face a critical decision regarding exterior plastering: Do we shut down, or do we push through?
The technical answer is: It depends entirely on the phase. Cementitious stucco relies on moisture for hydration to cure, but it requires controlled evaporation to set correctly. Excessive bulk water can ruin the chemical bond. This guide outlines the strict protocols utilized to determine when it is safe to apply stucco during rainfall.
Free Assessment
Noticing Stucco Damage?
Get a free on-site assessment from a licensed contractor. $0 deposit, no obligation.
GET FREE ASSESSMENT1. The Golden Rule: Base Coat vs. Finish Coat
We must strictly distinguish between the structural layers and the aesthetic finish layers.
Scratch & Brown Coats: These thick, structural coats can generally be applied in wet weather provided the wall is properly tented. In fact, moderate ambient moisture aids the base coat in achieving a stronger, slower cure (hydration).
Color Coat: We never apply a color finish coat in the rain. High humidity prevents even evaporation, leading to "Mottling" (blotchy, uneven color), "Snail Trails" (shiny, washed-out streaks), and severe Efflorescence (white salt stains). Unless the wall is fully enclosed and climate-controlled, finish work must wait for dry conditions.
2. Tenting: Creating a Micro-Climate
Simply throwing a tarp over the roofline is insufficient. To work during inclement weather, a structural "containment zone" is required.
- The Shingle Effect: 6-Mil reinforced plastic sheeting must be attached at the roofline and draped over the exterior scaffolding, ensuring bulk water runs off the exterior of the tent, rather than draining behind the plastic onto the wall.
- Ventilation: This is a critical factor. If the containment tent is completely airtight, humidity will rapidly reach 100%, causing the heavy cement to "sweat" and potentially slump off the wall. The bottom must remain open to allow adequate airflow while blocking direct splash-back from the ground.
3. The Chemistry of Cold Weather: Accelerators
Rain is often accompanied by cold temperatures, which significantly retard the "set time" of Portland cement. We occasionally adjust the chemistry to compensate.
The Calcium Chloride Warning
For Base Coats only, a chemical accelerator may be introduced. However, we exercise extreme caution with salt-based Calcium Chloride.
The Danger: Chloride chemically attacks galvanized metal. If used improperly (or if ever used in a finish coat), it will rapidly oxidize the wire lath, bleeding orange rust stains through the exterior wall. Whenever possible, we prefer utilizing Non-Chloride Accelerators or simply using warm mixing water to safely initiate the chemical reaction.
4. Execution by Phase Limitations
The Lathing Phase:
While asphalt building paper and wire lath are water-resistant, we cannot install the Water Resistive Barrier (WRB) over saturated plywood or OSB sheathing. If the structural wood framing is soaked, it must be allowed to dry completely before wrapping the house to prevent trapping moisture and inducing dry rot.
The Mixing Station:
Quality control begins at the mixer. Wet sand destroys the carefully calculated water-to-cement ratio. Sand piles must remain tarped, and mixing must occur under a canopy to ensure material consistency.
Conclusion: Patience Prevails
While we possess the technical capability to work through rain by establishing containment zones and altering cement chemistry, the superior choice is often to pause production. Stucco is a natural masonry product that performs optimally under stable environmental conditions.
Frequently Asked Questions About Stucco
How much does stucco repair cost in Orange County and Los Angeles?+
Stucco repair typically ranges from $500 for minor crack patching to $5,000+ for full re-stucco of a single elevation. The exact cost depends on the damage type (hairline cracks, water damage, delamination, weep screed failure), the square footage involved, and whether the original three-coat or one-coat stucco system needs to be matched. Stucco Champions provides fixed-price written estimates after a free on-site assessment — no hourly billing, no surprise change orders. See our stucco repair cost guide for detailed pricing by repair type.
How long does stucco last in Southern California?+
Properly installed three-coat stucco lasts 50-80+ years in Southern California's climate. The most common failure points aren't the stucco itself — they're the supporting components: corroded weep screed, deteriorated building paper behind the stucco, and improperly sealed window flashing. Most "stucco failures" are actually moisture-intrusion failures that start at one of these points. Annual visual inspection catches problems before they spread, which is why we offer free weep screed assessments for homeowners in our service area.
Can I repair stucco myself, or do I need a contractor?+
Hairline cracks under 1/8 inch wide can be sealed with elastomeric caulk by a homeowner. Anything larger — pattern cracks, delamination (where stucco pulls away from the wall), water-damaged areas, or chimney/window leak repairs — requires a licensed contractor. Improper DIY repair on these is the #1 cause of repeat failures because the underlying cause (usually moisture) isn't addressed. California's CSLB requires a license for any stucco work over $500. Looking for a highly-rated stucco contractor in Southern California? We are a CSLB-licensed and insured team ready to help.
How do I know if I need stucco repair vs. full re-stucco?+
If less than 30% of an elevation has visible damage, repair is the right call. If you see large areas of cracking, multiple zones of delamination, or the underlying paper and lath have rotted across an entire wall, full re-stucco of that elevation is more cost-effective long-term. Our free assessment includes a moisture survey and lath inspection so you get a defensible recommendation either way — not just a quote pushing whichever option costs more.
Do you offer warranties on stucco work?+
Yes. Stucco Champions provides a written 5-year workmanship warranty on all stucco repairs and a 10-year warranty on full re-stucco. We're a CSLB-licensed and insured contractor (license #1122006 — verifiable at cslb.ca.gov), which means our work is backed by California's contractor licensing board, not just our own promise. Request a free estimate to see the warranty terms in writing before you sign anything.
How long does a stucco repair take?+
Most patch repairs are completed in 1-2 days, including a 24-hour cure time before texture matching and color application. Full re-stucco of a single elevation runs 5-7 working days because each coat (scratch, brown, finish) needs to cure properly before the next is applied. We schedule around weather — California stucco needs daytime temperatures above 50°F with no rain forecast for at least 24 hours after each coat. Our crew shows up on time, every time.