Identify Stucco Window Leaks
Written by Stucco Champions — Southern California’s Authority on Exterior Plastering.
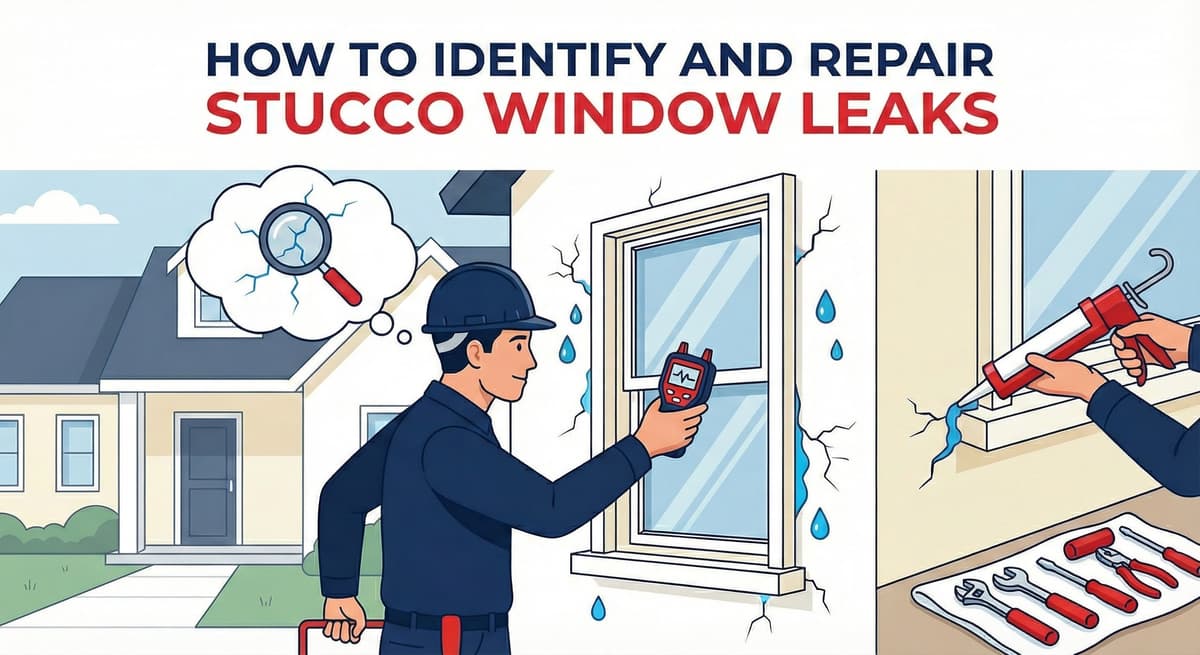
How to Identify and Repair Stucco Window Leaks
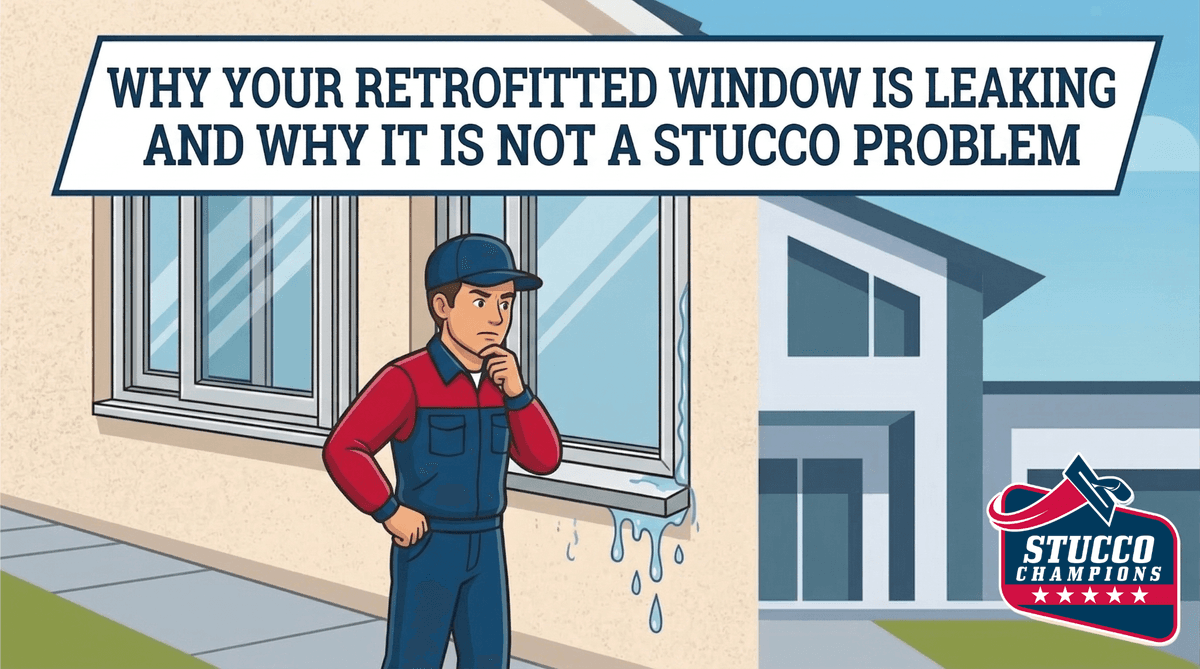
In Southern California, window leaks are often misdiagnosed. Homeowners see water pooling on the interior sill and assume the window itself is failing. However, in 90% of the cases we inspect, the window unit is fine—the failure is in the integration between the stucco and the window flashing.
Water intrusion is not just a cosmetic nuisance; it is a structural threat. Stucco acts as a reservoir cladding, but if the drainage plane behind it is compromised, water rots the framing studs and shear wall sheathing. This guide explains how to diagnose the source and outlines the surgical procedure required to fix it permanently.
Free Assessment
Noticing Stucco Damage?
Get a free on-site assessment from a licensed contractor. $0 deposit, no obligation.
GET FREE ASSESSMENT1. The Diagnosis: Is it the Window or the Wall?
Before cutting into the stucco, we must determine the water entry point. This distinction determines the scope of repair:
| Method | Procedure | What it Tells Us |
|---|---|---|
| Interior Inspection | Remove interior drywall below the sill to inspect the wood framing and sheathing. | Stains on the framing usually indicate a flashing failure at the window corners. |
| Isolation Test | Seal the window glass and frame with waterproof tape and plastic. Spray the surrounding stucco. | If water still enters, the leak is in the Stucco System (paper/flashing), not the window unit. |
| Spray Rack | Use a calibrated water spray rack to simulate wind-driven rain. | Isolates pressure leaks in the window glazing vs. gravity leaks in the wall envelope. |
2. The Usual Suspects: Why Leaks Happen
When we open a leaking wall, we typically find one of three code violations:
- The "Reverse Lap" (Most Common): Waterproofing relies on gravity. Under **ASTM C1063**, the weather-resistive barrier (WRB) upper layers must overlap the lower layers shingle-fashion. A reverse lap occurs when the installer tucks the building paper behind the window's nailing flange instead of lapping over it, directing water straight into the wall cavity.
- Missing Z-Bar Flashing: The top header of a window requires a metal Z-Bar (or head flashing) to kick water out. If this is missing or improperly integrated with the double-layer Grade D WRB (**CRC Section R703.7.3**), water rolls behind the window frame.
- Deteriorated Paper: Older homes often used basic 10-minute paper. Over decades, moisture degrades this barrier, leaving the wood framing exposed. We replace this with **two layers of 60-Minute Grade D Paper** (Super Jumbo Tex) for superior longevity.
3. The Repair Protocol: Surgical Remediation
You cannot fix a flashing leak with a caulk gun. To repair it, you must expose the window's nailing fin:
- Surgical Cut-Back: We remove 6–9 inches of stucco around the window perimeter to expose the framing, sheathing, and existing paper.
- Flashing Repair: We correct the flashing sequence following **AAMA 2400** / **ASTM E2112** standards: installing a sill pan membrane lapping the WRB below, side jamb flashings lapping the sill pan, and head flashing lapping the window top flange, integrated underneath the WRB above.
- Paper Integration: We install new Grade D paper (lapping 2" horizontally and 6" vertically), ensuring it slides shingle-lapped *under* the existing paper at the top. Weep screed clearances (4" above soil, 2" above paved surfaces per **ASTM C1063**) are verified at the bottom.
- Re-Stucco & Sealant: We install new wire lath (overlapping by 2"), apply a three-coat patch (**ASTM C926**), and trowel texture to match. **ASTM C1063** transition standards require a casing bead trim around the window perimeter, leaving a 3/8" gap filled with high-performance paintable **ASTM C920** polyurethane sealant (Sikaflex 1a) to allow for framing movement.
Never seal the bottom window flange or weep holes with caulk. Windows are engineered to collect condensation inside the frame channels and discharge it through bottom weep openings. Caulking these holes shut traps water within the window assembly, forcing it backward into the wooden sill plate and causing severe framing rot.
4. Cost Expectations
Because this involves demolition, waterproofing, and finish work, it is a skilled trade repair:
- Typical Range: $400 – $1,800+ per window.
- Variables: Second-story access (scaffolding), custom stucco foam trim replacement, and the severity of dry rot in the framing will affect the final price.
Conclusion: Fix the System, Not the Symptom
A leak is a symptom of a broken system. Simply caulking the edge of the window is a temporary band-aid that often traps more water than it keeps out. To protect your home's structure, the stucco must be opened, the flashing corrected, and the drainage plane restored.
Read our step-by-step Stucco Window Leak Repair Guide 101 to dive deeper into flashing details and code compliance.
Frequently Asked Questions About Stucco
How much does stucco repair cost in Orange County and Los Angeles?+
Stucco repair typically ranges from $500 for minor crack patching to $5,000+ for full re-stucco of a single elevation. The exact cost depends on the damage type (hairline cracks, water damage, delamination, weep screed failure), the square footage involved, and whether the original three-coat or one-coat stucco system needs to be matched. Stucco Champions provides fixed-price written estimates after a free on-site assessment — no hourly billing, no surprise change orders. See our stucco repair cost guide for detailed pricing by repair type.
How long does stucco last in Southern California?+
Properly installed three-coat stucco lasts 50-80+ years in Southern California's climate. The most common failure points aren't the stucco itself — they're the supporting components: corroded weep screed, deteriorated building paper behind the stucco, and improperly sealed window flashing. Most "stucco failures" are actually moisture-intrusion failures that start at one of these points. Annual visual inspection catches problems before they spread, which is why we offer free weep screed assessments for homeowners in our service area.
Can I repair stucco myself, or do I need a contractor?+
Hairline cracks under 1/8 inch wide can be sealed with elastomeric caulk by a homeowner. Anything larger — pattern cracks, delamination (where stucco pulls away from the wall), water-damaged areas, or chimney/window leak repairs — requires a licensed contractor. Improper DIY repair on these is the #1 cause of repeat failures because the underlying cause (usually moisture) isn't addressed. California's CSLB requires a license for any stucco work over $500. Looking for a highly-rated stucco contractor in Southern California? We are a CSLB-licensed and insured team ready to help.
How do I know if I need stucco repair vs. full re-stucco?+
If less than 30% of an elevation has visible damage, repair is the right call. If you see large areas of cracking, multiple zones of delamination, or the underlying paper and lath have rotted across an entire wall, full re-stucco of that elevation is more cost-effective long-term. Our free assessment includes a moisture survey and lath inspection so you get a defensible recommendation either way — not just a quote pushing whichever option costs more.
Do you offer warranties on stucco work?+
Yes. Stucco Champions provides a written 5-year workmanship warranty on all stucco repairs and a 10-year warranty on full re-stucco. We're a CSLB-licensed and insured contractor (license #1122006 — verifiable at cslb.ca.gov), which means our work is backed by California's contractor licensing board, not just our own promise. Request a free estimate to see the warranty terms in writing before you sign anything.
How long does a stucco repair take?+
Most patch repairs are completed in 1-2 days, including a 24-hour cure time before texture matching and color application. Full re-stucco of a single elevation runs 5-7 working days because each coat (scratch, brown, finish) needs to cure properly before the next is applied. We schedule around weather — California stucco needs daytime temperatures above 50°F with no rain forecast for at least 24 hours after each coat. Our crew shows up on time, every time.
Related Professional Services
A licensed assessment identifies the cause before the finish is opened or replaced.