Stucco Repair Protocols: Fixing Cracks and Spalls Like a Pro
In Southern California, exterior stucco damage is practically inevitable. Whether it is from continuous seismic micro-tremors in Los Angeles, thermal expansion in the Inland Empire, or brutal salt air corrosion in Newport Beach, every stucco home eventually cracks or spalls.
The difference between a cheap "handyman patch" that fails and falls off in six months and a permanent, structural repair lies entirely in the preparation. Repairing stucco is absolutely not like patching interior drywall with spackle; it is a heavy-duty, multi-layered process of waterproofing, lathing, and masonry. This guide outlines the professional methods for repairing common stucco failures.
1. Diagnosis: Categorizing the Failure
Before anyone mixes cement, we must understand exactly why the wall failed in the first place.
- Hairline Cracks (less than 1/16"): These are usually cosmetic "shrinkage" cracks caused by the cement curing rapidly, or the wood framing naturally drying out.
- Structural Cracks (greater than 1/8"): These often indicate foundation settling, lack of shear wall strength, or major seismic movement.
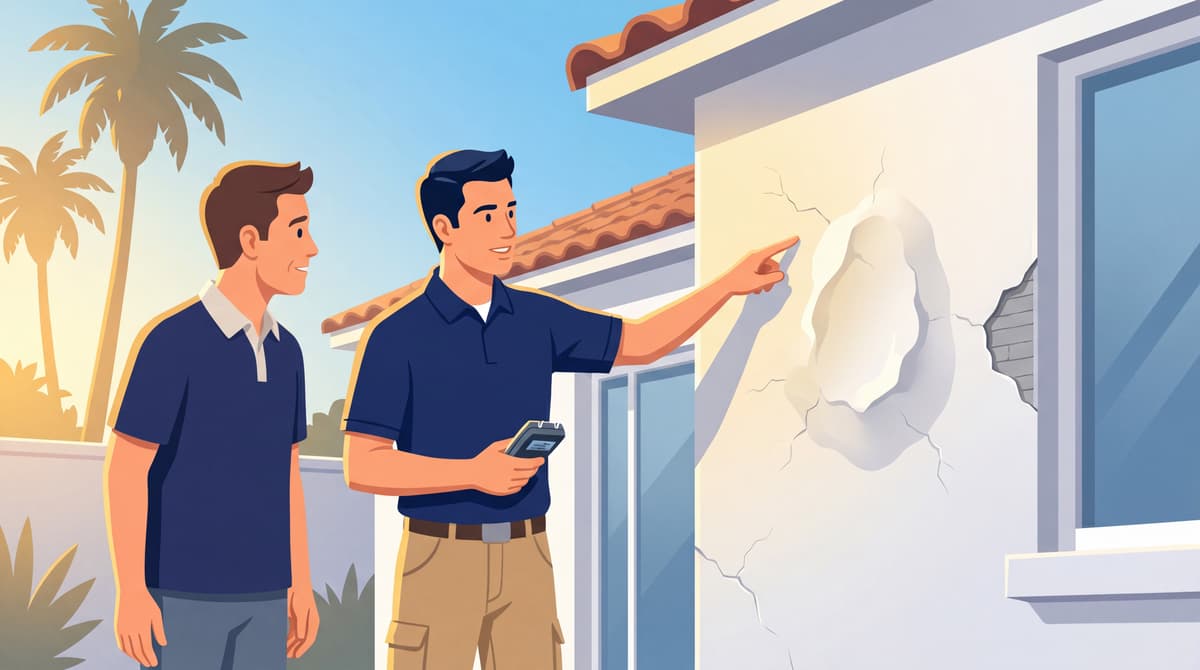
- Spalling/Delamination: If the stucco is bulging or falling off in heavy chunks, it almost always means water has penetrated the wall and rusted the wire lath inside ("Rust Jacking"). This requires surgical excision.
Free Assessment
Noticing Stucco Damage?
Get a free on-site assessment from a licensed contractor. $0 deposit, no obligation.
GET FREE ASSESSMENT2. The Repair Protocol: Hairline Cracks
For very minor, non-structural hairline cracks, we avoid demolition.
- The Sealant: We use a high-quality Textured Elastomeric Acrylic sealant. Using standard silicone caulk is a massive mistake—exterior paint will literally peel off silicone. Textured acrylic sealant contains aggregate (sand) that mimics the rough surrounding stucco, making the repair virtually invisible once painted.
3. The Repair Protocol: Structural Patches
For heavy impact damage, plumbing retrofit holes, or wide structural cracks, professionals strictly follow ASTM C926 standards for a "Cut-Out" repair.
Step A: The Square Cut
We use a heavy diamond blade grinder to cut a clean, geometric shape (square or rectangle) around the damage. We completely remove the damaged stucco down to the wood studs.
Why? New wet cement absolutely cannot bond to a jagged, crumbling, V-shaped edge. A clean, 90-degree cut ensures a solid mechanical key for the patch.
Step B: Waterproofing Integration (The Most Critical Step)
This is where 90% of DIY patches fail. We must slide new Grade D Building Paper under the existing paper at the top of the patch, and lap it over the existing paper at the bottom. This is called a "Shingle Lap." This ensures that rainwater running down the wall stays on top of the paper, rather than funneling directly into the wood framing.
Step C: Lath & Base Coat
We install new galvanized wire lath, meticulously wire-tying it to the existing exposed wire mesh to create a continuous, strong grid.
We then apply a Polymer-Modified Base Coat. The chemical polymers add flexibility, allowing the new patch to absorb thermal movement without separating and cracking away from the old wall.
4. The Art of Blending: Texture Matching
Structural integrity keeps the water out; texture matching keeps the HOA happy.
- Feathering: The secret to an invisible patch is "feathering" the edges. We use wet green sponge floats to intentionally thin the new wet material out onto the old dry wall, blurring the transition line so there is no "scar."
- Technique: Whether it is a rough "Machine Dash" sprayed from a hopper or a classic "Spanish Lace" applied by hand, the artisan must match the exact aggregate size and wrist movement of the original crew from 30 years ago.
5. Color: The Final Step
New cement stucco is highly alkaline and will always dry drastically lighter in color than the old, weathered stucco next to it.
The Fix: We highly recommend Fog Coating or painting the entire wall section corner-to-corner. Trying to "spot paint" a 2-foot patch rarely works because the new fresh texture absorbs light differently than the old dirty texture, leaving a visible square.
If we are applying new stucco directly over existing masonry or concrete (without cutting it out), we must use a chemical liquid bonding agent (like Weld-Crete). Old concrete is extremely thirsty; it will aggressively suck the moisture out of the new stucco, causing it to "flash dry" and fall off. The bonding agent acts as a glue to prevent this.
Conclusion: Restoration, Not Just Repair
A proper stucco repair fully restores the building envelope. By following the correct architectural sequence—paper, lath, scratch, brown, and finish—you ensure that your repair is not just a cheap cosmetic cover-up, but a permanent structural reintegration.
A note on fog coat: Stucco Champions does not fog coat older or previously repaired walls. On aged stucco a fog coat telegraphs existing cracks, patch lines, and prior repairs, and it bonds poorly to a rough, chalky, or previously coated surface, so it can dust off or peel. Those walls get a fresh finish coat (re-stucco) instead.
Frequently Asked Questions About Stucco
How much does stucco repair cost in Orange County and Los Angeles?+
Stucco repair typically ranges from $500 for minor crack patching to $5,000+ for full re-stucco of a single elevation. The exact cost depends on the damage type (hairline cracks, water damage, delamination, weep screed failure), the square footage involved, and whether the original three-coat or one-coat stucco system needs to be matched. Stucco Champions provides fixed-price written estimates after a free on-site assessment — no hourly billing, no surprise change orders. See our stucco repair cost guide for detailed pricing by repair type.
How long does stucco last in Southern California?+
Properly installed three-coat stucco lasts 50-80+ years in Southern California's climate. The most common failure points aren't the stucco itself — they're the supporting components: corroded weep screed, deteriorated building paper behind the stucco, and improperly sealed window flashing. Most "stucco failures" are actually moisture-intrusion failures that start at one of these points. Annual visual inspection catches problems before they spread, which is why we offer free weep screed assessments for homeowners in our service area.
Can I repair stucco myself, or do I need a contractor?+
Hairline cracks under 1/8 inch wide can be sealed with elastomeric caulk by a homeowner. Anything larger — pattern cracks, delamination (where stucco pulls away from the wall), water-damaged areas, or chimney/window leak repairs — requires a licensed contractor. Improper DIY repair on these is the #1 cause of repeat failures because the underlying cause (usually moisture) isn't addressed. California's CSLB requires a license for any stucco work over $500. Looking for a highly-rated stucco contractor in Southern California? We are a CSLB-licensed and insured team ready to help.
How do I know if I need stucco repair vs. full re-stucco?+
If less than 30% of an elevation has visible damage, repair is the right call. If you see large areas of cracking, multiple zones of delamination, or the underlying paper and lath have rotted across an entire wall, full re-stucco of that elevation is more cost-effective long-term. Our free assessment includes a moisture survey and lath inspection so you get a defensible recommendation either way — not just a quote pushing whichever option costs more.
Do you offer warranties on stucco work?+
Yes. Stucco Champions provides a written 5-year workmanship warranty on all stucco repairs and a 10-year warranty on full re-stucco. We're a CSLB-licensed and insured contractor (license #1122006 — verifiable at cslb.ca.gov), which means our work is backed by California's contractor licensing board, not just our own promise. Request a free estimate to see the warranty terms in writing before you sign anything.
How long does a stucco repair take?+
Most patch repairs are completed in 1-2 days, including a 24-hour cure time before texture matching and color application. Full re-stucco of a single elevation runs 5-7 working days because each coat (scratch, brown, finish) needs to cure properly before the next is applied. We schedule around weather — California stucco needs daytime temperatures above 50°F with no rain forecast for at least 24 hours after each coat. Our crew shows up on time, every time.