Repairing Stucco Cracks Along a Control Joint
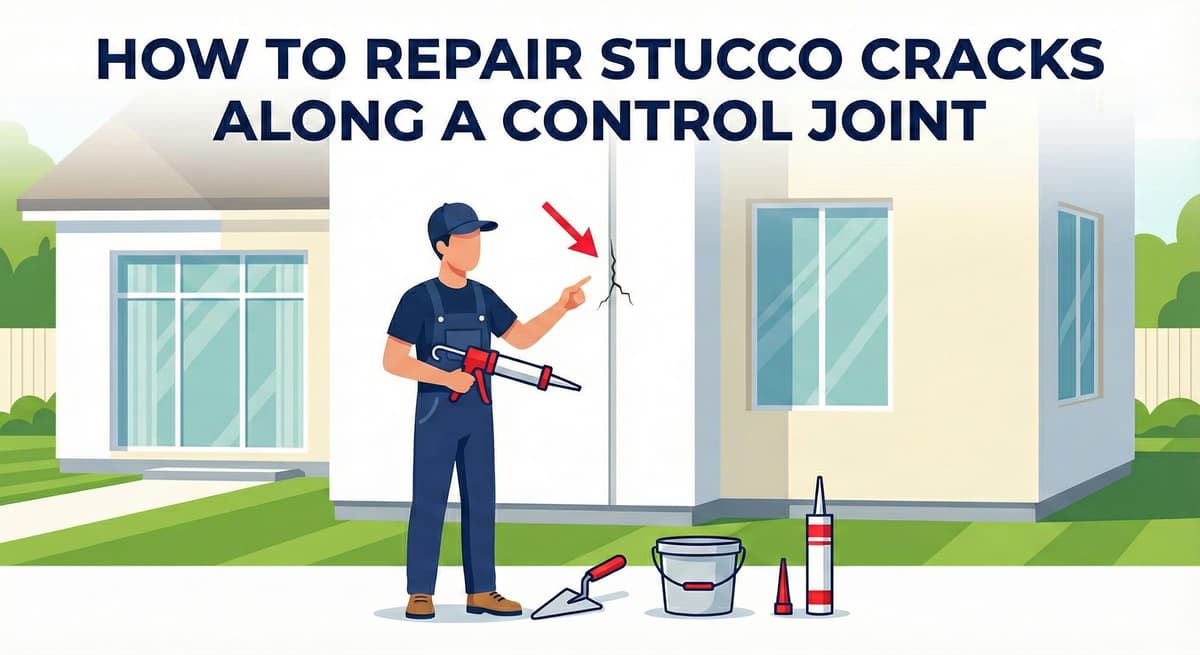
If you notice a long hairline crack running vertically alongside the metal channel in your stucco wall, do not panic. That piece of metal is a Control Joint (or Expansion Joint), and its entire architectural purpose is to relieve structural stress.
However, when that crack opens up wide enough to let rainwater in, or if the stucco completely separates from the metal flange, it becomes a serious maintenance issue. In Southern California, where thermal shock (hot days followed by cool nights) causes rapid expansion and contraction, maintaining these joints is critical to preventing moisture intrusion. This guide explains why they crack and how to seal them correctly.
1. The Function of the Control Joint
Cement inherently shrinks as it cures. Without control joints, a large expanse of stucco wall would look like a spiderweb of massive, random cracks.
- The Design: We install these metal joints to intentionally force the wall to crack in a perfectly straight line hidden inside the channel.
- The Failure: Sometimes, the crack forms alongside the metal flange instead of inside it. This often happens if the wire lath was not cut completely underneath the joint (a direct violation of ASTM C1063) or if the stucco mix was overly rigid.
Free Assessment
Noticing Stucco Damage?
Get a free on-site assessment from a licensed contractor. $0 deposit, no obligation.
GET FREE ASSESSMENT2. The "No Silicone" Rule
Before you head to the hardware store for caulk, you must know what not to buy.
Silicone is fantastic for bathroom tiles, but it is terrible for exterior masonry. Silicone leaves a chemical residue that nothing will stick to. If you fill a control joint crack with pure silicone, you can never paint over it, and new stucco will never bond to it. It will create a permanent, shiny, unpaintable scar running down your wall.
3. Step-by-Step Repair Protocol
Fixing a separation crack at a control joint requires precision sealant work.
Step A: Clean and Prep
Sealant will not bond to dirt or oxidation.
- Use a stiff wire brush to forcefully remove loose cement, debris, and algae from the crack.
- If there is old, failing caulk in the joint, you must dig it out completely with a razor knife or a multi-tool.
- Wipe the exposed metal flange with denatured alcohol to ensure the new sealant bonds permanently to the galvanized steel.
Step B: Select the Right Sealant
You need an exterior-grade sealant that stays highly flexible but can be painted.
- Polyurethane (e.g., Sikaflex or Vulkem): This is the professional choice. It is incredibly sticky, highly durable, and waterproof. It takes a few days to fully cure but it lasts 20 years.
- Textured Elastomeric Acrylic (e.g., Mor-Flexx or Sashco): Best if the crack is in the stucco finish itself. It has sand mixed into it to perfectly mimic the texture of the surrounding wall.
Step C: Application
- Cut the sealant tube nozzle at a 45-degree angle.
- Inject the sealant deep into the void of the crack. Do not just smear it thinly on the surface.
- Tooling: Use a wet finger or a caulk spatula to firmly smooth the bead. Ideally, you want to create a slightly concave (inward) joint. This hourglass shape allows the sealant to stretch back and forth like a rubber band when the wall expands in the summer heat.
4. When to Call a Professional
While sealing a small separation gap is an excellent DIY maintenance job, some signs indicate major structural failure:
- Displacement: If one side of the control joint is sticking out further than the other side (a physical offset), the plywood shear wall underneath may be compromised.
- Rust: If brown rust stains are actively bleeding from the joint, the metal lath or the joint itself is corroding inside the wall. Sealing over it will only trap the moisture and accelerate the rot. The joint must be cut out and replaced.
Conclusion: Maintenance Matters
Control joints are the moving parts of your home's exterior envelope. Much like tires on a car, they eventually wear out. Inspect them annually. Keeping these joints properly sealed with high-quality polyurethane prevents bulk water from bypassing the weather barrier and rotting your framing.
Frequently Asked Questions About Stucco
How much does stucco repair cost in Orange County and Los Angeles?+
Small stucco patches start at $650, larger repairs start at $1,200, and re-stucco of a single elevation up to about 400 sq ft runs about $1,400 - $5,900+. The exact cost depends on the damage type (hairline cracks, water damage, delamination, weep screed failure), the square footage involved, and whether the original three-coat or one-coat stucco system needs to be matched. Stucco Champions provides fixed-price written estimates after a free on-site assessment — no hourly billing, no surprise change orders. See our stucco repair cost guide for detailed pricing by repair type.
How long does stucco last in Southern California?+
Properly installed three-coat stucco lasts 50-80+ years in Southern California's climate. The most common failure points aren't the stucco itself — they're the supporting components: corroded weep screed, deteriorated building paper behind the stucco, and improperly sealed window flashing. Most "stucco failures" are actually moisture-intrusion failures that start at one of these points. Annual visual inspection catches problems before they spread, which is why we offer free weep screed assessments for homeowners in our service area.
Can I repair stucco myself, or do I need a contractor?+
Hairline cracks under 1/8 inch wide can be sealed with elastomeric caulk by a homeowner. Anything larger — pattern cracks, delamination (where stucco pulls away from the wall), water-damaged areas, or chimney/window leak repairs — requires a licensed contractor. Improper DIY repair on these is the #1 cause of repeat failures because the underlying cause (usually moisture) isn't addressed. California's CSLB requires a license for any stucco work over $500. Looking for a highly-rated stucco contractor in Southern California? We are a CSLB-licensed and insured team ready to help.
How do I know if I need stucco repair vs. full re-stucco?+
If less than 30% of an elevation has visible damage, repair is the right call. If you see large areas of cracking, multiple zones of delamination, or the underlying paper and lath have rotted across an entire wall, full re-stucco of that elevation is more cost-effective long-term. Our free assessment includes a moisture survey and lath inspection so you get a defensible recommendation either way — not just a quote pushing whichever option costs more.
Do you offer warranties on stucco work?+
Approved stucco repair work includes a 1-year written workmanship warranty. The applicable terms are documented with the approved scope. Stucco Champions is CSLB licensed and insured; verify license #1122006 through the official state lookup. Request a free estimate to review the scope and warranty terms before you sign.
How long does a stucco repair take?+
Most patch repairs are completed in 1-2 days, including a 24-hour cure time before texture matching and color application. Full re-stucco of a single elevation runs 5-7 working days because each coat (scratch, brown, finish) needs to cure properly before the next is applied. We schedule around weather — California stucco needs daytime temperatures above 50°F with no rain forecast for at least 24 hours after each coat. Our crew shows up on time, every time.
Stucco Diagnostics & Calculators
Diagnose specific wall damage symptoms or estimate job scope with our free guides and calculators.
Related Professional Services
A licensed assessment identifies the cause before the finish is opened or replaced.