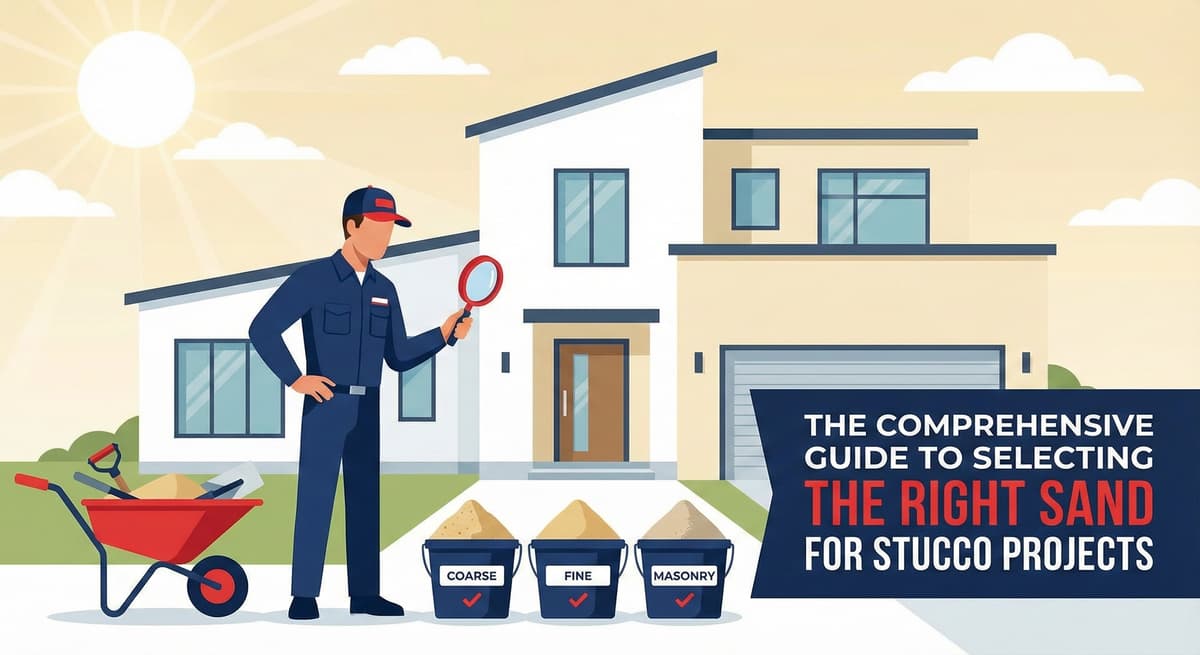
Understanding Stucco Aggregate: Mesh Sizes and Textures
Written by Stucco Champions — Southern California’s Authority on Exterior Plastering.
Understanding Stucco Aggregate: Mesh Sizes and Textures
In the exterior plastering industry, sand is not merely a cheap filler—it is the engineered aggregate that forms the structural skeleton of the wall. It comprises roughly 70% of the total volume of a stucco assembly.
While the structural requirements of base coats (using coarse, washed plaster sand) are well documented, the selection of aggregate for the Finish Coat is an entirely different science. The specific mesh size of the sand you select will physically dictate the final architectural texture of the home. This guide breaks down how aggregate sizing controls the aesthetic.
Free Assessment
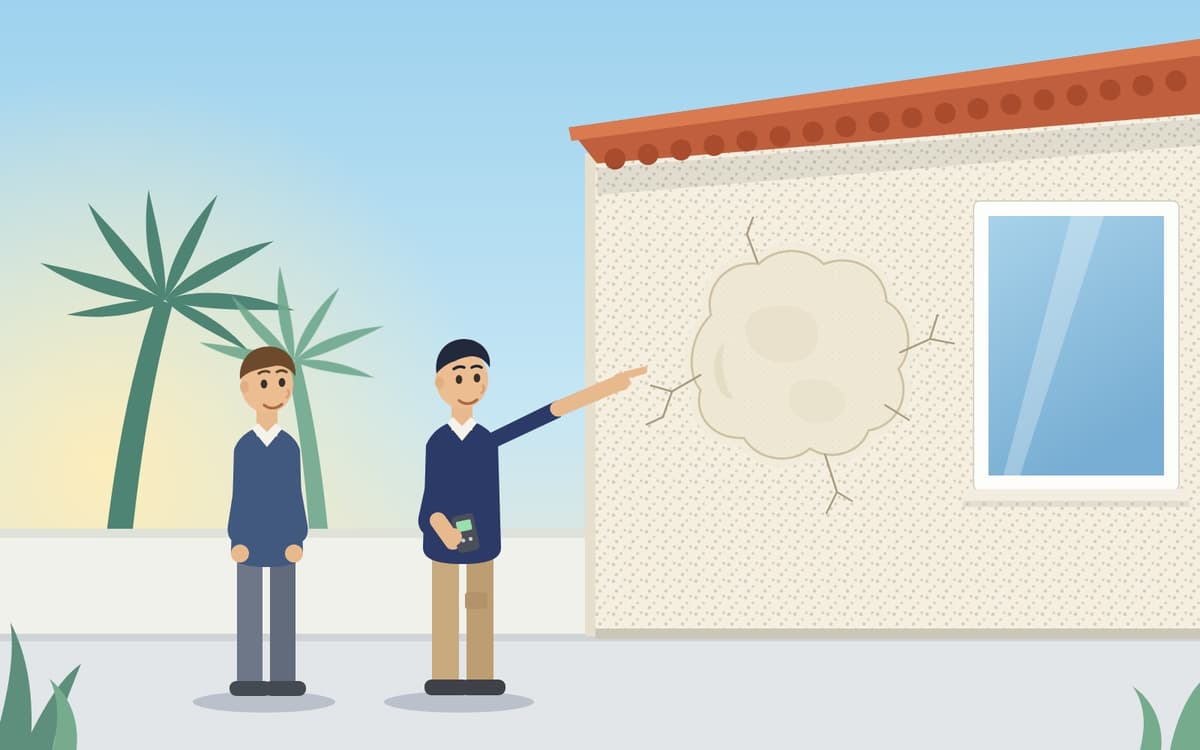
Noticing Stucco Damage?
Get a free on-site assessment from a licensed contractor. $0 deposit, no obligation.
GET FREE ASSESSMENT1. Sieve Analysis: Understanding Mesh Sizes
Aggregate is graded by passing it through a series of standardized wire mesh sieves. The "mesh number" refers to the number of openings per square inch. Therefore, a higher number indicates a finer grain of sand.
Coarse Plaster Sand (16/20 Mesh)
This aggregate contains larger, angular grains of rock.
- The Mechanics: When troweled, the larger grains drag through the cement paste, creating distinct gouges and heavy buildup.
- The Architectural Result: Required for heavy, traditional textures such as Spanish Lace, Heavy Dash, or Cat Face. The large grains create deep valleys and aggressive shadows.
- The Benefit: Coarse aggregate is exceptionally forgiving. It is excellent for masking imperfections, waviness, or large patches on older walls.
Fine Silica Sand (20/30 Mesh)
This is a manufactured, highly uniform quartz sand. The grains are smaller and perfectly consistent in size.
- The Mechanics: The uniform size allows the steel trowel to glide smoothly over the cement paste without catching large rocks, eliminating "drag marks."
- The Architectural Result: Mandatory for refined, tight textures such as Sand Finishes (Float Finishes) and the highly sought-after Santa Barbara Smooth finish.
- The Risk: Fine aggregate offers zero camouflage. The wall beneath it (the brown coat) must be screeded perfectly flat and true, as a smooth finish will highlight every structural imperfection.
2. Matching Aggregate for Invisible Repairs
When executing a localized patch repair on an existing wall, the primary cause of an "ugly scar" is failing to match the aggregate profile.
You cannot use a generic "all-purpose" stucco patch for every repair. The aggregate must match.
- Coarse on Smooth: If you use standard coarse patch material on a Santa Barbara smooth wall, the repair will protrude and look like a highly textured wart.
- Fine on Rough: If you use fine silica patch material on a heavy Lace wall, the repair will look like a bald, flat scar.
The Protocol: Always visually analyze the size of the sand grains in the existing wall before mixing the finish patch material.
3. The Danger of "Play Sand"
Many homeowners attempting DIY repairs utilize bagged "Play Sand" because of its availability and soft texture.
Do not use Play Sand for exterior plastering. The grains are heavily weathered and structurally rounded (spherical). Round grains behave like microscopic ball bearings—they roll over each other under stress rather than interlocking. This results in an assembly with zero compressive strength, virtually guaranteeing severe shrinkage cracking as the cement cures.
Conclusion
Selecting the right sand is an architectural decision. For heavy, forgiving textures, utilize coarse 16/20 mesh. For tight, modern finishes, mandate 20/30 silica. The aggregate dictates the aesthetic.
Frequently Asked Questions About Stucco
How much does stucco repair cost in Orange County and Los Angeles?+
Stucco repair typically ranges from $500 for minor crack patching to $5,000+ for full re-stucco of a single elevation. The exact cost depends on the damage type (hairline cracks, water damage, delamination, weep screed failure), the square footage involved, and whether the original three-coat or one-coat stucco system needs to be matched. Stucco Champions provides fixed-price written estimates after a free on-site assessment — no hourly billing, no surprise change orders. See our stucco repair cost guide for detailed pricing by repair type.
How long does stucco last in Southern California?+
Properly installed three-coat stucco lasts 50-80+ years in Southern California's climate. The most common failure points aren't the stucco itself — they're the supporting components: corroded weep screed, deteriorated building paper behind the stucco, and improperly sealed window flashing. Most "stucco failures" are actually moisture-intrusion failures that start at one of these points. Annual visual inspection catches problems before they spread, which is why we offer free weep screed assessments for homeowners in our service area.
Can I repair stucco myself, or do I need a contractor?+
Hairline cracks under 1/8 inch wide can be sealed with elastomeric caulk by a homeowner. Anything larger — pattern cracks, delamination (where stucco pulls away from the wall), water-damaged areas, or chimney/window leak repairs — requires a licensed contractor. Improper DIY repair on these is the #1 cause of repeat failures because the underlying cause (usually moisture) isn't addressed. California's CSLB requires a license for any stucco work over $500. Looking for a highly-rated stucco contractor in Southern California? We are a CSLB-licensed and insured team ready to help.
How do I know if I need stucco repair vs. full re-stucco?+
If less than 30% of an elevation has visible damage, repair is the right call. If you see large areas of cracking, multiple zones of delamination, or the underlying paper and lath have rotted across an entire wall, full re-stucco of that elevation is more cost-effective long-term. Our free assessment includes a moisture survey and lath inspection so you get a defensible recommendation either way — not just a quote pushing whichever option costs more.
Do you offer warranties on stucco work?+
Yes. Stucco Champions provides a written 5-year workmanship warranty on all stucco repairs and a 10-year warranty on full re-stucco. We're a CSLB-licensed and insured contractor (license #1122006 — verifiable at cslb.ca.gov), which means our work is backed by California's contractor licensing board, not just our own promise. Request a free estimate to see the warranty terms in writing before you sign anything.
How long does a stucco repair take?+
Most patch repairs are completed in 1-2 days, including a 24-hour cure time before texture matching and color application. Full re-stucco of a single elevation runs 5-7 working days because each coat (scratch, brown, finish) needs to cure properly before the next is applied. We schedule around weather — California stucco needs daytime temperatures above 50°F with no rain forecast for at least 24 hours after each coat. Our crew shows up on time, every time.