
How to Expertly Patch Small Holes in an Exterior Stucco Wall
Written by Stucco Champions — Southern California’s Authority on Exterior Plastering.
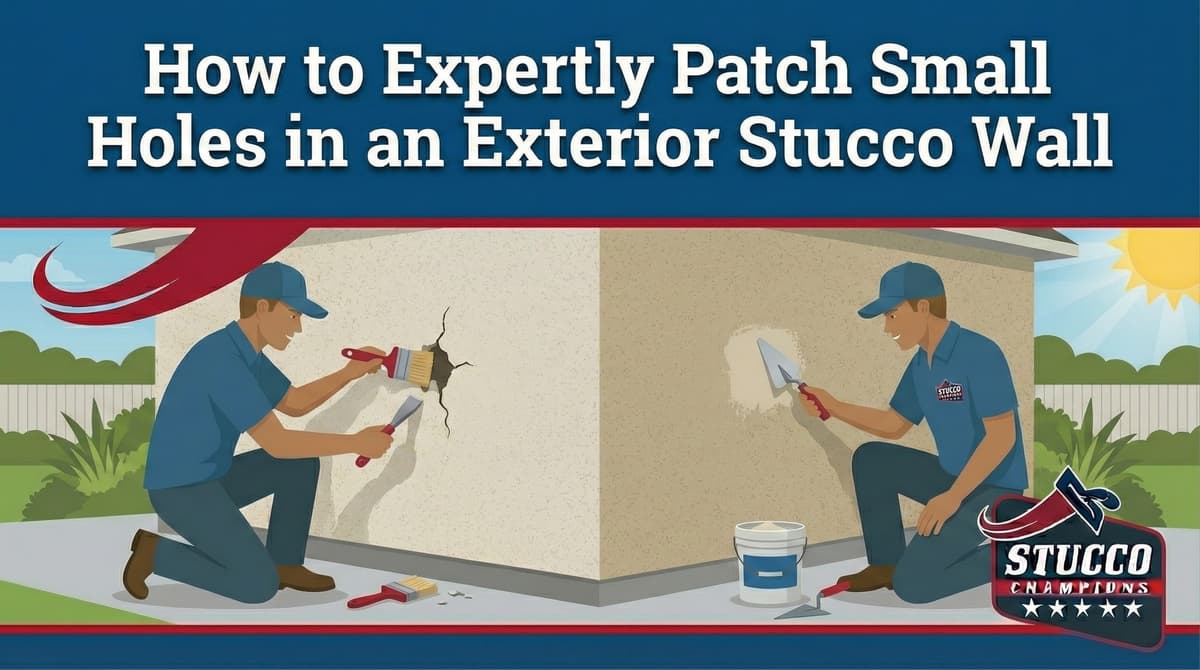
How to Expertly Patch Small Holes in Stucco: The Invisible Repair
Even the sturdiest stucco home can suffer from minor damage. Whether it’s from removing a satellite dish, an old flag mount, or just a stray golf ball, small holes (under 1 inch) are common. While they seem insignificant, they are entry points for moisture, insects, and dry rot.
This guide explains the professional method for sealing small voids. We move beyond simply "filling it with spackle" and focus on waterproofing and texture blending.
1. Preparation: Clean Before You Fill
You cannot patch a dirty hole. Stucco is porous and holds dust. If you apply filler over dust, it will fall out in a month.
The Protocol:
1. Use a small wire brush (automotive battery brushes work well) to scour the inside of the hole.
2. Blast the void with compressed air (or a can of keyboard cleaner) to remove all loose debris.
3. Verify the hole is dry. Do not patch over damp stucco.
Free Assessment
Noticing Stucco Damage?
Get a free on-site assessment from a licensed contractor. $0 deposit, no obligation.
GET FREE ASSESSMENT2. Step 1: The Waterproof Seal
Do not just fill the hole with stucco patch. Cement is porous. For deep holes (where a screw penetrated the paper), you must seal the envelope first.
The Product: Polyurethane
Inject a high-quality Polyurethane Sealant (like Sikaflex) into the depth of the hole. This creates a flexible, waterproof plug that protects the wood framing.
Tip: Leave the sealant slightly recessed (about 1/8 inch below the surface) to leave room for the texture coat.
3. Step 2: Texture Matching
Once the sealant cures (usually 24 hours), you apply the aesthetic finish. If you skip this, you will have a shiny, rubbery spot on your wall.
The Product: Use a Textured Acrylic Patch or a "Sanded" caulking. These products contain silica sand aggregate that mimics the grit of stucco.
- Application: Dab a small amount onto your finger (wear gloves).
- The Dab Method: Press the material into the divot and tap it repeatedly with your finger or a stiff brush. This "stippling" action creates a rough surface that blends with the surrounding sand finish.
⚠️ Do Not Use Silicone
Never use 100% silicone for exterior holes. Paint will not stick to it. You will be left with a permanent unpaintable spot that requires grinding to remove.
4. Step 3: Color Blending
A white patch on a beige wall is an eyesore.
Option A: Paint. If you have the original house paint, dab it onto the patch with a small brush after the texture cures.
Option B: Custom Match. If you don't have paint, take a small chip of your stucco (from a hidden area near the weep screed) to a paint store for a computer match. Buy a sample quart of flat exterior masonry paint.
Conclusion: Small Hole, Big Impact
Repairing small holes is a manageable task if done correctly. By focusing on the waterproof seal first and the texture second, you ensure the repair is not just cosmetic, but structural. For larger damage or cracks, contact a professional to assess the lath integrity.
Related Resources
Last week, we shared The Comprehensive Guide to Selecting the Right Sand. If you are mixing your own patch material, sand size is critical.