The Architectural Guide to Stucco Color Selection
Written by Stucco Champions — Southern California’s Authority on Exterior Plastering.
The Architectural Guide to Stucco Color Selection
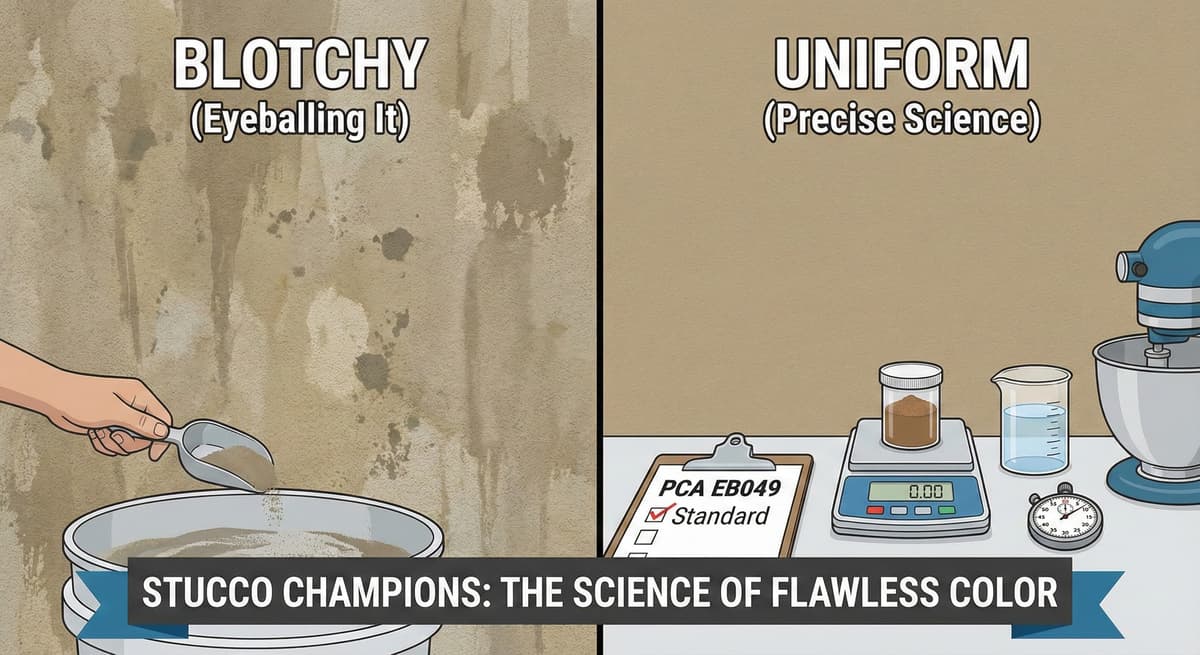
When homeowners in Southern California visualize an exterior renovation, color is often the primary focus. However, color in cementitious stucco behaves fundamentally differently than standard house paint. In stucco, the color is integral—it is mixed directly into the matrix of the finish coat.
Because multiple blog posts address the basic chemistry of grey versus white cement bases, this guide focuses on the architectural selection process. We detail how integral pigments behave, how texture alters human perception of color, and the reality of natural UV oxidation.
Free Assessment
Noticing Stucco Damage?
Get a free on-site assessment from a licensed contractor. $0 deposit, no obligation.
GET FREE ASSESSMENT1. Integral Color vs. Painted Color
Before selecting a palette, you must choose the chemistry of the finish coat.
Traditional Integral Cement (The Natural Aesthetic)
In a traditional cement finish, dry iron oxide pigments are mixed into the wet cement matrix. Because the color is locked inside the stone, it possesses a natural, earthy depth.
- The Advantage: High breathability and a low-maintenance, organic appearance.
- The Reality: Cement is not UV-stable. Over 10 to 15 years, the iron oxide pigments will naturally oxidize and fade. Dark colors (like deep terra cotta or forest green) will fade the fastest and may become slightly mottled. This is highly desirable for Mediterranean, Spanish, or "Old World" architecture, but inappropriate if you demand stark, uniform color retention.
Synthetic Acrylic Finishes (The Modern Aesthetic)
Acrylic finishes are liquid polymers tinted with high-grade architectural pigments, identical to premium paint.
- The Advantage: Absolute color uniformity and exceptional UV resistance. If you desire a stark, pure white for a modern home, or a deep charcoal grey that will never fade, a synthetic acrylic finish is the only structurally sound option.
2. The Science of Texture and Shadows
The texture of the wall physically alters how the human eye perceives the color formulation.
A color sample viewed on a flat piece of paper will look entirely different when applied to a textured wall.
- Rough Textures (Spanish Lace / Heavy Dash): The high peaks of the cement cast millions of microscopic shadows across the wall. These shadows absorb light, making the final color appear significantly darker than the paper swatch.
- Smooth Textures (Santa Barbara / Float Finish): A smooth wall reflects maximum sunlight. The identical color formulation applied in a smooth finish will appear lighter and brighter.
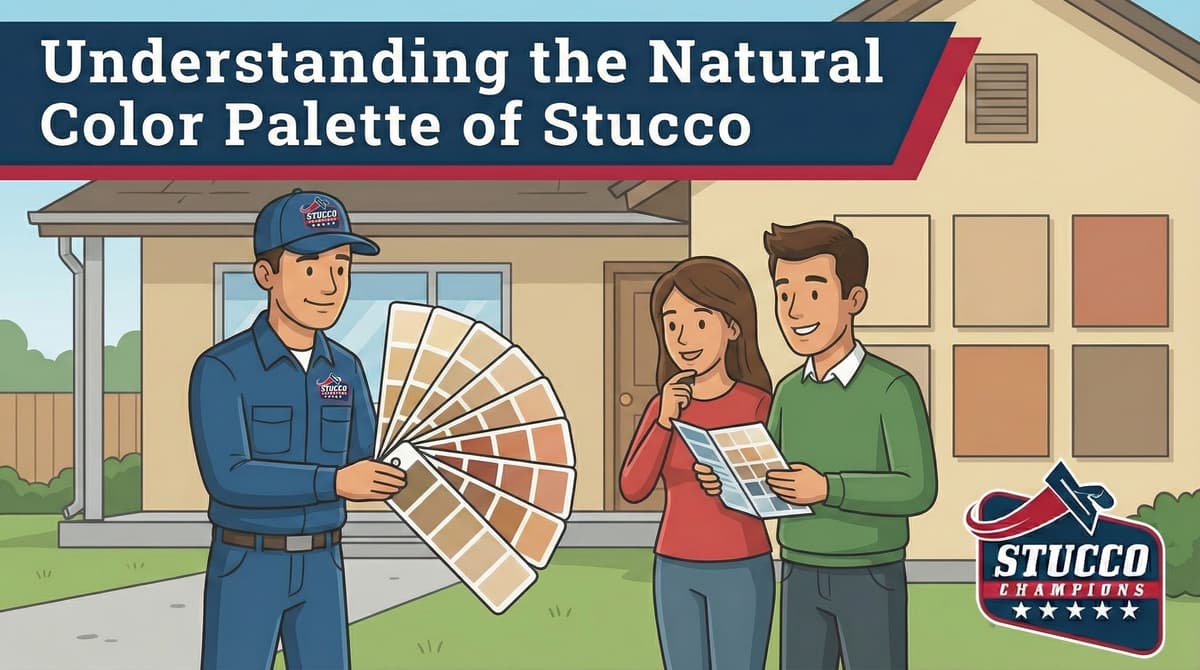
3. Environmental Influence: The Ambient Light Factor
In Southern California, the coastal sun dictates color behavior. A light beige may appear stark white under the intense midday sun, but shift to a warm peach hue during the "golden hour" of sunset.
The Professional Requirement: Never select a final color based on a digital render or a printed brochure. Always mandate that the contractor apply a physical 2x2 foot sample patch on the actual exterior wall, utilizing the exact texture specified. Observe this sample in the morning, at noon, and in the evening before approving the color.
Conclusion
Selecting a stucco color requires balancing the desired architectural style with the realities of cement chemistry. Embrace traditional integral colors for natural, evolving aesthetics, and utilize acrylics for stark, permanent uniformity. Understanding how texture and light interact with your cladding ensures your exterior performs exactly as designed.
Frequently Asked Questions About Stucco
How much does stucco repair cost in Orange County and Los Angeles?+
Stucco repair typically ranges from $500 for minor crack patching to $5,000+ for full re-stucco of a single elevation. The exact cost depends on the damage type (hairline cracks, water damage, delamination, weep screed failure), the square footage involved, and whether the original three-coat or one-coat stucco system needs to be matched. Stucco Champions provides fixed-price written estimates after a free on-site assessment — no hourly billing, no surprise change orders. See our stucco repair cost guide for detailed pricing by repair type.
How long does stucco last in Southern California?+
Properly installed three-coat stucco lasts 50-80+ years in Southern California's climate. The most common failure points aren't the stucco itself — they're the supporting components: corroded weep screed, deteriorated building paper behind the stucco, and improperly sealed window flashing. Most "stucco failures" are actually moisture-intrusion failures that start at one of these points. Annual visual inspection catches problems before they spread, which is why we offer free weep screed assessments for homeowners in our service area.
Can I repair stucco myself, or do I need a contractor?+
Hairline cracks under 1/8 inch wide can be sealed with elastomeric caulk by a homeowner. Anything larger — pattern cracks, delamination (where stucco pulls away from the wall), water-damaged areas, or chimney/window leak repairs — requires a licensed contractor. Improper DIY repair on these is the #1 cause of repeat failures because the underlying cause (usually moisture) isn't addressed. California's CSLB requires a license for any stucco work over $500. Looking for a highly-rated stucco contractor in Southern California? We are a CSLB-licensed and insured team ready to help.
How do I know if I need stucco repair vs. full re-stucco?+
If less than 30% of an elevation has visible damage, repair is the right call. If you see large areas of cracking, multiple zones of delamination, or the underlying paper and lath have rotted across an entire wall, full re-stucco of that elevation is more cost-effective long-term. Our free assessment includes a moisture survey and lath inspection so you get a defensible recommendation either way — not just a quote pushing whichever option costs more.
Do you offer warranties on stucco work?+
Yes. Stucco Champions provides a written 5-year workmanship warranty on all stucco repairs and a 10-year warranty on full re-stucco. We're a CSLB-licensed and insured contractor (license #1122006 — verifiable at cslb.ca.gov), which means our work is backed by California's contractor licensing board, not just our own promise. Request a free estimate to see the warranty terms in writing before you sign anything.
How long does a stucco repair take?+
Most patch repairs are completed in 1-2 days, including a 24-hour cure time before texture matching and color application. Full re-stucco of a single elevation runs 5-7 working days because each coat (scratch, brown, finish) needs to cure properly before the next is applied. We schedule around weather — California stucco needs daytime temperatures above 50°F with no rain forecast for at least 24 hours after each coat. Our crew shows up on time, every time.
Related Professional Services
A licensed assessment identifies the cause before the finish is opened or replaced.