How to Match 1980s Commercial Stucco Texture
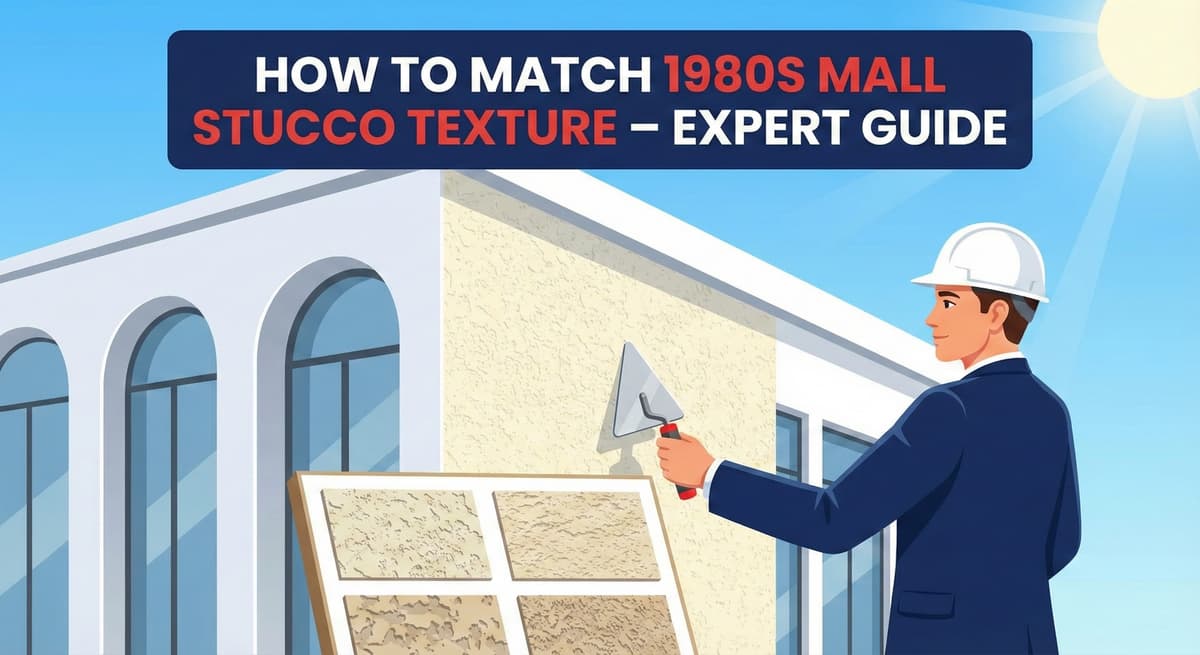
If you own a commercial property, a strip center, or an apartment complex built in Southern California between 1975 and 1990, you likely have what the industry calls "The Mall Texture."
This distinct, heavy-duty finish—characterized by deep vertical grooves intersecting a rough, horizontal broom finish—was a massive hallmark of Post-Modern commercial architecture.
Replicating this exact look today during a repair or renovation is becoming a lost art. Unlike standard residential finishes that are applied in a thin 1/8" layer, the 80s Mall Texture requires physically manipulating the structural Brown Coat to achieve massive depth. If you try to match this texture using standard finish coat materials, it will look flat, cheap, and completely fake. This guide explains the technical protocol for restoring this commercial finish.
1. The Anatomy of the "Mall Finish"
This texture is not a surface application; it is a structural architectural relief carved into the cement.
- The Pattern: Rough, horizontal broom or brush strokes intersected by deep, perfectly straight vertical lines (grooves) spaced evenly across the wall (often 12" or 24" on center).
- The Depth: The vertical grooves are often 1/2" to 3/4" deep into the wall. This means the stucco cement layer itself must be significantly thicker than a standard residential application to allow room for carving.
Free Assessment
Noticing Stucco Damage?
Get a free on-site assessment from a licensed contractor. $0 deposit, no obligation.
GET FREE ASSESSMENT2. Step 1: Substrate Preparation
Many of these 80s commercial buildings are built using Tilt-Up Concrete panels, not wood framing.
If you are patching over an existing concrete tilt-up wall, you cannot just trowel wet cement onto it and expect it to stick.
- Bonding Agent: You must first apply a high-quality liquid bonder (like Weld-Crete) to the thoroughly cleaned concrete.
- Mechanical Key: For incredibly deep patches, we must install heavy metal lath, anchored directly into the concrete with masonry pins, to support the massive dead weight of the new mortar.
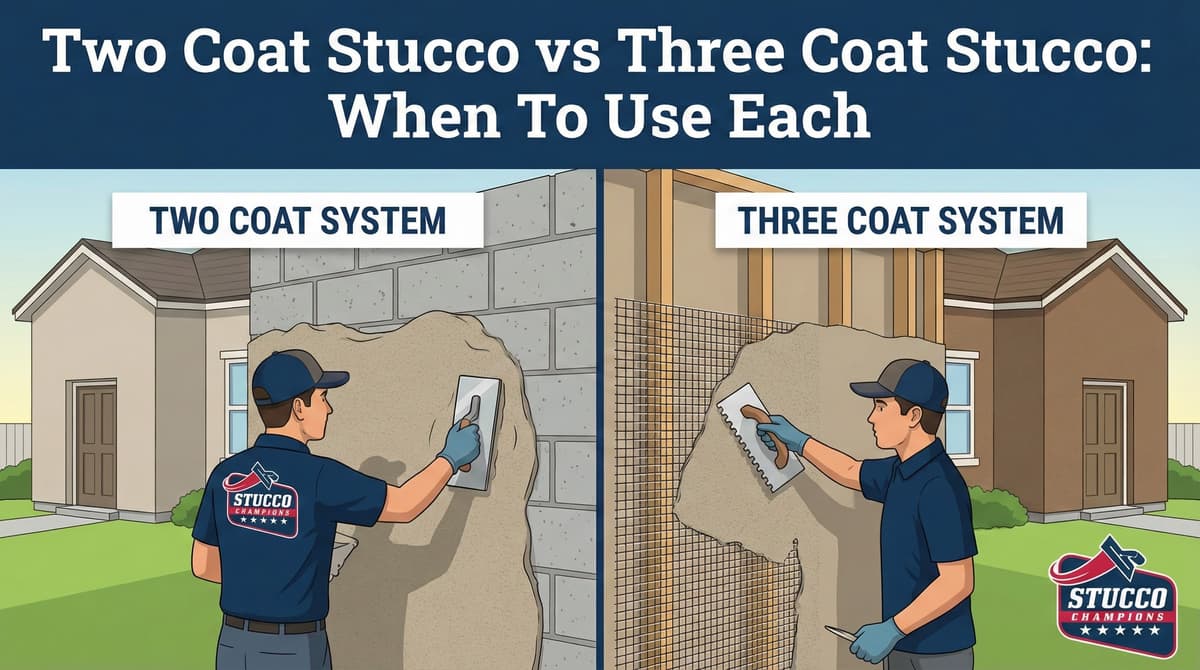
3. Step 2: The Brown Coat (The Canvas)
This is where the actual texture is created. You do not use a separate, colored "Finish Coat" product for this style. You texturize the heavy Brown Coat itself (a thick mix of Plastic Cement and coarse Masonry Sand).
- Application: The mortar is applied exceptionally thick (approximately 3/4"). Plasterers rod it perfectly flat and true with an aluminum straightedge.
- Timing: You must wait for the cement to become "Green" (firm to the touch but not rock hard). If it is too wet, the grooves will slump and sag. If it is too dry, you cannot carve it. Timing is everything.
4. Step 3: The Texturing Process
Once the wall is flat and firmly "green," the artisan work begins.
The Horizontal Texture
Using a stiff-bristle dash brush or a coarse concrete broom, the plasterer drags the bristles horizontally across the wet cement. This creates the rough, linear grain that defines the background of the wall.
The Vertical Grooves (The Signature)
This requires precision layout and specific tools.
- Snap Lines: Use a chalk line to mark the exact vertical spacing to match the existing wall.
- The Tool: Use a heavy Concrete Groover (typically used for cutting control joints in sidewalks) or a custom-bent piece of sheet metal.
- The Cut: Run the tool firmly down the chalk line, physically carving out the cement to create the deep reveal. A straightedge guide is used to ensure the line is perfectly plumb.
Do not cut too deep. If the plasterer carves the groove all the way down to the wire lath, the metal is immediately exposed to moisture. The carved groove must stop at least 1/4" above the wire skeleton to ensure the steel remains fully encapsulated in cement and rust-free.
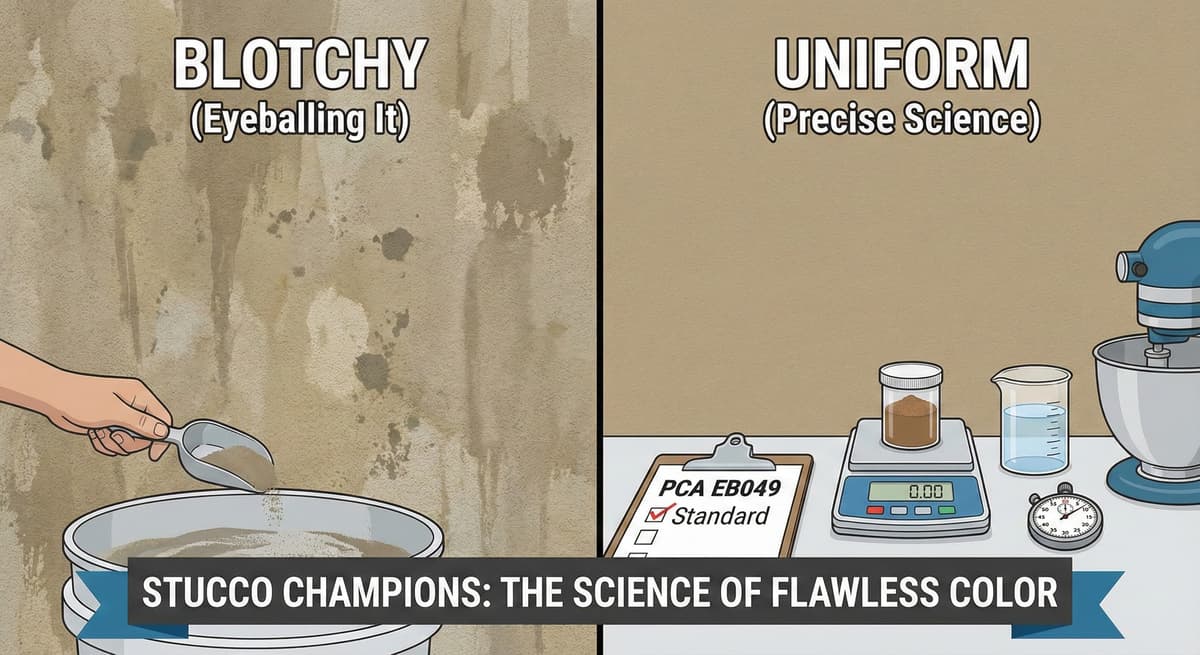
5. Step 4: Color Consistency
These 1980s buildings were rarely integrally colored; they were almost always painted or fog-coated in flat grey, beige, or white.
The Blend: Once the deep patch fully cures (a minimum of 7 to 14 days), we highly recommend Fog Coating or heavily painting the entire wall section. Paint absorbs beautifully into the rough horizontal broom texture, completing the retro commercial look.
Conclusion: A Heavy-Duty Restoration
Matching the "80s Mall Texture" is absolutely not a DIY project. It requires a highly skilled commercial plasterer who knows how to work with excessively heavy brown coats and understands the critical timing of cement curing. It is much closer to flatwork concrete finishing than modern stucco application.
A note on fog coat: Stucco Champions does not fog coat older or previously repaired walls. On aged stucco a fog coat telegraphs existing cracks, patch lines, and prior repairs, and it bonds poorly to a rough, chalky, or previously coated surface, so it can dust off or peel. Those walls get a fresh finish coat (re-stucco) instead.
Frequently Asked Questions About Stucco
How much does stucco repair cost in Orange County and Los Angeles?+
Stucco repair typically ranges from $500 for minor crack patching to $5,000+ for full re-stucco of a single elevation. The exact cost depends on the damage type (hairline cracks, water damage, delamination, weep screed failure), the square footage involved, and whether the original three-coat or one-coat stucco system needs to be matched. Stucco Champions provides fixed-price written estimates after a free on-site assessment — no hourly billing, no surprise change orders. See our stucco repair cost guide for detailed pricing by repair type.
How long does stucco last in Southern California?+
Properly installed three-coat stucco lasts 50-80+ years in Southern California's climate. The most common failure points aren't the stucco itself — they're the supporting components: corroded weep screed, deteriorated building paper behind the stucco, and improperly sealed window flashing. Most "stucco failures" are actually moisture-intrusion failures that start at one of these points. Annual visual inspection catches problems before they spread, which is why we offer free weep screed assessments for homeowners in our service area.
Can I repair stucco myself, or do I need a contractor?+
Hairline cracks under 1/8 inch wide can be sealed with elastomeric caulk by a homeowner. Anything larger — pattern cracks, delamination (where stucco pulls away from the wall), water-damaged areas, or chimney/window leak repairs — requires a licensed contractor. Improper DIY repair on these is the #1 cause of repeat failures because the underlying cause (usually moisture) isn't addressed. California's CSLB requires a license for any stucco work over $500. Looking for a highly-rated stucco contractor in Southern California? We are a CSLB-licensed and insured team ready to help.
How do I know if I need stucco repair vs. full re-stucco?+
If less than 30% of an elevation has visible damage, repair is the right call. If you see large areas of cracking, multiple zones of delamination, or the underlying paper and lath have rotted across an entire wall, full re-stucco of that elevation is more cost-effective long-term. Our free assessment includes a moisture survey and lath inspection so you get a defensible recommendation either way — not just a quote pushing whichever option costs more.
Do you offer warranties on stucco work?+
Yes. Stucco Champions provides a written 5-year workmanship warranty on all stucco repairs and a 10-year warranty on full re-stucco. We're a CSLB-licensed and insured contractor (license #1122006 — verifiable at cslb.ca.gov), which means our work is backed by California's contractor licensing board, not just our own promise. Request a free estimate to see the warranty terms in writing before you sign anything.
How long does a stucco repair take?+
Most patch repairs are completed in 1-2 days, including a 24-hour cure time before texture matching and color application. Full re-stucco of a single elevation runs 5-7 working days because each coat (scratch, brown, finish) needs to cure properly before the next is applied. We schedule around weather — California stucco needs daytime temperatures above 50°F with no rain forecast for at least 24 hours after each coat. Our crew shows up on time, every time.