Fixing Stucco Rust Stains: Surface Damage or Structural Decay?
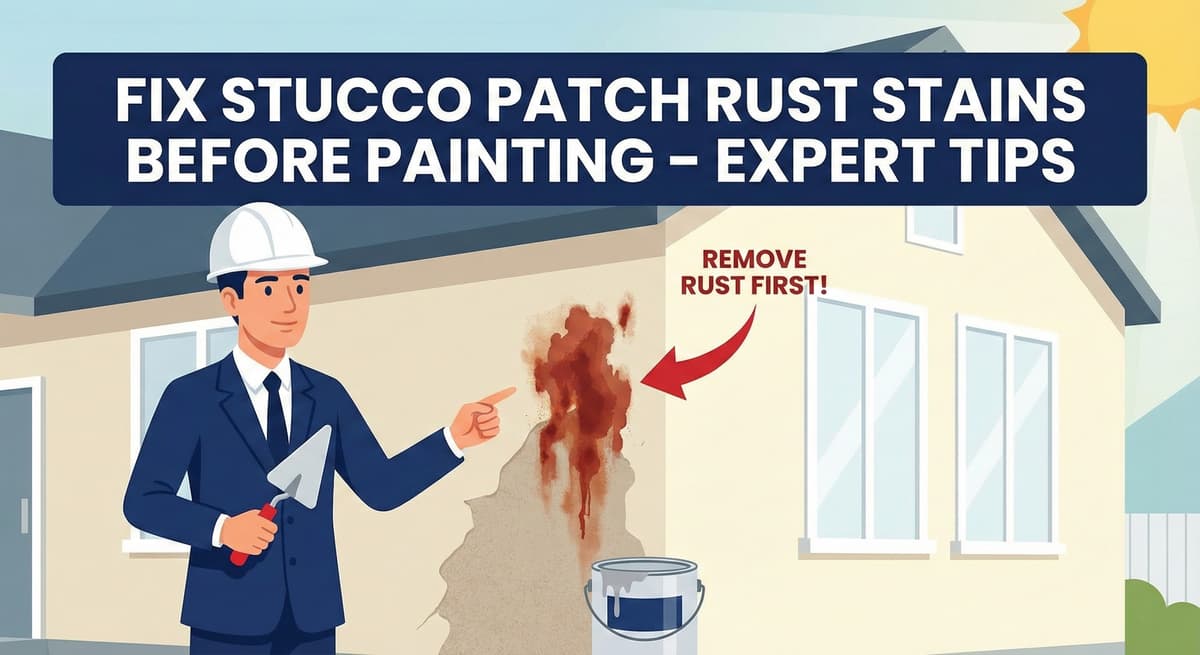
Seeing an orange or brown streak weeping down your freshly patched stucco is a homeowner’s nightmare. In Southern California, where coastal salt air rapidly accelerates corrosion, rust stains are more than just an eyesore—they are a critical diagnostic symptom.
Rust means metal is actively oxidizing. The critical question is: Which metal? Is it a harmless surface nail head, or is the structural wire lath dissolving inside your wall? Before you attempt to paint over a stain, you must identify the source. If you don't, the rust will bleed straight back through your new paint within months.
1. Diagnosis: Surface Rust vs. Rust Jacking
Not all stains are created equal. Before attempting a repair, categorize the issue:
- Surface Rust (Minor): Usually caused by an external ferrous metal touching the wall—a rusty light fixture, an iron railing bolt, or a cheap, non-galvanized nail head left close to the surface. This is entirely cosmetic.
- Rust Jacking (Major Structural Failure): If the brown stain is weeping out of a crack, or if the stucco itself is physically bulging outward, the internal wire lath skeleton is actively corroding. As steel rusts, it expands to 4x its original volume. This massive expansion (jacking) physically pushes the stucco off the wall. This is a structural failure.
Free Assessment
Noticing Stucco Damage?
Get a free on-site assessment from a licensed contractor. $0 deposit, no obligation.
GET FREE ASSESSMENT2. The Rust Crisis: When the Skeleton Fails
In coastal Southern California (Newport, Laguna, Huntington Beach), the number one cause of catastrophic stucco delamination is Corroded Wire Lath.
When moisture penetrates the stucco and reaches the galvanized wire mesh, the zinc coating eventually fails, and the steel begins to oxidize. The resulting "Rust Jacking" destroys the bond between the cement and the wall.
Why You Cannot Simply Patch Over Rust
A common handyman mistake is to simply chip off the loose, bulging stucco, apply a bonding agent directly over the rusty wire, and patch it with new cement. This guarantees failure.
Rust is "infectious." If you leave active oxidation inside the wall cavity, it will continue to eat the metal, even under the new patch. Within months, brown stains will bleed through, and the new patch will pop right off.
The Professional "Chasing" Protocol
To fix this correctly, we must perform a radical excision:
- The Chase: We start at the visible damage and aggressively cut the stucco back with a diamond grinder. We continue removing stucco until we hit clean, shiny, un-rusted galvanized wire. Sometimes a small 6-inch crack reveals 4 feet of rotted wire. We do not stop until the metal is sound.
- The Lap: We cut out the rotten wire and install new mesh that overlaps the clean existing wire by a minimum of 2 inches. We use tie-wire to mechanically lock the new skeleton to the old one, ensuring structural continuity across the patch.
If you live within 5 miles of the ocean, standard galvanized lath may not survive long-term. For repairs in these extreme zones, we highly recommend upgrading the repair area to Stainless Steel Lath or Non-Metallic (Fiberglass) Lath. These materials are completely impervious to salt air and will never rust again.
3. The "Cover-Up" Mistake
The most common DIY error we see is homeowners applying paint primer directly over active rust.
Why this fails: Rust is chemically active. Unless you neutralize the oxidation or physically remove the source, it will eat through standard primers and exterior paints. You cannot simply seal rust in; you must treat it chemically.
4. The Repair Protocol (Surface Issues)
If the rust is isolated to the surface (e.g., a bleeding nail head):
- Expose and Clean: Chip away a tiny amount of stucco to expose the corroding metal nail. Scrub the area with a wire brush to remove loose scale.
- Neutralize: Treat the exposed metal with a chemical Rust Converter (like Ospho) or a Zinc-Rich cold galvanizing spray. This turns the active iron oxide into a stable, inert chemical compound.
- The Patch: Once the metal is treated, patch the void with a polymer-modified stucco patch, ensuring you match the surrounding texture (Sand or Lace).
5. The "Bleed-Through" Blocker: Priming
Even after treating the metal, microscopic rust residue can still stain new paint. You must use a specific type of primer to lock it in.
- Product Recommendation: Do not use standard drywall primer. You must use a heavy-duty Stain-Blocking Masonry Primer (like oil-based Zinsser Cover Stain or Kilz). Apply two coats directly over the repair area to lock in any residual minerals before applying your final finish color.
Conclusion: Treat the Source
Rust is exactly like a cavity in a tooth; ignoring it only makes the eventual repair larger and more expensive. Catch it early, treat the metal, block the stain, and seal the envelope.
Frequently Asked Questions About Stucco
How much does stucco repair cost in Orange County and Los Angeles?+
Stucco repair typically ranges from $500 for minor crack patching to $5,000+ for full re-stucco of a single elevation. The exact cost depends on the damage type (hairline cracks, water damage, delamination, weep screed failure), the square footage involved, and whether the original three-coat or one-coat stucco system needs to be matched. Stucco Champions provides fixed-price written estimates after a free on-site assessment — no hourly billing, no surprise change orders. See our stucco repair cost guide for detailed pricing by repair type.
How long does stucco last in Southern California?+
Properly installed three-coat stucco lasts 50-80+ years in Southern California's climate. The most common failure points aren't the stucco itself — they're the supporting components: corroded weep screed, deteriorated building paper behind the stucco, and improperly sealed window flashing. Most "stucco failures" are actually moisture-intrusion failures that start at one of these points. Annual visual inspection catches problems before they spread, which is why we offer free weep screed assessments for homeowners in our service area.
Can I repair stucco myself, or do I need a contractor?+
Hairline cracks under 1/8 inch wide can be sealed with elastomeric caulk by a homeowner. Anything larger — pattern cracks, delamination (where stucco pulls away from the wall), water-damaged areas, or chimney/window leak repairs — requires a licensed contractor. Improper DIY repair on these is the #1 cause of repeat failures because the underlying cause (usually moisture) isn't addressed. California's CSLB requires a license for any stucco work over $500. Looking for a highly-rated stucco contractor in Southern California? We are a CSLB-licensed and insured team ready to help.
How do I know if I need stucco repair vs. full re-stucco?+
If less than 30% of an elevation has visible damage, repair is the right call. If you see large areas of cracking, multiple zones of delamination, or the underlying paper and lath have rotted across an entire wall, full re-stucco of that elevation is more cost-effective long-term. Our free assessment includes a moisture survey and lath inspection so you get a defensible recommendation either way — not just a quote pushing whichever option costs more.
Do you offer warranties on stucco work?+
Approved stucco repair work includes a 1-year written workmanship warranty. The applicable terms are documented with the approved scope. Stucco Champions is CSLB licensed and insured; verify license #1122006 through the official state lookup. Request a free estimate to review the scope and warranty terms before you sign.
How long does a stucco repair take?+
Most patch repairs are completed in 1-2 days, including a 24-hour cure time before texture matching and color application. Full re-stucco of a single elevation runs 5-7 working days because each coat (scratch, brown, finish) needs to cure properly before the next is applied. We schedule around weather — California stucco needs daytime temperatures above 50°F with no rain forecast for at least 24 hours after each coat. Our crew shows up on time, every time.
Stucco Diagnostics & Calculators
Diagnose specific wall damage symptoms or estimate job scope with our free guides and calculators.
Related Professional Services
A licensed assessment identifies the cause before the finish is opened or replaced.