Identifying and Repairing Stucco Cracks: Cosmetic vs. Serious
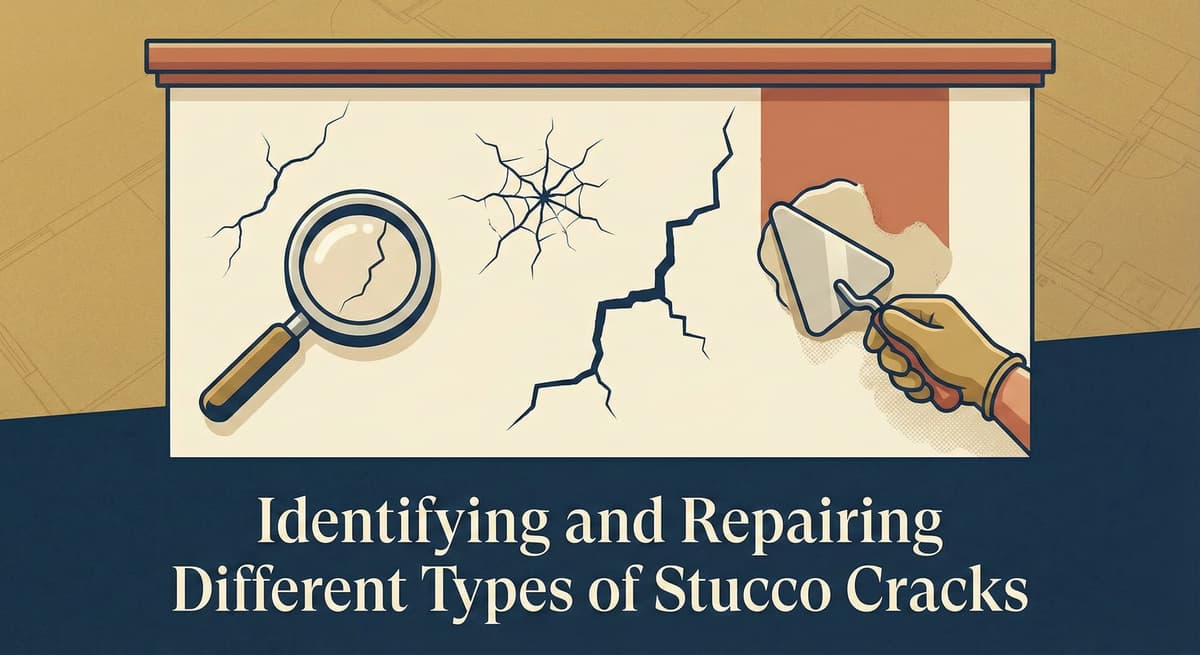
Stucco cracks should be evaluated, not exaggerated. Portland cement plaster is rigid, so occasional hairline cracking can happen under normal stress. The important job is to separate stable cosmetic cracks from signs of movement, moisture intrusion, corrosion, delamination, or failed flashing.
SMA guidance is clear that an occasional hairline crack is not automatically a leak. PCA repair guidance gives practical thresholds: cracks wider than about 1/16 inch, visible from more than 10 feet away, or associated with leakage should be repaired.
Start With Four Questions
- How wide is the crack? Hairline cracks are different from cracks wider than 1/16 inch or 1/8 inch.
- Is the surface flat? Offset edges, bulging, or hollow sound suggest a deeper problem.
- Where is it? Cracks at windows, doors, rooflines, decks, penetrations, or wall bases deserve more caution.
- Is there moisture evidence? Rust stains, interior staining, efflorescence, soft drywall, or musty odors change the repair scope.
Free Assessment
Noticing Stucco Damage?
Get a free on-site assessment from a licensed contractor. $0 deposit, no obligation.
GET FREE ASSESSMENTCommon Stucco Crack Types
1. Hairline Cracks
Appearance: Very narrow, flat, and usually shallow.
Likely concern: Often cosmetic, especially if isolated and stable.
Repair approach: Monitor first. If repair is desired for appearance or weather exposure, use a compatible textured exterior sealant or finish repair material. Do not smear a wide shiny band over the wall.
2. Cracks Wider Than About 1/16 Inch
Appearance: Visible from a distance, often open enough to collect dirt or water.
Likely concern: PCA notes cracks wider than about 1/16 inch within early installation periods can be filled or repaired with color coat material, and cracks visible from more than 10 feet or leaking should be patched.
Repair approach: Clean, evaluate depth, and repair with compatible stucco materials or a properly detailed patch. The finish texture should be matched after the base repair is sound.
3. Window and Door Corner Cracks
Appearance: Diagonal cracks from corners of windows, doors, vents, or other openings.
Likely concern: Openings concentrate stress and are also common flashing locations. A small stable crack may be cosmetic; a recurring, widening, or leaking crack can indicate movement or water-management failure.
Repair approach: Do not just caulk and paint if the area is leaking or repeatedly cracking. The repair may need to expose the area, restore WRB/flashing continuity, and patch the plaster assembly.
4. Map Cracking or Crazing
Appearance: A network of very fine shallow cracks across a finish area.
Likely concern: Often related to finish coat, mix, curing, drying, or application conditions. It can be mostly cosmetic, but it should be checked for bond and moisture symptoms.
Repair approach: Individual crack filling usually looks poor. Depending on severity, options may include fog coat/color correction, compatible coating, or resurfacing after the cause is understood.
5. Offset, Bulging, Hollow, or Rust-Stained Cracks
Appearance: One side of the crack is proud, plaster sounds hollow when tapped, the wall bulges, or brown rust staining appears.
Likely concern: These are not cosmetic. Hollow sound can indicate delamination. Rust staining can indicate moisture reaching metal lath or fasteners.
Repair approach: A professional should open the affected area, identify the cause, restore WRB/lath/flashing as needed, and rebuild the plaster patch in layers.
What Crack Patterns Can Suggest
- Regular vertical or horizontal lines: May follow sheathing edges, lath laps, framing movement, or control joint locations. Confirm before assuming.
- Diagonal cracks at openings: May indicate stress concentration or flashing/termination issues.
- Cracks at material transitions: Wood, masonry, trim, foam shapes, and plaster move differently. Joints and sealant details matter.
- Cracks near the base of the wall: Check weep screed, grade clearance, irrigation splash, and trapped moisture.
DIY vs. Professional Repair
Reasonable DIY Scope
- Small, stable hairline cracks with no leak signs.
- Minor surface touch-ups where the plaster is solid and flat.
- Texture blending on non-critical areas after testing the material first.
Professional Scope
- Cracks wider than 1/16 inch that are visible from distance or keep reopening.
- Any leaking, rust staining, bulging, hollow sound, or delamination.
- Cracks at windows, doors, decks, rooflines, or penetrations.
- Large areas of map cracking, failed coating, or poor bond.
How a Proper Stucco Crack Repair Is Built
For deeper plaster repairs, PCA recommends replacing patch material in thin consecutive layers and finishing to match the surrounding plaster. A proper repair may include cutting out unsound material, correcting WRB/flashing/lath problems, applying compatible base-coat plaster, curing, and then matching the finish coat texture and color.
Bottom Line
Do not panic over every hairline crack, and do not ignore cracks that show movement or moisture. Width, location, soundness, staining, and recurrence determine whether the repair is cosmetic or system-level.
Related guide: What Is a Three-Coat Stucco System?
Looking for local assistance? Contact our stucco patching in Aliso Viejo today.
A note on fog coat: Stucco Champions does not fog coat older or previously repaired walls. On aged stucco a fog coat telegraphs existing cracks, patch lines, and prior repairs, and it bonds poorly to a rough, chalky, or previously coated surface, so it can dust off or peel. Those walls get a fresh finish coat (re-stucco) instead.
Frequently Asked Questions About Stucco
How much does stucco repair cost in Orange County and Los Angeles?+
Small stucco patches start at $650, larger repairs start at $1,200, and re-stucco of a single elevation up to about 400 sq ft runs about $1,400 - $5,900+. The exact cost depends on the damage type (hairline cracks, water damage, delamination, weep screed failure), the square footage involved, and whether the original three-coat or one-coat stucco system needs to be matched. Stucco Champions provides fixed-price written estimates after a free on-site assessment — no hourly billing, no surprise change orders. See our stucco repair cost guide for detailed pricing by repair type.
How long does stucco last in Southern California?+
Properly installed three-coat stucco lasts 50-80+ years in Southern California's climate. The most common failure points aren't the stucco itself — they're the supporting components: corroded weep screed, deteriorated building paper behind the stucco, and improperly sealed window flashing. Most "stucco failures" are actually moisture-intrusion failures that start at one of these points. Annual visual inspection catches problems before they spread, which is why we offer free weep screed assessments for homeowners in our service area.
Can I repair stucco myself, or do I need a contractor?+
Hairline cracks under 1/8 inch wide can be sealed with elastomeric caulk by a homeowner. Anything larger — pattern cracks, delamination (where stucco pulls away from the wall), water-damaged areas, or chimney/window leak repairs — requires a licensed contractor. Improper DIY repair on these is the #1 cause of repeat failures because the underlying cause (usually moisture) isn't addressed. California's CSLB requires a license for any stucco work over $500. Looking for a highly-rated stucco contractor in Southern California? We are a CSLB-licensed and insured team ready to help.
How do I know if I need stucco repair vs. full re-stucco?+
If less than 30% of an elevation has visible damage, repair is the right call. If you see large areas of cracking, multiple zones of delamination, or the underlying paper and lath have rotted across an entire wall, full re-stucco of that elevation is more cost-effective long-term. Our free assessment includes a moisture survey and lath inspection so you get a defensible recommendation either way — not just a quote pushing whichever option costs more.
Do you offer warranties on stucco work?+
Approved stucco repair work includes a 1-year written workmanship warranty. The applicable terms are documented with the approved scope. Stucco Champions is CSLB licensed and insured; verify license #1122006 through the official state lookup. Request a free estimate to review the scope and warranty terms before you sign.
How long does a stucco repair take?+
Most patch repairs are completed in 1-2 days, including a 24-hour cure time before texture matching and color application. Full re-stucco of a single elevation runs 5-7 working days because each coat (scratch, brown, finish) needs to cure properly before the next is applied. We schedule around weather — California stucco needs daytime temperatures above 50°F with no rain forecast for at least 24 hours after each coat. Our crew shows up on time, every time.
Stucco Diagnostics & Calculators
Diagnose specific wall damage symptoms or estimate job scope with our free guides and calculators.
Related Professional Services
A licensed assessment identifies the cause before the finish is opened or replaced.