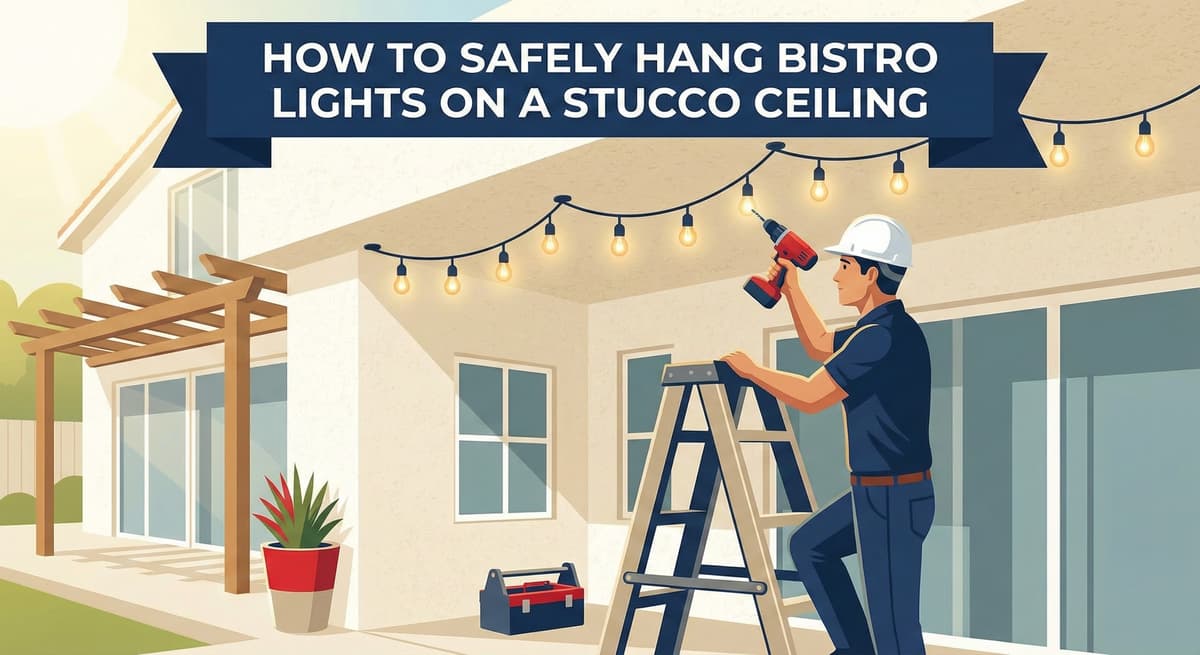
How to Safely Hang Bistro Lights on a Stucco Ceiling
Written by Stucco Champions — Southern California’s Authority on Exterior Plastering.
How to Safely Hang Bistro Lights on a Stucco Ceiling
Bistro lights (or string lights) have become a staple of Southern California patio design. However, attaching them to a stucco soffit or ceiling is tricky. Stucco is a brittle, non-structural finish. If you screw a hook directly into the cement without hitting a rafter, the tension of the cable can rip the hook out, taking a chunk of stucco with it.
This guide explains the structural requirements for overhead mounting, ensuring your lights stay up during the Santa Ana winds without damaging your home's envelope.
Free Assessment
Noticing Stucco Damage?
Get a free on-site assessment from a licensed contractor. $0 deposit, no obligation.
GET FREE ASSESSMENT1. The Physics of Tension
Bistro lights are heavy, especially commercial-grade strands with glass bulbs. When stretched across a patio, they create significant lateral tension.
The Rule: Never rely on the stucco itself to hold this load. You must anchor into the wood framing (rafters or joists) beneath the stucco.
2. Finding the Rafters (The Hard Part)
Unlike drywall, you cannot easily use a stud finder through 7/8" of wire-reinforced cement.
Technique A: Look at the Fascia. Go outside and look at the rafter tails (the exposed wood ends under the roof). These usually line up perfectly with the rafters inside the soffit. Follow that line back.
Technique B: The Knock Test. Tap the ceiling with a rubber mallet. A dull thud indicates a joist; a hollow ring indicates empty space.
3. The Installation Protocol
Step A: Drilling the Pilot Hole
1. Mark your spot on the rafter line.
2. Use a Masonry Bit to drill through the stucco shell first.
3. Switch to a Wood Bit to drill into the rafter.
Note: The pilot hole in the wood must be smaller than the screw shank to ensure a tight bite.
Step B: The Waterproof Seal
Every hole in a ceiling is a potential leak point, especially if it's near the roof edge.
Inject Sealant: Fill the hole with 100% Silicone or Polyurethane before inserting the hook. As you screw it in, the sealant will coat the threads and seal the penetration.
Step C: The Hardware
Use Stainless Steel Screw Eyes (Lag Thread). Do not use open cup hooks, as wind can lift the wire out. Stainless steel prevents rust stains from bleeding onto your stucco.
4. Alternative: What if I Can't Find a Rafter?
If your layout requires a hook where there is no wood, you must use a Toggle Bolt (SnapToggle).
How it works: You drill a larger hole through the stucco and lath. The metal wings of the toggle flip open inside the ceiling cavity, distributing the weight across a larger area of the stucco backing.
Warning: Only use this for light loads. Do not tighten a heavy steel tension cable to a toggle bolt.
5. The Guide Wire System
For spans over 10 feet, do not hang the lights directly on the hooks. The copper wire inside the light strand will stretch and eventually break.
The Pro Method: Install a galvanized steel aircraft cable (guide wire) first. Pull it tight with a turnbuckle. Then, zip-tie your bistro lights to this cable. This transfers all the tension to the steel cable, protecting your expensive lights.
Conclusion: Anchor Deep
Stucco ceilings are fragile. By taking the time to locate rafters and using the correct lag screws, you ensure your patio lighting is safe and secure. When in doubt, use a guide wire to support the weight.
Related ResourcesLast week, we shared Can You Drill Into Stucco?. This guide covers the specific drill bits needed for overhead work.
Frequently Asked Questions About Stucco
How much does stucco repair cost in Orange County and Los Angeles?+
Stucco repair typically ranges from $500 for minor crack patching to $5,000+ for full re-stucco of a single elevation. The exact cost depends on the damage type (hairline cracks, water damage, delamination, weep screed failure), the square footage involved, and whether the original three-coat or one-coat stucco system needs to be matched. Stucco Champions provides fixed-price written estimates after a free on-site assessment — no hourly billing, no surprise change orders. See our stucco repair cost guide for detailed pricing by repair type.
How long does stucco last in Southern California?+
Properly installed three-coat stucco lasts 50-80+ years in Southern California's climate. The most common failure points aren't the stucco itself — they're the supporting components: corroded weep screed, deteriorated building paper behind the stucco, and improperly sealed window flashing. Most "stucco failures" are actually moisture-intrusion failures that start at one of these points. Annual visual inspection catches problems before they spread, which is why we offer free weep screed assessments for homeowners in our service area.
Can I repair stucco myself, or do I need a contractor?+
Hairline cracks under 1/8 inch wide can be sealed with elastomeric caulk by a homeowner. Anything larger — pattern cracks, delamination (where stucco pulls away from the wall), water-damaged areas, or chimney/window leak repairs — requires a licensed contractor. Improper DIY repair on these is the #1 cause of repeat failures because the underlying cause (usually moisture) isn't addressed. California's CSLB requires a license for any stucco work over $500. Looking for a highly-rated stucco contractor in Southern California? We are a CSLB-licensed and insured team ready to help.
How do I know if I need stucco repair vs. full re-stucco?+
If less than 30% of an elevation has visible damage, repair is the right call. If you see large areas of cracking, multiple zones of delamination, or the underlying paper and lath have rotted across an entire wall, full re-stucco of that elevation is more cost-effective long-term. Our free assessment includes a moisture survey and lath inspection so you get a defensible recommendation either way — not just a quote pushing whichever option costs more.
Do you offer warranties on stucco work?+
Yes. Stucco Champions provides a written 5-year workmanship warranty on all stucco repairs and a 10-year warranty on full re-stucco. We're a CSLB-licensed and insured contractor (license #1122006 — verifiable at cslb.ca.gov), which means our work is backed by California's contractor licensing board, not just our own promise. Request a free estimate to see the warranty terms in writing before you sign anything.
How long does a stucco repair take?+
Most patch repairs are completed in 1-2 days, including a 24-hour cure time before texture matching and color application. Full re-stucco of a single elevation runs 5-7 working days because each coat (scratch, brown, finish) needs to cure properly before the next is applied. We schedule around weather — California stucco needs daytime temperatures above 50°F with no rain forecast for at least 24 hours after each coat. Our crew shows up on time, every time.