Fixing Stucco Cracks: Repair Options That Last
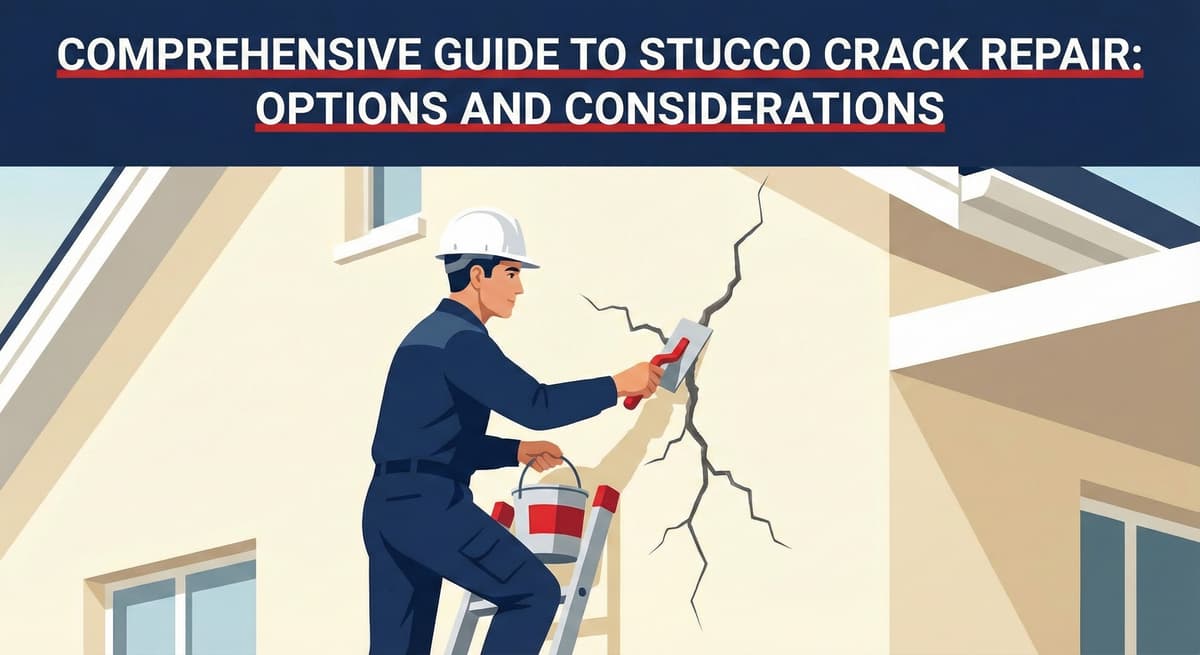
Fixing stucco cracks starts with one decision: are you sealing a small surface crack, or are you repairing a wall system problem? The visible line on the wall is only the symptom. The right repair depends on the crack width, pattern, location, moisture conditions, and whether the surrounding stucco is still bonded to the wall.
For small hairline cracks, a carefully applied sealant can be enough. For wider cracks, repeated cracking, loose stucco, rust stains, or cracking near windows and rooflines, the repair usually needs more than caulk. It may require mesh reinforcement, a new base coat, texture blending, or a full wall recoat. In some cases, the wall should be inspected before any patch is closed up.
This guide explains the practical options for fixing stucco, when each repair makes sense, and when to bring in a licensed stucco contractor instead of treating the crack as a cosmetic issue.
Quick Answer: What Is the Best Way to Fix Stucco?
The best way to fix stucco depends on the cause of the damage. Hairline cracks can often be sealed. Isolated holes, chips, and impact damage usually need stucco patching with texture matching. Long cracks, stair-step cracks, soft areas, bulging stucco, or cracks near openings should be inspected because moisture, lath movement, flashing problems, or substrate movement may be involved.
If you are fixing stucco for appearance only, a small patch may be fine. If you are fixing stucco to stop water entry or prevent repeat failure, diagnosis comes first. A crack that reappears after patching usually means the repair did not address movement, moisture, or bonding underneath the finish coat.
| Stucco Problem | Likely Repair | DIY or Pro? |
|---|---|---|
| Hairline crack with no staining | Clean, seal, and monitor | DIY possible if the wall is dry and stable |
| Small chip or hole | Patch, float, and texture match | Pro recommended if the repair must blend well |
| Long crack or crack wider than about 1/8 inch | Open, reinforce, patch, and blend | Pro recommended |
| Bulging, hollow, or soft stucco | Inspection, removal, lath/substrate repair, rebuild | Professional only |
| Cracks with stains or damp areas | Moisture diagnosis before repair | Professional inspection first |
| Wall-wide spiderweb cracking | Mesh/base coat recoat or full re-stucco | Professional only |
Free Assessment
Noticing Stucco Damage?
Get a free on-site assessment from a licensed contractor. $0 deposit, no obligation.
GET FREE ASSESSMENTBefore Fixing Stucco, Identify the Crack Type
Most bad stucco repairs happen because every crack gets treated the same way. That is a mistake. A shrinkage crack in the finish coat is not the same as a crack caused by building movement, corroded lath, water behind the wall, or failed flashing.
Look at the crack before choosing the repair method:
- Hairline cracks: Thin, shallow cracks that often come from normal shrinkage or thermal movement.
- Vertical or diagonal cracks: May be cosmetic, but they can also point to movement, stress around openings, or previous poor patching.
- Spiderweb or map cracking: A network of fine cracks that may indicate surface shrinkage, coating issues, or a wall that needs broader recoating.
- Stair-step cracks: Often more serious because they can follow framing, masonry, or stress lines.
- Cracks with staining: Brown stains, white powder, or damp edges can point to water movement behind the stucco.
- Cracks around windows and doors: These deserve extra attention because flashing and sealant details may be involved.
If the area sounds hollow when tapped, moves when pressed, or feels soft, do not simply caulk it. Start with a stucco inspection so the repair scope is based on what is happening behind the surface.
Option 1: Seal Hairline Cracks
For minor hairline cracks, the simplest repair is to clean the crack and use a flexible, paintable sealant designed for exterior stucco. This is the fastest way to reduce water entry at a small crack, and it can be appropriate when the crack is narrow, dry, and not part of a larger pattern.
The downside is appearance. Caulk and sealant rarely match stucco texture perfectly. Even sanded or textured sealants can leave a visible line, especially on smooth stucco or walls with strong sunlight. The repair may stop water, but it may not disappear visually.
Use this method when the priority is quick maintenance and the crack is truly minor. Do not use it as a cover-up for wide cracks, stained cracks, or repeat cracking.
Option 2: Patch and Texture Match the Area
When fixing stucco damage that is larger than a hairline crack, the repair usually needs patching rather than simple sealing. A proper patch may involve opening the damaged area, removing loose material, preparing the base, applying new stucco material, floating it to the surrounding plane, and matching the texture.
This is the best route for chips, small holes, impact damage, and isolated failed areas where the wall behind the stucco is still sound. Texture matching is the hard part. Sand finish, lace finish, and smooth stucco all require different tools and timing. A patch that is technically solid can still look bad if the finish is rushed.
For homeowners who care about curb appeal, this is where hiring a repair-focused crew matters. A professional stucco repair team should explain how the patch will be blended, whether paint will be needed, and what level of visibility to expect after the repair.
Option 3: Mesh and Blend Longer Cracks
Longer cracks often need reinforcement. Instead of just filling the crack, the repair area is bridged with mesh and a compatible base coat so the crack is less likely to telegraph back through the finish. After the base coat cures, the finish coat is applied and textured to match the surrounding wall.
This method is commonly used when the crack is too visible or too active for simple caulk but not widespread enough to justify recoating the entire wall. It is a middle-ground repair: stronger than sealing, less expensive than full re-stucco, but more visible than a brand-new wall finish.
The main limitation is blending. A new patch is being placed next to aged stucco that has weathered for years. Color, texture, and sheen can be slightly different. Painting or coating the full wall after the repair may create a more uniform appearance.
Option 4: Recoat the Whole Wall
If a wall has widespread spiderweb cracking, many long cracks, or multiple old repairs, fixing individual cracks may not be the best use of money. A full wall recoat can create a cleaner result because the repair is blended from corner to corner rather than patched in scattered spots.
A recoat typically involves washing and preparing the surface, reinforcing cracks, applying a base layer across the wall, and finishing with a new texture or color coat. This approach gives the most uniform appearance and can be a better long-term choice when the wall has too many isolated repair areas.
Recoating is not always the answer, though. If the stucco is loose, water-damaged, or failing behind the surface, a recoat can hide the problem instead of fixing it. In those cases, damaged sections need to be opened and rebuilt first.
When Fixing Stucco Requires Water-Damage Repair
Stucco is not just a decorative coating. It is part of an exterior wall system. The visible finish sits over base coats, reinforcement, accessories, building paper or weather barrier materials, flashing details, and the substrate. If moisture gets behind the surface and cannot drain or dry correctly, cracks may be only one symptom.
Pay close attention to cracks with brown staining, white powder, bubbling paint, soft areas, or damage near windows, doors, rooflines, balconies, and the bottom of walls. These signs can point to trapped moisture, corroded lath, failed flashing, missing drainage details, or deteriorated backing materials.
In those cases, start with stucco water damage repair or diagnostic inspection instead of cosmetic patching. Closing the surface before correcting the water path can trap moisture and lead to repeat failure.
DIY vs. Hiring a Stucco Contractor
DIY can make sense for tiny hairline cracks if the wall is dry, stable, and not in a highly visible area. Clean the surface, use the correct exterior product, follow cure times, and understand that the repair may remain visible.
Bring in a contractor when the crack is wide, spreading, stained, near an opening, connected to bulging stucco, or part of a recurring problem. You should also hire a pro when the repair needs texture matching, wall opening, lath work, or moisture diagnosis.
If you are comparing repair bids, read our guide on stucco repair contractors vs. stucco companies. The right provider should be able to explain the cause of the damage, the repair layers involved, and how the finish will be blended.
How Much Does Fixing Stucco Cost?
The cost depends on the repair type. Small crack sealing can be relatively inexpensive, while professional patching, mesh reinforcement, water-damage repair, and full-wall recoating cost more because they require more labor, setup, materials, and blending time.
The biggest cost drivers are the size of the area, finish type, access, color and texture matching, and whether hidden damage is found after opening the wall. Smooth stucco usually costs more to repair cleanly than rougher finishes because imperfections are easier to see.
For current Southern California ranges, use the stucco repair cost guide. For the exact scope, an on-site assessment is still the best route because two cracks that look similar can require very different repairs.
Bottom Line
Fixing stucco correctly means matching the repair to the cause. Seal tiny hairline cracks when the wall is dry and stable. Patch isolated chips and holes when the backing is sound. Use mesh and blending for longer cracks that need reinforcement. Recoat the wall when there are too many visible repairs to blend cleanly.
If the crack is wide, stained, soft, recurring, or near a window or flashing detail, do not treat it as a cosmetic issue. Have the wall checked first, then choose the repair method that protects the home and gives the best visual result.
Stucco Champions provides crack repair, patching, inspection, and full repair planning across Orange County and Los Angeles. If you are not sure which repair option fits your wall, schedule a free assessment before you start patching.
Frequently Asked Questions About Stucco
How much does stucco repair cost in Orange County and Los Angeles?+
Small stucco patches start at $650, larger repairs start at $1,200, and re-stucco of a single elevation up to about 400 sq ft runs about $1,400 - $5,900+. The exact cost depends on the damage type (hairline cracks, water damage, delamination, weep screed failure), the square footage involved, and whether the original three-coat or one-coat stucco system needs to be matched. Stucco Champions provides fixed-price written estimates after a free on-site assessment — no hourly billing, no surprise change orders. See our stucco repair cost guide for detailed pricing by repair type.
How long does stucco last in Southern California?+
Properly installed three-coat stucco lasts 50-80+ years in Southern California's climate. The most common failure points aren't the stucco itself — they're the supporting components: corroded weep screed, deteriorated building paper behind the stucco, and improperly sealed window flashing. Most "stucco failures" are actually moisture-intrusion failures that start at one of these points. Annual visual inspection catches problems before they spread, which is why we offer free weep screed assessments for homeowners in our service area.
Can I repair stucco myself, or do I need a contractor?+
Hairline cracks under 1/8 inch wide can be sealed with elastomeric caulk by a homeowner. Anything larger — pattern cracks, delamination (where stucco pulls away from the wall), water-damaged areas, or chimney/window leak repairs — requires a licensed contractor. Improper DIY repair on these is the #1 cause of repeat failures because the underlying cause (usually moisture) isn't addressed. California's CSLB requires a license for any stucco work over $500. Looking for a highly-rated stucco contractor in Southern California? We are a CSLB-licensed and insured team ready to help.
How do I know if I need stucco repair vs. full re-stucco?+
If less than 30% of an elevation has visible damage, repair is the right call. If you see large areas of cracking, multiple zones of delamination, or the underlying paper and lath have rotted across an entire wall, full re-stucco of that elevation is more cost-effective long-term. Our free assessment includes a moisture survey and lath inspection so you get a defensible recommendation either way — not just a quote pushing whichever option costs more.
Do you offer warranties on stucco work?+
Approved stucco repair work includes a 1-year written workmanship warranty. The applicable terms are documented with the approved scope. Stucco Champions is CSLB licensed and insured; verify license #1122006 through the official state lookup. Request a free estimate to review the scope and warranty terms before you sign.
How long does a stucco repair take?+
Most patch repairs are completed in 1-2 days, including a 24-hour cure time before texture matching and color application. Full re-stucco of a single elevation runs 5-7 working days because each coat (scratch, brown, finish) needs to cure properly before the next is applied. We schedule around weather — California stucco needs daytime temperatures above 50°F with no rain forecast for at least 24 hours after each coat. Our crew shows up on time, every time.
Stucco Diagnostics & Calculators
Diagnose specific wall damage symptoms or estimate job scope with our free guides and calculators.
Related Professional Services
A licensed assessment identifies the cause before the finish is opened or replaced.