Mastering the Flawless Stucco Finish: A Plasterer's Guide
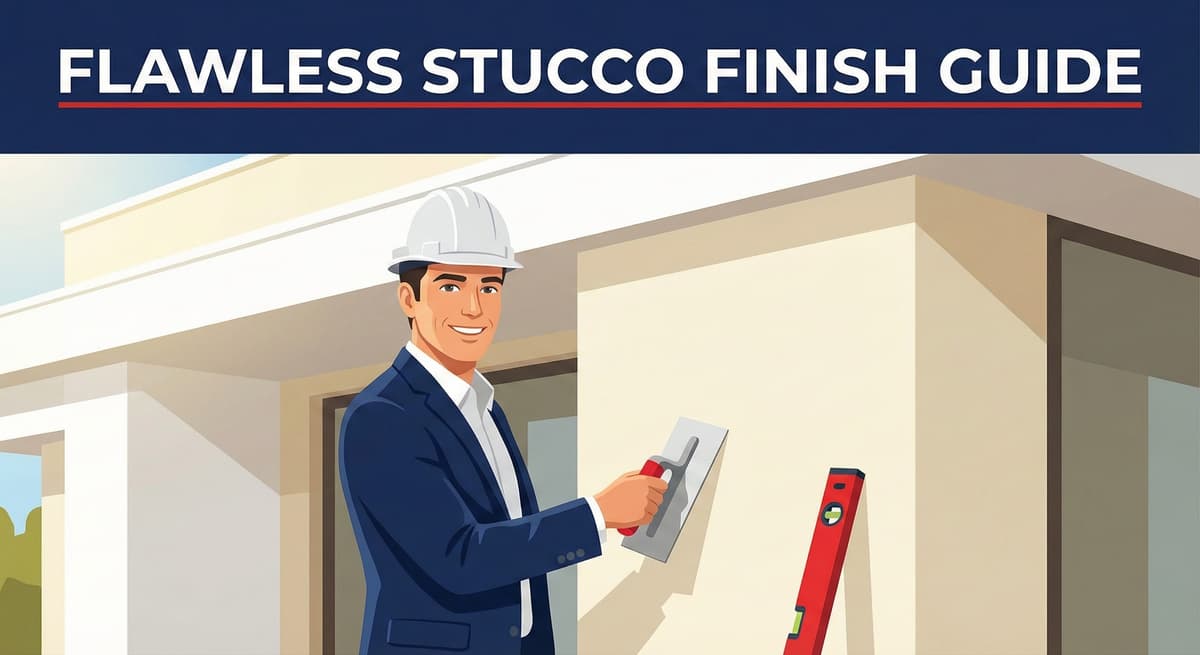
A flawless stucco finish is the holy grail of exterior plastering. It is what separates a high-end custom estate in Newport Beach from a standard tract home. But achieving that perfect, uniform texture isn't magic—it is a combination of chemistry, timing, and highly skilled labor.
Whether you are aiming for a glass-smooth "Santa Barbara" finish or a uniform "Sand Finish," the secret actually lies in the preparation layers that nobody ever sees. This guide pulls back the curtain on the technical procedures professionals use to create a masterpiece.
1. The Canvas: It Starts with the Brown Coat
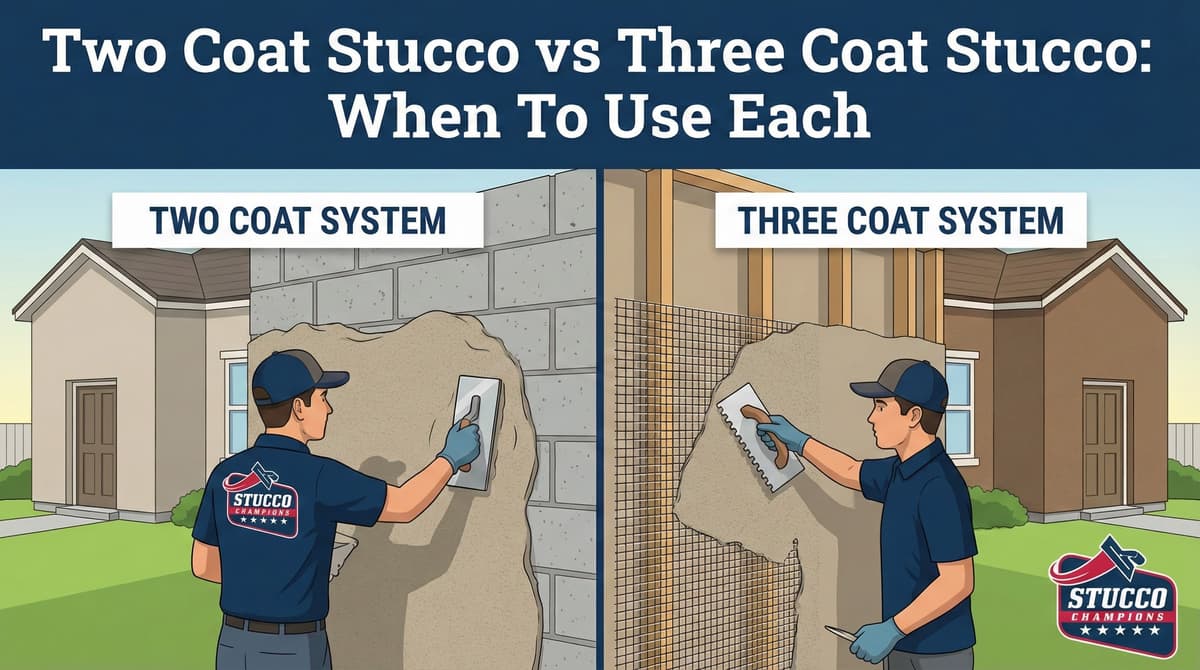
You cannot put a perfect finish on an imperfect wall. The absolute most common reason for a wavy, ugly finish is a poorly executed "Brown Coat" (the second layer of the Three-Coat System).
The Rodding Technique: Before the finish is ever applied, plasterers use long aluminum straightedges called "rods" to literally shave the wet brown coat flat and plumb. According to ASTM C926, the base must be true to plane. If the base has humps or dips, the finish coat will "shadow," revealing every flaw when the afternoon sun hits it at an angle.
Free Assessment
Noticing Stucco Damage?
Get a free on-site assessment from a licensed contractor. $0 deposit, no obligation.
GET FREE ASSESSMENT2. Surface Prep: The Mechanical Bond
If we are re-stuccoing an existing home rather than a new build, prep is everything. Stucco cannot bond to dirt, peeling paint, or loose sand.
- Sandblasting: If the home is currently painted, we must sandblast it to remove the paint film and expose the raw cement pores underneath. This creates a "mechanical key" for the new wet finish to lock into structurally.
- Bonding Agents: We apply a liquid bonder (like Weld-Crete) to equalize the "suction" of the wall. Uniform suction prevents the finish coat from drying too fast in certain spots, which causes "flashing" (permanent dark and light color inconsistencies).
3. The Material: Controlling the Mix
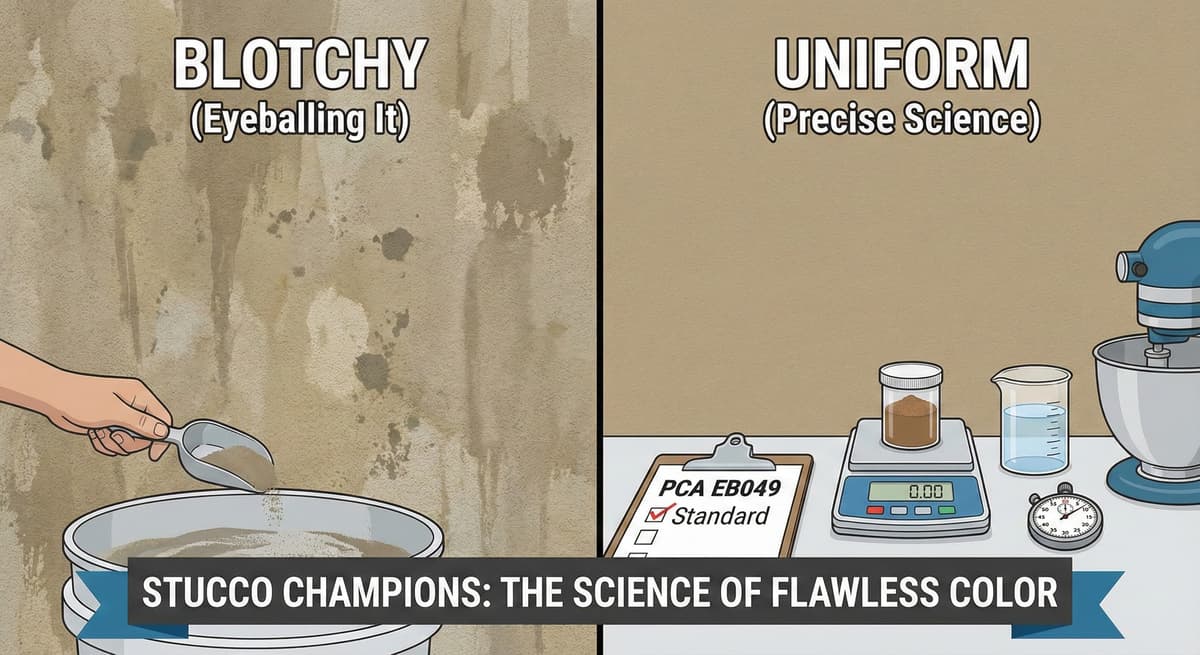
Consistency is king in plastering. If Batch A has slightly more water than Batch B, the color will dry differently.
Professional crews never apply one batch of colored finish at a time. We mix multiple batches into a massive "mud tub" and blend them all together. This critical process, called "boxing," ensures that any slight factory variations in pigment or job-site water ratios are perfectly diluted, creating seamless color across the entire wall.
4. The "Wet Edge": Avoiding Cold Joints
Have you ever seen a house with a faint, darker line running horizontally or vertically across the wall? That is a "Cold Joint." It happens when the crew takes a break, allows the edge of the stucco to dry, and then tries to blend new wet material into it later.
The Strategy: We crew the job properly. We ensure enough plasterers are on the scaffold to keep the "wet edge" moving continuously from corner to corner. We plan our breaks around architectural natural stops (like downspouts, expansion joints, or windows) so that any seams are invisible.
5. The Curing Dance: Managing SoCal Weather
Stucco cures by hydration (a chemical reaction with water), not by drying (air).
The Heat Threat: In Southern California, if the harsh sun hits a fresh wall, it can "flash dry" the surface, sucking the water out before the chemical bond forms. This leads to a weak, powdery finish that flakes off.
The Fix: We "fog" the wall with a fine mist of water for 48 hours after application. This intentionally slows the cure time, significantly increasing the structural hardness and color uniformity of the finish.
Conclusion: Skilled Hands Matter
Materials matter, but the hand of the artisan matters more. A flawless finish requires a crew that understands the rhythm of the application—when to throw the mud, when to float it, and when to walk away.
Frequently Asked Questions About Stucco
How much does stucco repair cost in Orange County and Los Angeles?+
Stucco repair typically ranges from $500 for minor crack patching to $5,000+ for full re-stucco of a single elevation. The exact cost depends on the damage type (hairline cracks, water damage, delamination, weep screed failure), the square footage involved, and whether the original three-coat or one-coat stucco system needs to be matched. Stucco Champions provides fixed-price written estimates after a free on-site assessment — no hourly billing, no surprise change orders. See our stucco repair cost guide for detailed pricing by repair type.
How long does stucco last in Southern California?+
Properly installed three-coat stucco lasts 50-80+ years in Southern California's climate. The most common failure points aren't the stucco itself — they're the supporting components: corroded weep screed, deteriorated building paper behind the stucco, and improperly sealed window flashing. Most "stucco failures" are actually moisture-intrusion failures that start at one of these points. Annual visual inspection catches problems before they spread, which is why we offer free weep screed assessments for homeowners in our service area.
Can I repair stucco myself, or do I need a contractor?+
Hairline cracks under 1/8 inch wide can be sealed with elastomeric caulk by a homeowner. Anything larger — pattern cracks, delamination (where stucco pulls away from the wall), water-damaged areas, or chimney/window leak repairs — requires a licensed contractor. Improper DIY repair on these is the #1 cause of repeat failures because the underlying cause (usually moisture) isn't addressed. California's CSLB requires a license for any stucco work over $500. Looking for a highly-rated stucco contractor in Southern California? We are a CSLB-licensed and insured team ready to help.
How do I know if I need stucco repair vs. full re-stucco?+
If less than 30% of an elevation has visible damage, repair is the right call. If you see large areas of cracking, multiple zones of delamination, or the underlying paper and lath have rotted across an entire wall, full re-stucco of that elevation is more cost-effective long-term. Our free assessment includes a moisture survey and lath inspection so you get a defensible recommendation either way — not just a quote pushing whichever option costs more.
Do you offer warranties on stucco work?+
Yes. Stucco Champions provides a written 5-year workmanship warranty on all stucco repairs and a 10-year warranty on full re-stucco. We're a CSLB-licensed and insured contractor (license #1122006 — verifiable at cslb.ca.gov), which means our work is backed by California's contractor licensing board, not just our own promise. Request a free estimate to see the warranty terms in writing before you sign anything.
How long does a stucco repair take?+
Most patch repairs are completed in 1-2 days, including a 24-hour cure time before texture matching and color application. Full re-stucco of a single elevation runs 5-7 working days because each coat (scratch, brown, finish) needs to cure properly before the next is applied. We schedule around weather — California stucco needs daytime temperatures above 50°F with no rain forecast for at least 24 hours after each coat. Our crew shows up on time, every time.