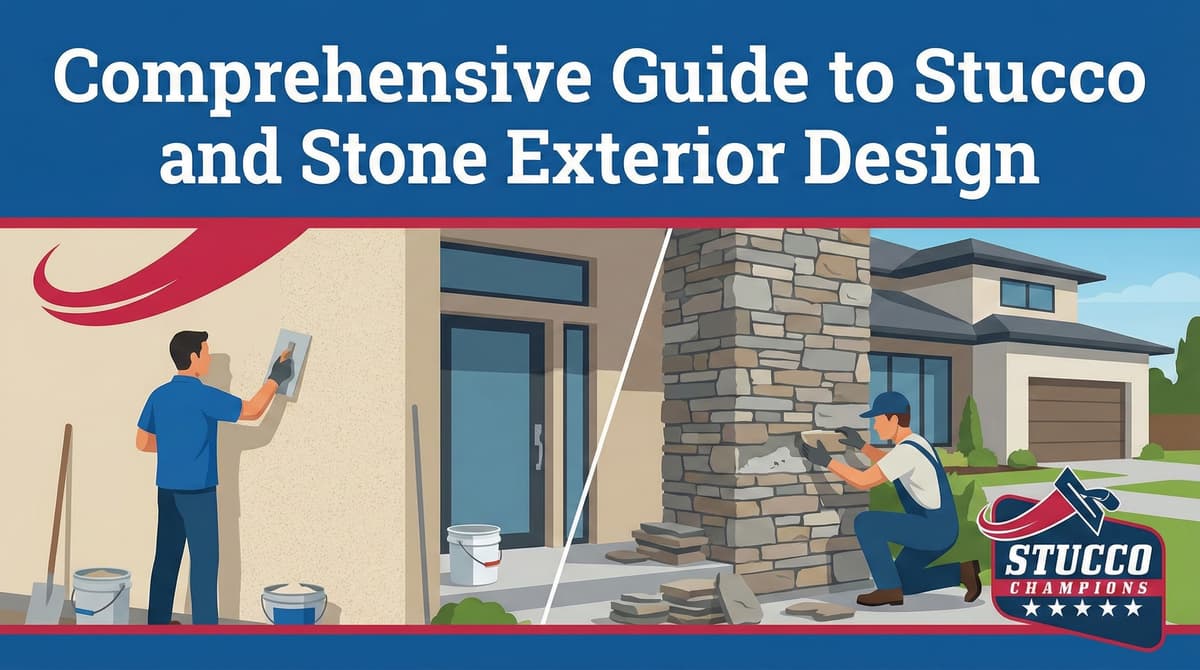
Technical Guide to Stucco and Stone Exterior Integration
Written by Stucco Champions — Southern California’s Authority on Exterior Plastering.
Stucco and Stone: Aesthetic Appeal and Technical Integration
Stucco and stone veneer offer a timeless exterior aesthetic. However, integrating these two dissimilar claddings is a complex technical process. Because they expand, contract, and manage moisture differently, improper installation at their intersections will lead to cracking and severe water intrusion.
Free Assessment
Noticing Stucco Damage?
Get a free on-site assessment from a licensed contractor. $0 deposit, no obligation.
GET FREE ASSESSMENT1. The Moisture Management Challenge
Both stucco and manufactured stone veneer are "reservoir claddings." They absorb water during rain events and rely on a concealed drainage plane (the Water Resistive Barrier or WRB) behind them to safely exhaust that moisture.
- Independent Drainage: Stucco and stone must have independent drainage paths. Water draining from upper stucco sections must never be allowed to drain into the cavity behind lower stone sections.
2. Managing Transitions: Stucco Over Stone Wainscoting
When stucco is installed above a stone base (wainscot), the transition horizontal line is highly vulnerable.
A specialized metal Z-flashing (or transition flashing) must be installed at the horizontal intersection. The WRB from the upper stucco section must overlap the vertical leg of the Z-flashing. The horizontal leg of the flashing extends outward, directing water over the face of the stone below, rather than behind it.
3. Managing Transitions: Vertical Intersections
When stucco abuts stone vertically (e.g., alongside a stone chimney or accent wall), thermal expansion becomes the primary concern.
- The Expansion Joint: Stucco should never be applied flush against stone. A metal or PVC Casing Bead must be installed at the edge of the stucco. A gap (typically 3/8-inch) is left between the casing bead and the stone.
- Sealant: After curing, this gap must be filled with a backer rod and an elastomeric sealant (ASTM C920) to accommodate independent movement and seal the joint against bulk water.
4. The Lath and Base Coat Process
While the aesthetic finish differs, the foundational preparation for both standard stucco and manufactured stone veneer is structurally similar.
- WRB: Two layers of Grade D building paper or an equivalent WRB must be applied over the framing/sheathing.
- Lath: Galvanized metal wire lath is fastened into the structural framing.
- Scratch Coat: A Portland cement scratch coat is applied to embed the lath. For stucco, this is followed by a brown coat. For stone veneer, the stones are adhered directly to the cured scratch coat using a specialized polymer-modified mortar.
Conclusion
A successful stucco and stone exterior requires more than design intuition; it demands strict adherence to waterproofing and expansion joint protocols. Ensure your contractor utilizes proper casing beads, elastomeric sealants, and Z-flashing at all transition points.
Frequently Asked Questions About Stucco
How much does stucco repair cost in Orange County and Los Angeles?+
Stucco repair typically ranges from $500 for minor crack patching to $5,000+ for full re-stucco of a single elevation. The exact cost depends on the damage type (hairline cracks, water damage, delamination, weep screed failure), the square footage involved, and whether the original three-coat or one-coat stucco system needs to be matched. Stucco Champions provides fixed-price written estimates after a free on-site assessment — no hourly billing, no surprise change orders. See our stucco repair cost guide for detailed pricing by repair type.
How long does stucco last in Southern California?+
Properly installed three-coat stucco lasts 50-80+ years in Southern California's climate. The most common failure points aren't the stucco itself — they're the supporting components: corroded weep screed, deteriorated building paper behind the stucco, and improperly sealed window flashing. Most "stucco failures" are actually moisture-intrusion failures that start at one of these points. Annual visual inspection catches problems before they spread, which is why we offer free weep screed assessments for homeowners in our service area.
Can I repair stucco myself, or do I need a contractor?+
Hairline cracks under 1/8 inch wide can be sealed with elastomeric caulk by a homeowner. Anything larger — pattern cracks, delamination (where stucco pulls away from the wall), water-damaged areas, or chimney/window leak repairs — requires a licensed contractor. Improper DIY repair on these is the #1 cause of repeat failures because the underlying cause (usually moisture) isn't addressed. California's CSLB requires a license for any stucco work over $500. Looking for a highly-rated stucco contractor in Southern California? We are a CSLB-licensed and insured team ready to help.
How do I know if I need stucco repair vs. full re-stucco?+
If less than 30% of an elevation has visible damage, repair is the right call. If you see large areas of cracking, multiple zones of delamination, or the underlying paper and lath have rotted across an entire wall, full re-stucco of that elevation is more cost-effective long-term. Our free assessment includes a moisture survey and lath inspection so you get a defensible recommendation either way — not just a quote pushing whichever option costs more.
Do you offer warranties on stucco work?+
Approved stucco repair work includes a 1-year written workmanship warranty. The applicable terms are documented with the approved scope. Stucco Champions is CSLB licensed and insured; verify license #1122006 through the official state lookup. Request a free estimate to review the scope and warranty terms before you sign.
How long does a stucco repair take?+
Most patch repairs are completed in 1-2 days, including a 24-hour cure time before texture matching and color application. Full re-stucco of a single elevation runs 5-7 working days because each coat (scratch, brown, finish) needs to cure properly before the next is applied. We schedule around weather — California stucco needs daytime temperatures above 50°F with no rain forecast for at least 24 hours after each coat. Our crew shows up on time, every time.
Stucco Diagnostics & Calculators
Diagnose specific wall damage symptoms or estimate job scope with our free guides and calculators.
Related Professional Services
A licensed assessment identifies the cause before the finish is opened or replaced.