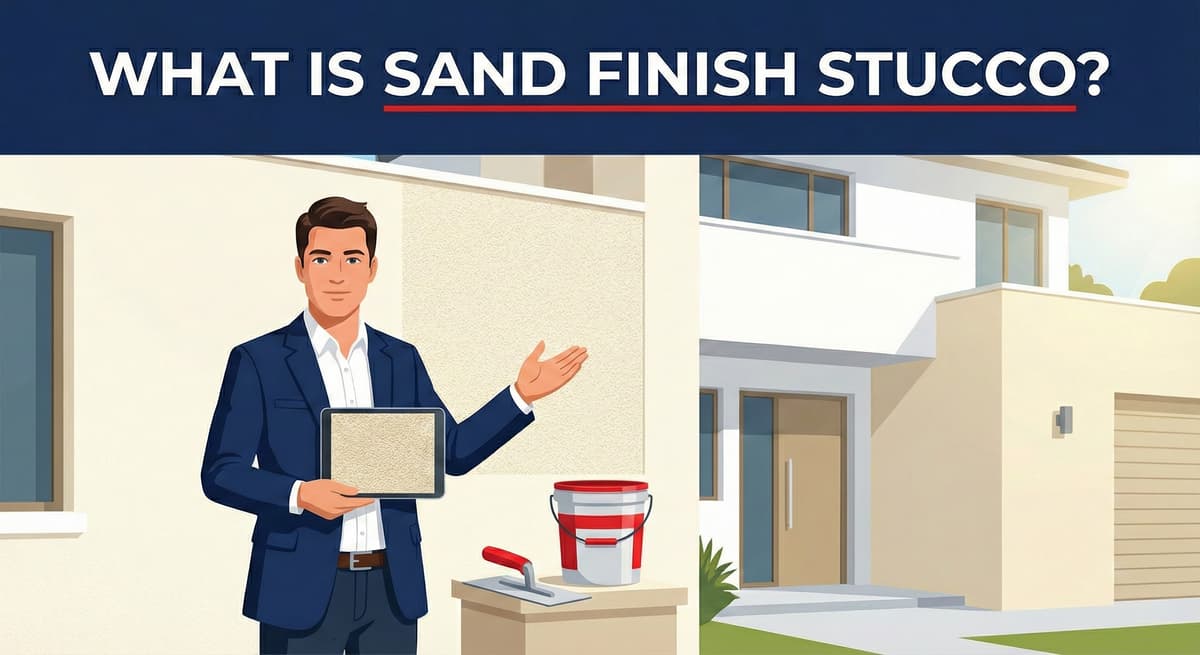
Sand Float Finish Stucco: The Modern Exterior Texture
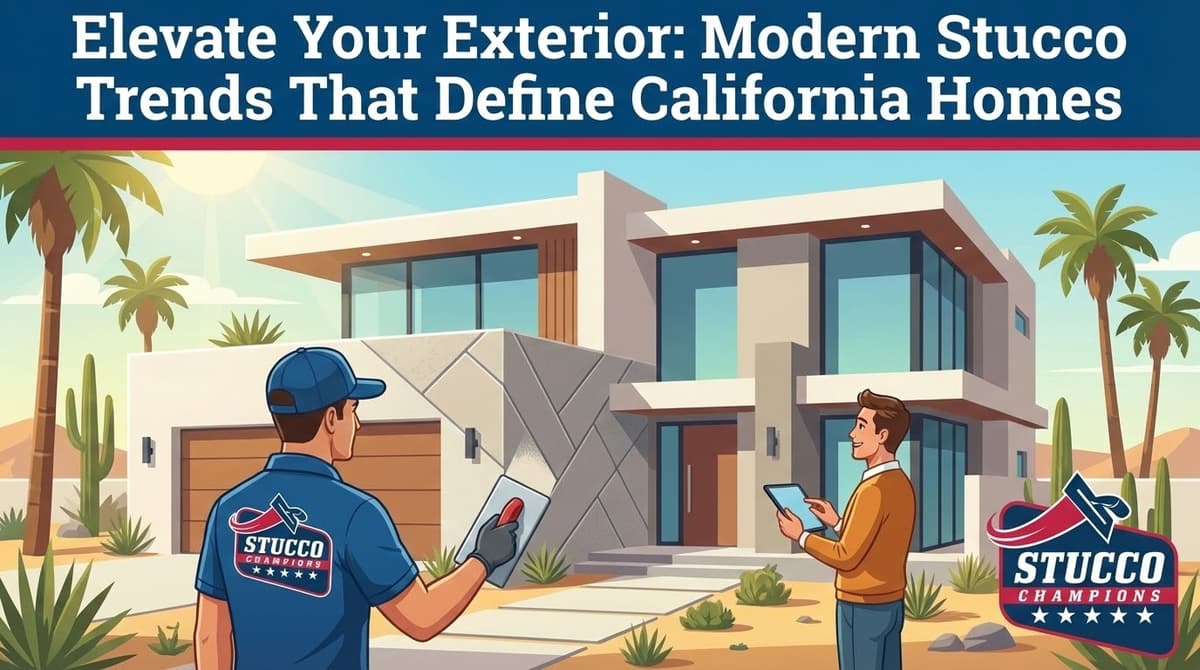
If you walk through a newly built, high-end neighborhood in Irvine or a renovated modern estate in Laguna Beach, you likely will not see the heavy "Spanish Lace" texture of the 1980s. Instead, you will see incredibly clean, flat walls that look like a uniform sheet of sandpaper.
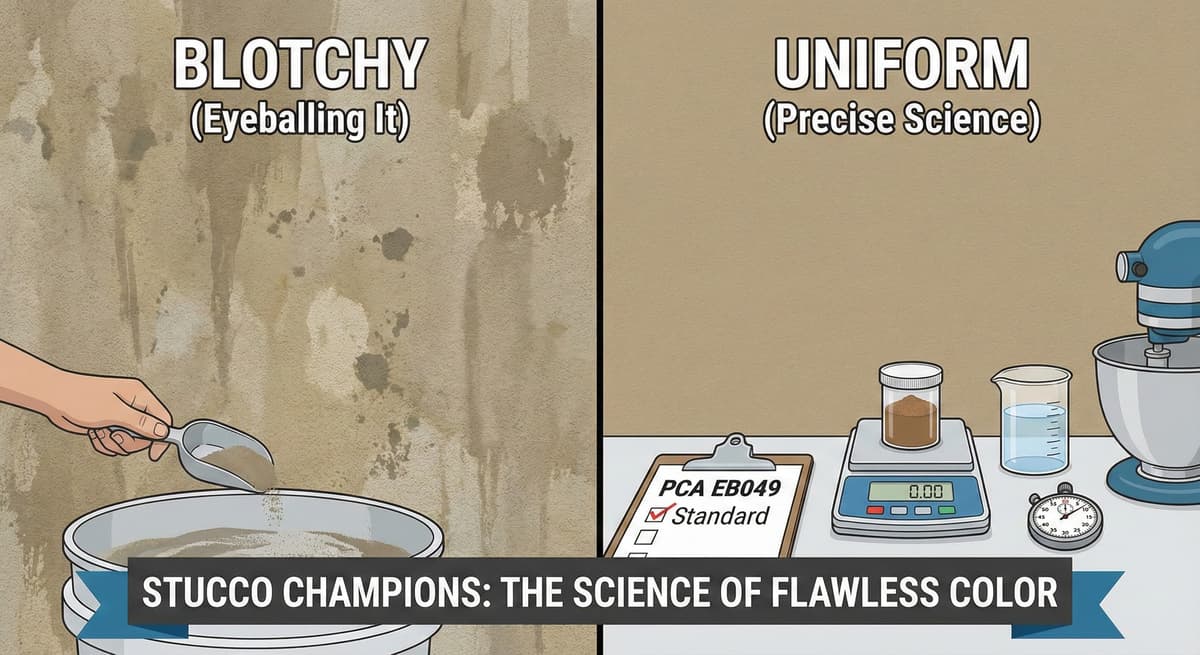
This is a sand float finish stucco. It is currently the single most popular exterior texture in Southern California because it perfectly bridges the gap between modern architectural minimalism and traditional masonry warmth.
However, achieving a flawless sand float finish stucco requires a highly controlled technique. It is much less forgiving than rougher textures, meaning sloppy framing or poor plastering will instantly show. This guide explains the mechanics of creating this elegant finish.
1. Defining the Texture: The Aggregate
A sand float finish stucco gets its name because the aggregate (the actual crushed silica sand grains) is the dominant visual feature of the wall.
- The Look: A consistent, gritty, uniform surface with absolutely no "trowel sweeps" or flattened "knockdown" islands. Ideally, it should look like a monolithic, uninterrupted sheet of stone.
Free Assessment
Noticing Stucco Damage?
Get a free on-site assessment from a licensed contractor. $0 deposit, no obligation.
GET FREE ASSESSMENTAggregate Sizes (Mesh)
The roughness of your sand float finish stucco is determined entirely by the physical size of the sand mixed into the bucket.
- Extra Fine (30/30 Mesh): The absolute smoothest sand finish available. It creates a tight, velvety "suede" texture that is incredibly elegant, but it requires a near-perfect brown coat underneath to prevent cracking.
- Fine (20/30 Mesh): The residential standard for a sand float finish stucco. It offers a clean, modern look that balances smoothness with just enough grit to effectively hide minor wall imperfections.
- Coarse (16/20 Mesh): Heavy grit. This is preferred for commercial buildings or older homes where a rugged, substantial texture is desperately needed to camouflage wavy framing.
2. The Application Protocol: The Green Sponge
Creating a true sand float finish stucco is a delicate, two-step dance between the steel trowel and the sponge float.
Note: Plasterers do not use sandpaper on stucco to get this look. That is a DIY myth. We texture wet cement using specialized masonry floats.
Step A: The Application (Trowel)
The plasterer applies the wet color finish coat (approximately 1/8" thick) using a steel trowel. The goal here is simply to get the material onto the wall at a perfectly uniform depth, corner to corner.
Step B: The Floating (The Secret Sauce)
While the mud is still wet on the wall, the artisan uses a Green Sponge Float. By firmly rubbing the wall in tight, continuous circular motions, the coarse sponge float physically pulls the sand grains up to the surface and pushes the "cream" (the smooth cement paste) down into the wall. This mechanical floating action creates that signature gritty texture and permanently erases all steel tool marks, resulting in the final sand float finish stucco.
3. Material Choices: Acrylic vs. Traditional Cement
You can achieve a sand float finish stucco with either traditional cement or synthetic acrylics, but they behave very differently in the field.
- Traditional Cement Sand Float Finish:
- Pros: Beautiful natural "mottling" (subtle color variation), highly breathable (vapor permeable), and provides an authentic Old World masonry look.
- Cons: Inherently prone to hairline shrinkage cracking as the cement cures. It is also very difficult to patch invisibly years later.
- Acrylic (Synthetic) Sand Float Finish:
- Pros: Perfectly uniform, computer-matched color without mottling. The polymer resins are highly flexible, actively bridging hairline cracks. It is also inherently stain-resistant.
- Cons: Cannot be applied to wet or failing walls, as it is less breathable. It can also look slightly "plastic" compared to true mineral cement.
Conclusion: The Balanced Choice
A sand float finish stucco is the "Goldilocks" of modern stucco textures—it is not as wildly expensive or prone to cracking as a glassy Santa Barbara Smooth finish, but it is infinitely more refined and contemporary than a rough dash texture.
Whether you choose an ultra-fine 30/30 acrylic or a traditional 20/30 cement, this finish offers a clean, premium aesthetic that instantly updates the curb appeal of any home. Contact Stucco Champions to see physical samples of these finishes.
Frequently Asked Questions About Stucco
How much does stucco repair cost in Orange County and Los Angeles?+
Stucco repair typically ranges from $500 for minor crack patching to $5,000+ for full re-stucco of a single elevation. The exact cost depends on the damage type (hairline cracks, water damage, delamination, weep screed failure), the square footage involved, and whether the original three-coat or one-coat stucco system needs to be matched. Stucco Champions provides fixed-price written estimates after a free on-site assessment — no hourly billing, no surprise change orders. See our stucco repair cost guide for detailed pricing by repair type.
How long does stucco last in Southern California?+
Properly installed three-coat stucco lasts 50-80+ years in Southern California's climate. The most common failure points aren't the stucco itself — they're the supporting components: corroded weep screed, deteriorated building paper behind the stucco, and improperly sealed window flashing. Most "stucco failures" are actually moisture-intrusion failures that start at one of these points. Annual visual inspection catches problems before they spread, which is why we offer free weep screed assessments for homeowners in our service area.
Can I repair stucco myself, or do I need a contractor?+
Hairline cracks under 1/8 inch wide can be sealed with elastomeric caulk by a homeowner. Anything larger — pattern cracks, delamination (where stucco pulls away from the wall), water-damaged areas, or chimney/window leak repairs — requires a licensed contractor. Improper DIY repair on these is the #1 cause of repeat failures because the underlying cause (usually moisture) isn't addressed. California's CSLB requires a license for any stucco work over $500. Looking for a highly-rated stucco contractor in Southern California? We are a CSLB-licensed and insured team ready to help.
How do I know if I need stucco repair vs. full re-stucco?+
If less than 30% of an elevation has visible damage, repair is the right call. If you see large areas of cracking, multiple zones of delamination, or the underlying paper and lath have rotted across an entire wall, full re-stucco of that elevation is more cost-effective long-term. Our free assessment includes a moisture survey and lath inspection so you get a defensible recommendation either way — not just a quote pushing whichever option costs more.
Do you offer warranties on stucco work?+
Yes. Stucco Champions provides a written 5-year workmanship warranty on all stucco repairs and a 10-year warranty on full re-stucco. We're a CSLB-licensed and insured contractor (license #1122006 — verifiable at cslb.ca.gov), which means our work is backed by California's contractor licensing board, not just our own promise. Request a free estimate to see the warranty terms in writing before you sign anything.
How long does a stucco repair take?+
Most patch repairs are completed in 1-2 days, including a 24-hour cure time before texture matching and color application. Full re-stucco of a single elevation runs 5-7 working days because each coat (scratch, brown, finish) needs to cure properly before the next is applied. We schedule around weather — California stucco needs daytime temperatures above 50°F with no rain forecast for at least 24 hours after each coat. Our crew shows up on time, every time.