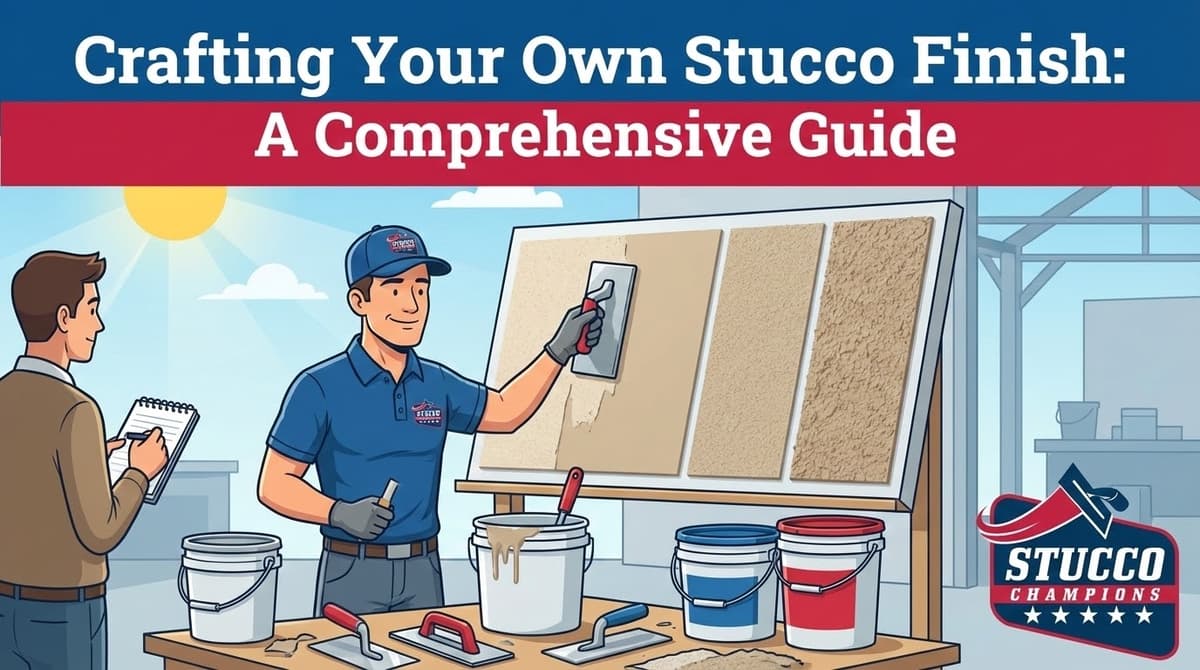
Crafting Your Own Stucco Finish: The Field Mix Protocol
In the modern construction era, most contractors rely heavily on factory-blended finish bags from giants like LaHabra or Omega. These pre-mixed bags ensure perfect color consistency and ease of use. However, there are times—such as matching a historic plaster wall in Pasadena or patching a discontinued 1970s texture—when you must mix your own material from scratch.
Creating your own stucco finish (often called a "Field Mix") is an advanced plastering skill. It requires understanding the chemistry of Portland cement and the specific grading of silica sand. This guide breaks down the recipe for a traditional cementitious finish coat that meets ASTM C926 standards.
1. The Ingredients: Deconstructing the Bag
Commercial stucco bags contain proprietary polymers, but the core chemistry is simple. To replicate a traditional finish, you need three raw ingredients:
Free Assessment
Noticing Stucco Damage?
Get a free on-site assessment from a licensed contractor. $0 deposit, no obligation.
GET FREE ASSESSMENTA. Portland Cement (The Binder)
This is the glue that holds the wall together.
- White Portland Cement (Type I): Essential if you plan to add color pigment or want a clean, bright white finish.
- Grey Portland Cement (Type II/V): Acceptable only if you plan to paint the wall later or desire a dark, industrial concrete look.
B. Hydrated Lime (The Plasticizer)
According to the Portland Cement Association (PCA), lime is critical for the workability of a finish coat. It makes the mix "sticky" and buttery, allowing it to hang on the wall without sliding off. It also provides a unique property called "autogenous healing"—the ability to self-seal minor hairline cracks over time.
- Specification: You must use Type S Hydrated Lime.
C. Aggregate (The Texture)
The sand dictates the texture. You cannot use generic play sand or heavy masonry sand for a finish coat.
- 20/30 Silica Sand: Fine grain. Used for Smooth/Santa Barbara finishes.
- 16/20 Silica Sand: Medium grain. Used for Sand Finish or Lace textures.
2. The Recipe: The 1:1:3 Ratio
While heavy base coats (Scratch/Brown) use a 1:3 or 1:4 ratio of cement to sand, the finish coat must be much "richer" to allow for tooling.
- 1 Part Portland Cement
- 1 Part Hydrated Lime
- 3 to 4 Parts Silica Sand
- Water: Add slowly until a "Cake Batter" consistency is achieved.
Why High Lime? A finish coat is applied very thin (about 1/8"). The high lime content retains water, preventing the thin coat from drying out too fast (flash drying) before the plasterer has time to float and texture the wall.
3. The Challenge of Custom Color
This is exactly why professionals buy pre-mixed bags.
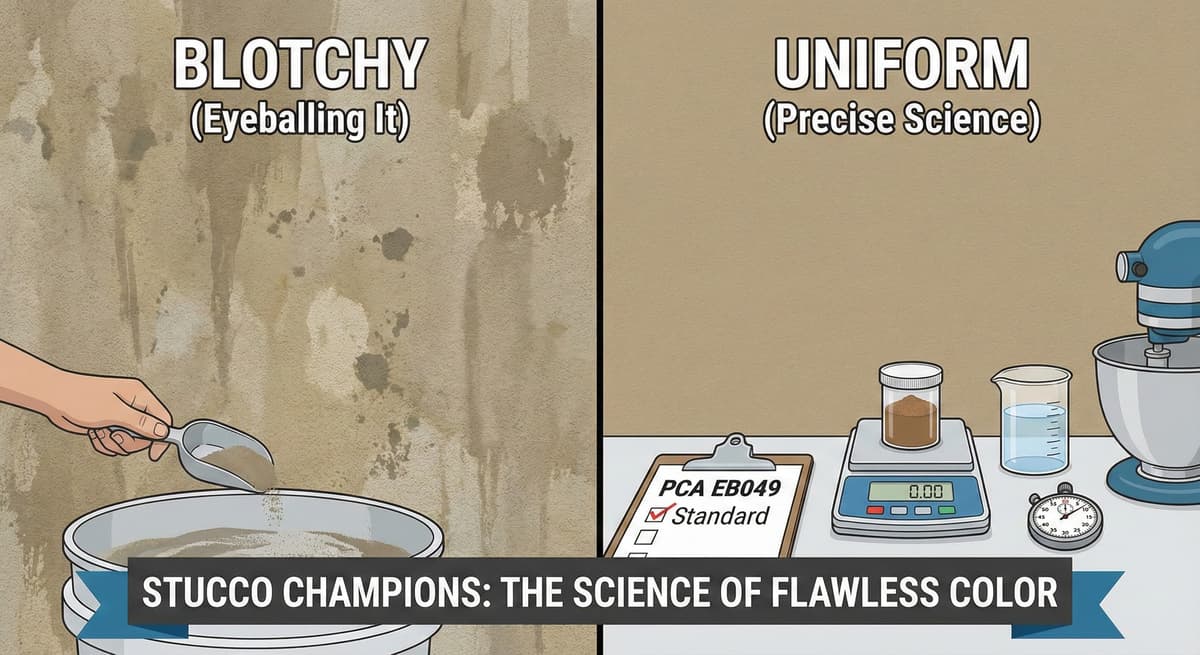
Adding powdered iron oxide pigment to a field mix is highly risky. If you add 4.0 oz of pigment to Batch A, and accidentally add 4.2 oz to Batch B, you will have a checkerboard wall. If you must add color in the field, you must weigh the dry powder on a highly accurate digital scale for every single batch. Never use a scoop.
This recipe applies only to Traditional Cement Stucco. Do not attempt to mix your own Acrylic/Synthetic finish coat. Acrylics require complex liquid polymers, resins, and biocides that cannot be replicated in a bucket on a job site.
Frequently Asked Questions About Stucco
How much does stucco repair cost in Orange County and Los Angeles?+
Stucco repair typically ranges from $500 for minor crack patching to $5,000+ for full re-stucco of a single elevation. The exact cost depends on the damage type (hairline cracks, water damage, delamination, weep screed failure), the square footage involved, and whether the original three-coat or one-coat stucco system needs to be matched. Stucco Champions provides fixed-price written estimates after a free on-site assessment — no hourly billing, no surprise change orders. See our stucco repair cost guide for detailed pricing by repair type.
How long does stucco last in Southern California?+
Properly installed three-coat stucco lasts 50-80+ years in Southern California's climate. The most common failure points aren't the stucco itself — they're the supporting components: corroded weep screed, deteriorated building paper behind the stucco, and improperly sealed window flashing. Most "stucco failures" are actually moisture-intrusion failures that start at one of these points. Annual visual inspection catches problems before they spread, which is why we offer free weep screed assessments for homeowners in our service area.
Can I repair stucco myself, or do I need a contractor?+
Hairline cracks under 1/8 inch wide can be sealed with elastomeric caulk by a homeowner. Anything larger — pattern cracks, delamination (where stucco pulls away from the wall), water-damaged areas, or chimney/window leak repairs — requires a licensed contractor. Improper DIY repair on these is the #1 cause of repeat failures because the underlying cause (usually moisture) isn't addressed. California's CSLB requires a license for any stucco work over $500. Looking for a highly-rated stucco contractor in Southern California? We are a CSLB-licensed and insured team ready to help.
How do I know if I need stucco repair vs. full re-stucco?+
If less than 30% of an elevation has visible damage, repair is the right call. If you see large areas of cracking, multiple zones of delamination, or the underlying paper and lath have rotted across an entire wall, full re-stucco of that elevation is more cost-effective long-term. Our free assessment includes a moisture survey and lath inspection so you get a defensible recommendation either way — not just a quote pushing whichever option costs more.
Do you offer warranties on stucco work?+
Yes. Stucco Champions provides a written 5-year workmanship warranty on all stucco repairs and a 10-year warranty on full re-stucco. We're a CSLB-licensed and insured contractor (license #1122006 — verifiable at cslb.ca.gov), which means our work is backed by California's contractor licensing board, not just our own promise. Request a free estimate to see the warranty terms in writing before you sign anything.
How long does a stucco repair take?+
Most patch repairs are completed in 1-2 days, including a 24-hour cure time before texture matching and color application. Full re-stucco of a single elevation runs 5-7 working days because each coat (scratch, brown, finish) needs to cure properly before the next is applied. We schedule around weather — California stucco needs daytime temperatures above 50°F with no rain forecast for at least 24 hours after each coat. Our crew shows up on time, every time.