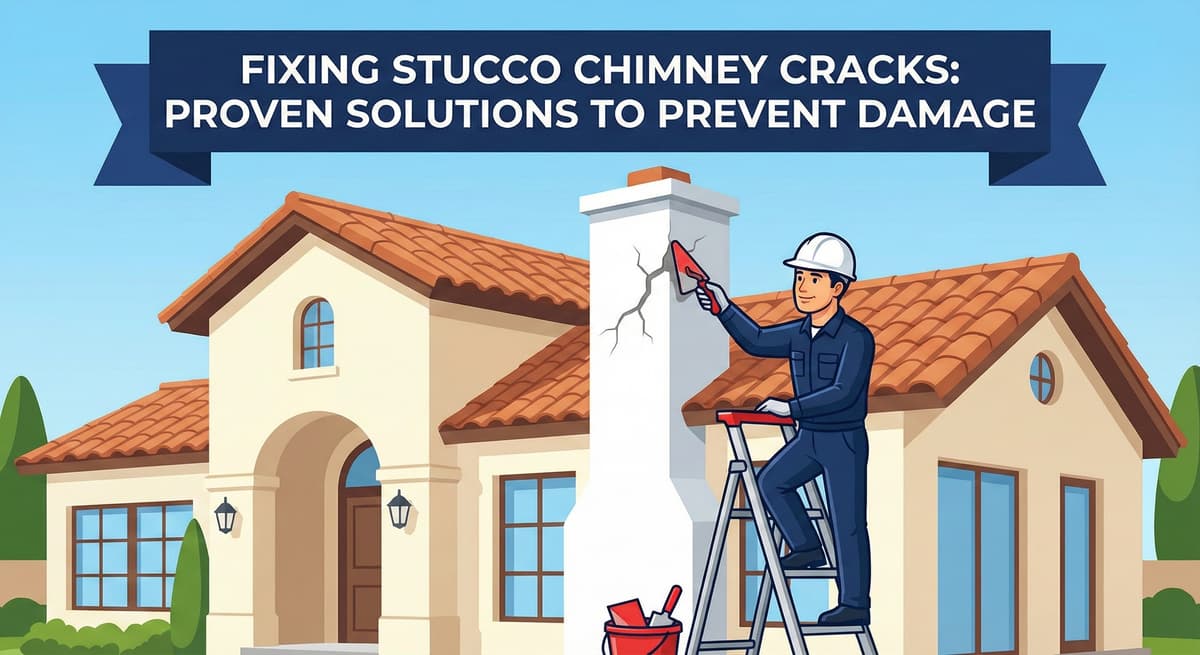
Stucco Chimney Cracks: Proven Solutions to Prevent Damage
Written by Stucco Champions — Southern California’s Authority on Exterior Plastering.
Fixing Stucco Chimney Cracks: Proven Solutions to Prevent Damage
Stucco chimneys are uniquely vulnerable. Exposed to weather on all four sides and subjected to intense heat cycles from the flue, they are often the first part of a home to fail. A cracked chimney isn't just an eyesore; it is a direct funnel for water damage that can rot your roof deck and attic framing.
Whether you are dealing with hairline fractures or large structural gaps following the block lines, identifying the type of crack is the first step in repair. This guide explains the pathology of chimney failure and the correct materials for long-lasting results.
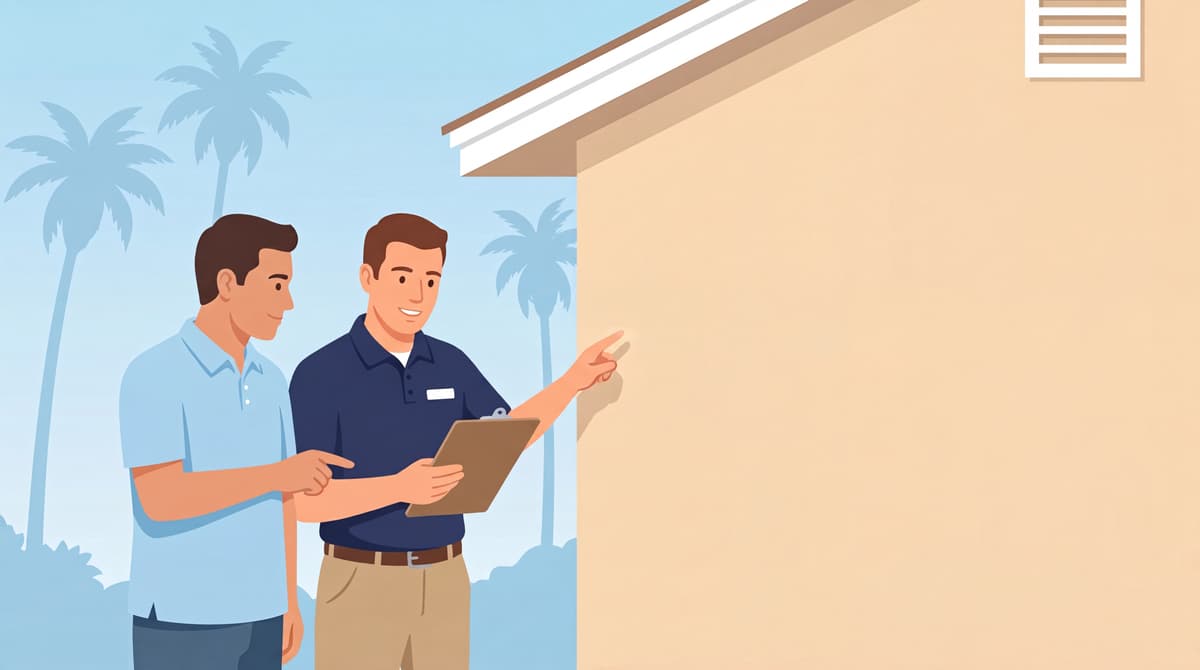
Free Assessment
Noticing Stucco Damage?
Get a free on-site assessment from a licensed contractor. $0 deposit, no obligation.
GET FREE ASSESSMENT1. Diagnosing the Crack
Not all cracks require demolition. Use this matrix to determine the severity of your chimney's condition.
| Crack Type | Possible Cause | Solution |
|---|---|---|
| Hairline (< 1/16") | Normal shrinkage or thermal expansion. | Seal with elastomeric caulk or masonry sealer. |
| Diagonal | Foundation movement or thermal stress. | Monitor; consult a professional if width exceeds 1/8". |
| Wide (> 1/8") | Water infiltration or poor installation. | Repair with stucco patch, mesh, and waterproof coating. |
| Block Lines | "Telegraphing" from weak mortar joints in the underlying cinder block. | Reinforce with fiberglass mesh, stucco patch, and primer. |
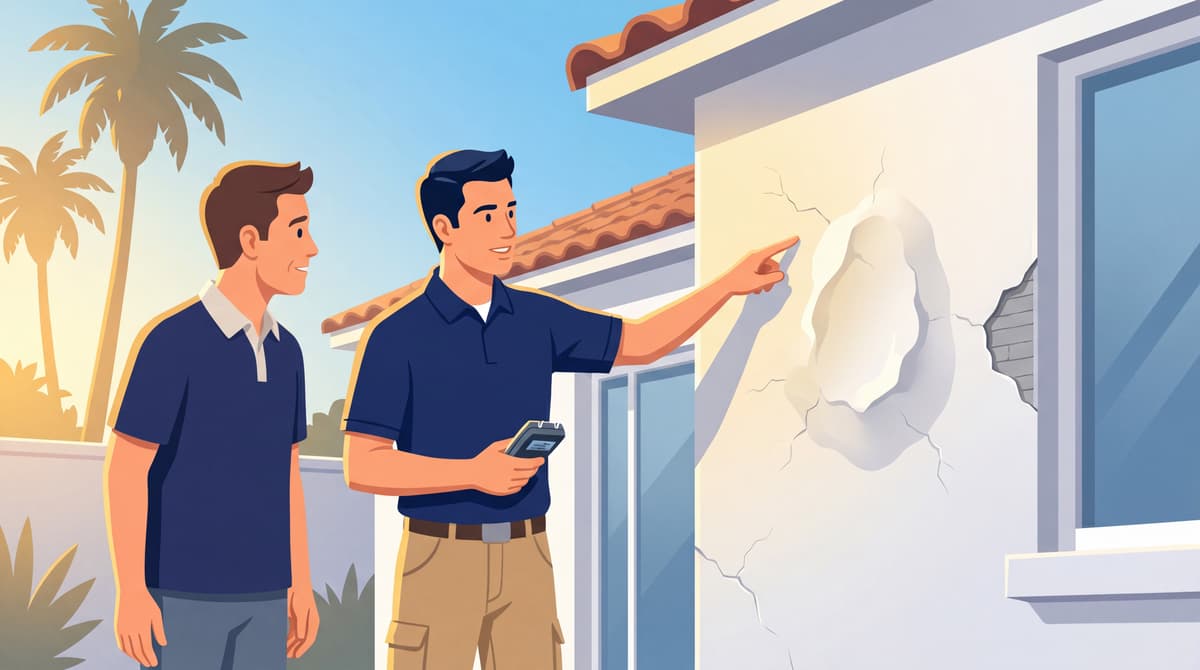
If you see Efflorescence (white powder) or dark stains on your chimney, water is trapped inside the stucco. Do not just paint over it. You must find the entry point (usually the chimney cap or flashing) before sealing the walls.
2. Repairing Hairline Cracks (Cosmetic)
For minor spiderwebbing caused by sun exposure, a surface seal is usually sufficient.
- Clean the Surface: Remove dust and oxidation with a wire brush.
- Apply Elastomeric Caulk: Use a textured, paintable sealant (like Mor-Flexx). Do not use silicone.
- Tool the Joint: Smooth the caulk with a damp rag to blend it into the stucco texture.
- Seal: Apply an elastomeric paint or Fog Coat to waterproof the repair.
3. Repairing Structural Cracks (The "Cut-Out")
If the crack is wide or follows the mortar lines of the cinder block, surface caulk will fail. You must bridge the gap structurally.
- Widen the Crack: Use a grinder or cold chisel to open the crack into a "V" shape. This gives the new material a surface to bond to.
- Mesh Reinforcement: Apply self-adhesive fiberglass mesh tape over the crack. This acts as "stitches" to prevent the crack from reopening.
- stucco patch: Fill the void with a polymer-modified stucco patch.
- Texture Match: Feather the edges with a sponge float to match the surrounding finish.
4. Maintenance & Prevention
Chimneys require more maintenance than the rest of the house.
Annual Checklist- Cap Inspection: Ensure the metal chimney cap is not rusted and sheds water away from the stucco.
- Sealant Check: Inspect the caulk joint where the stucco meets the roof flashing.
- Breathable Sealer: Every 5 years, apply a penetrating masonry sealer to repel water while allowing the chimney to breathe.
5. DIY vs. Professional Repair
Should you get on the roof yourself?
| Repair Type | DIY Feasibility | Professional Recommended |
|---|---|---|
| Hairline Sealing | ✅ Possible (Ground level) | If high on roof (Safety Risk) |
| Large Crack/Mesh | ❌ Difficult texture match | ✔ Ensures long-term durability |
| Full Re-Stucco | ❌ Not recommended | ✔ Required for waterproofing warranties |
Conclusion: Don't Ignore the Chimney
Because it is out of sight, chimney damage is often ignored until it leaks into the fireplace. By sealing small cracks early and maintaining the cap, you prevent costly structural rot. If the damage is high up or structural, call Stucco Champions for a safety inspection.
Related ResourcesLast week, we shared Comprehensive Guide to Stucco Crack Repair. Learn more about the materials we use for structural patching.
A note on fog coat: Stucco Champions does not fog coat older or previously repaired walls. On aged stucco a fog coat telegraphs existing cracks, patch lines, and prior repairs, and it bonds poorly to a rough, chalky, or previously coated surface, so it can dust off or peel. Those walls get a fresh finish coat (re-stucco) instead.
Frequently Asked Questions About Stucco
How much does stucco repair cost in Orange County and Los Angeles?+
Stucco repair typically ranges from $500 for minor crack patching to $5,000+ for full re-stucco of a single elevation. The exact cost depends on the damage type (hairline cracks, water damage, delamination, weep screed failure), the square footage involved, and whether the original three-coat or one-coat stucco system needs to be matched. Stucco Champions provides fixed-price written estimates after a free on-site assessment — no hourly billing, no surprise change orders. See our stucco repair cost guide for detailed pricing by repair type.
How long does stucco last in Southern California?+
Properly installed three-coat stucco lasts 50-80+ years in Southern California's climate. The most common failure points aren't the stucco itself — they're the supporting components: corroded weep screed, deteriorated building paper behind the stucco, and improperly sealed window flashing. Most "stucco failures" are actually moisture-intrusion failures that start at one of these points. Annual visual inspection catches problems before they spread, which is why we offer free weep screed assessments for homeowners in our service area.
Can I repair stucco myself, or do I need a contractor?+
Hairline cracks under 1/8 inch wide can be sealed with elastomeric caulk by a homeowner. Anything larger — pattern cracks, delamination (where stucco pulls away from the wall), water-damaged areas, or chimney/window leak repairs — requires a licensed contractor. Improper DIY repair on these is the #1 cause of repeat failures because the underlying cause (usually moisture) isn't addressed. California's CSLB requires a license for any stucco work over $500. Looking for a highly-rated stucco contractor in Southern California? We are a CSLB-licensed and insured team ready to help.
How do I know if I need stucco repair vs. full re-stucco?+
If less than 30% of an elevation has visible damage, repair is the right call. If you see large areas of cracking, multiple zones of delamination, or the underlying paper and lath have rotted across an entire wall, full re-stucco of that elevation is more cost-effective long-term. Our free assessment includes a moisture survey and lath inspection so you get a defensible recommendation either way — not just a quote pushing whichever option costs more.
Do you offer warranties on stucco work?+
Yes. Stucco Champions provides a written 5-year workmanship warranty on all stucco repairs and a 10-year warranty on full re-stucco. We're a CSLB-licensed and insured contractor (license #1122006 — verifiable at cslb.ca.gov), which means our work is backed by California's contractor licensing board, not just our own promise. Request a free estimate to see the warranty terms in writing before you sign anything.
How long does a stucco repair take?+
Most patch repairs are completed in 1-2 days, including a 24-hour cure time before texture matching and color application. Full re-stucco of a single elevation runs 5-7 working days because each coat (scratch, brown, finish) needs to cure properly before the next is applied. We schedule around weather — California stucco needs daytime temperatures above 50°F with no rain forecast for at least 24 hours after each coat. Our crew shows up on time, every time.
Related Professional Services
A licensed assessment identifies the cause before the finish is opened or replaced.