The Invisible Repair: Expertly Patching Small Holes in Stucco

Written by Stucco Champions — Southern California’s Authority on Exterior Plastering.
The Invisible Repair: Expertly Patching Small Holes in Stucco
Even the most robust stucco assemblies suffer minor damage. Whether resulting from removing a satellite dish, relocating a light fixture, or simply a stray impact, small holes (under 1 inch in diameter) are inevitable. While they may appear cosmetically insignificant, these voids represent direct entry points for bulk moisture, insects, and subsequent dry rot.
This guide details the professional protocol for sealing small penetrations. We move beyond the amateur approach of "filling it with spackle" to focus on the engineering requirements: true waterproofing and seamless texture blending.
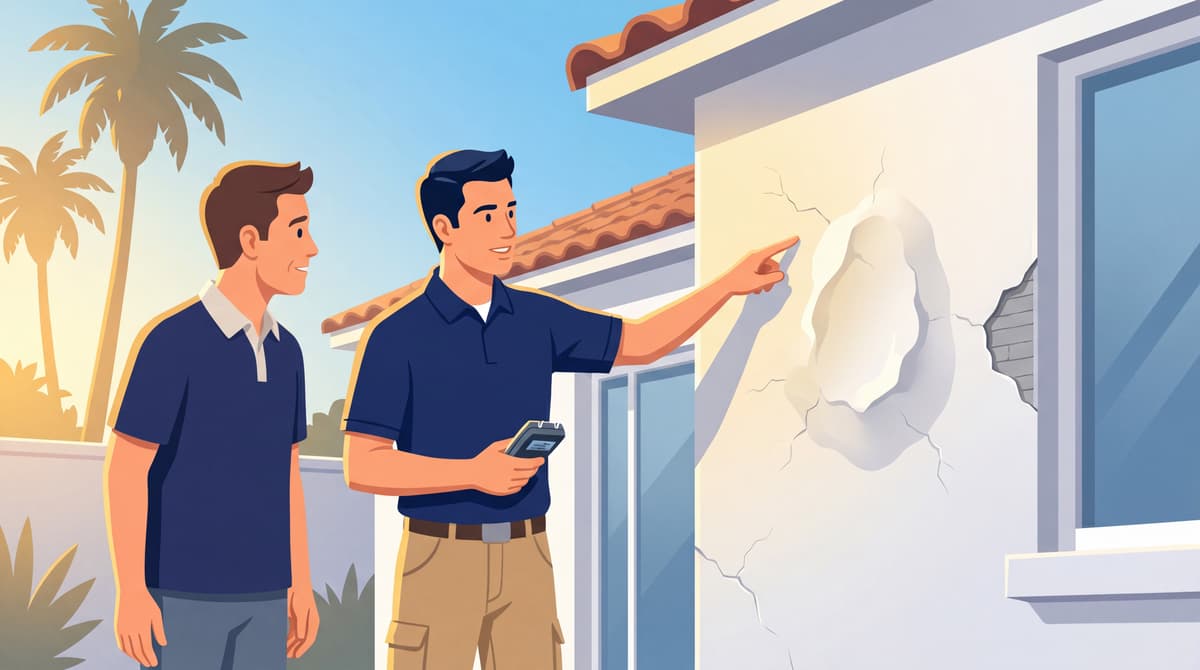
Free Assessment
Noticing Stucco Damage?
Get a free on-site assessment from a licensed contractor. $0 deposit, no obligation.
GET FREE ASSESSMENT1. Preparation: Clean Before You Fill
You cannot successfully patch a contaminated void. Stucco is highly porous and retains masonry dust. If you apply sealant over dust, the bond will fail rapidly.
The Protocol:
- Mechanical Cleaning: Utilize a small, stiff wire brush (automotive terminal brushes work exceptionally well) to scour the interior walls of the hole.
- Pneumatic Clearing: Blast the void with compressed air (or a can of keyboard duster) to evacuate all loose aggregate and dust.
- Moisture Check: Verify the hole is completely dry. Do not apply sealants over damp cement.
2. Phase 1: The Waterproof Seal
Do not simply fill a deep penetration with cement patch. Cement is inherently porous. For penetrations that breach the Water Resistive Barrier (WRB)—such as heavy lag screw holes—you must re-establish the waterproof envelope.
The Material: Polyurethane Sealant
Inject a high-quality Polyurethane Sealant (e.g., Sikaflex 1a) deeply into the void. This creates a flexible, permanent, waterproof plug that protects the underlying wood framing.
Professional Tip: Leave the polyurethane sealant slightly recessed (approximately 1/8 inch below the face of the wall) to provide physical depth for the final texture coat.
3. Phase 2: Texture Matching
Once the polyurethane plug cures (typically 24 hours), the aesthetic finish must be applied. If this step is omitted, a shiny, rubbery divot will remain visible on the wall.
The Material: Sanded Acrylic Patch
Utilize a Textured Acrylic Patch or a "Sanded" elastomeric caulking. These engineered products contain silica sand aggregate designed to mimic the grit of the surrounding stucco finish.
The "Stippling" Method:
- Apply a small amount of the sanded patch over the cured polyurethane.
- Press the material into the divot and tap it repeatedly with a gloved finger or a stiff-bristled brush. This "stippling" action lifts the aggregate, creating a rough surface profile that blends seamlessly with traditional sand or lace finishes.
Never utilize 100% silicone sealant for exterior masonry repairs. Paint cannot chemically bond to silicone. If applied, you will be left with a permanent, unpaintable void that requires mechanical grinding to remove.
4. Phase 3: Color Blending
A bright white patch on a weathered beige wall remains an eyesore.
The Protocol: Once the texture patch has fully cured, dab the repair with the original exterior house paint using a small brush. If the original paint is unavailable, carefully chip a small piece of stucco from a hidden location (near the foundation) and have a professional paint supplier formulate a custom-matched, flat exterior masonry paint.
Conclusion
Repairing small penetrations is highly manageable when executed systematically. By establishing the waterproof seal first, and addressing the texture matching second, the repair functions structurally rather than merely cosmetically.
Frequently Asked Questions About Stucco
How much does stucco repair cost in Orange County and Los Angeles?+
Stucco repair typically ranges from $500 for minor crack patching to $5,000+ for full re-stucco of a single elevation. The exact cost depends on the damage type (hairline cracks, water damage, delamination, weep screed failure), the square footage involved, and whether the original three-coat or one-coat stucco system needs to be matched. Stucco Champions provides fixed-price written estimates after a free on-site assessment — no hourly billing, no surprise change orders. See our stucco repair cost guide for detailed pricing by repair type.
How long does stucco last in Southern California?+
Properly installed three-coat stucco lasts 50-80+ years in Southern California's climate. The most common failure points aren't the stucco itself — they're the supporting components: corroded weep screed, deteriorated building paper behind the stucco, and improperly sealed window flashing. Most "stucco failures" are actually moisture-intrusion failures that start at one of these points. Annual visual inspection catches problems before they spread, which is why we offer free weep screed assessments for homeowners in our service area.
Can I repair stucco myself, or do I need a contractor?+
Hairline cracks under 1/8 inch wide can be sealed with elastomeric caulk by a homeowner. Anything larger — pattern cracks, delamination (where stucco pulls away from the wall), water-damaged areas, or chimney/window leak repairs — requires a licensed contractor. Improper DIY repair on these is the #1 cause of repeat failures because the underlying cause (usually moisture) isn't addressed. California's CSLB requires a license for any stucco work over $500. Looking for a highly-rated stucco contractor in Southern California? We are a CSLB-licensed and insured team ready to help.
How do I know if I need stucco repair vs. full re-stucco?+
If less than 30% of an elevation has visible damage, repair is the right call. If you see large areas of cracking, multiple zones of delamination, or the underlying paper and lath have rotted across an entire wall, full re-stucco of that elevation is more cost-effective long-term. Our free assessment includes a moisture survey and lath inspection so you get a defensible recommendation either way — not just a quote pushing whichever option costs more.
Do you offer warranties on stucco work?+
Yes. Stucco Champions provides a written 5-year workmanship warranty on all stucco repairs and a 10-year warranty on full re-stucco. We're a CSLB-licensed and insured contractor (license #1122006 — verifiable at cslb.ca.gov), which means our work is backed by California's contractor licensing board, not just our own promise. Request a free estimate to see the warranty terms in writing before you sign anything.
How long does a stucco repair take?+
Most patch repairs are completed in 1-2 days, including a 24-hour cure time before texture matching and color application. Full re-stucco of a single elevation runs 5-7 working days because each coat (scratch, brown, finish) needs to cure properly before the next is applied. We schedule around weather — California stucco needs daytime temperatures above 50°F with no rain forecast for at least 24 hours after each coat. Our crew shows up on time, every time.