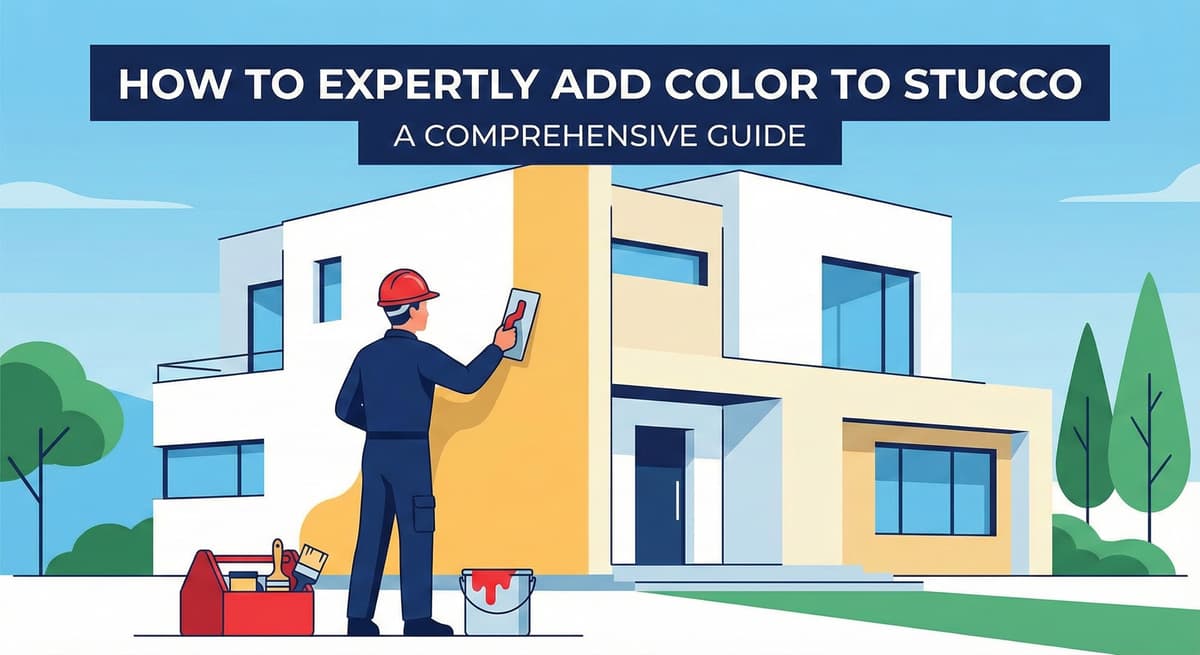
How to Expertly Add Color to Stucco: Integral Mixing Protocols
Written by Stucco Champions — Southern California’s Authority on Exterior Plastering.
How to Mix Stucco Base Coat: The Science of Integral Color
Coloring stucco is fundamentally different than painting. When you paint, the color sits on top as a film. When you add color to stucco, the pigment becomes part of the chemical matrix of the wall. This is known as Integral Color.
While beautiful, highly breathable, and low-maintenance, mixing colored stucco is one of the highest-risk tasks in exterior construction. A slight variation in the water ratio, mixing time, or ambient temperature can cause one batch to look "Dark Beige" and the next batch to cure to "Light Cream." This guide explains the strict protocols required to achieve a consistent, uniform finish across a large elevation.
Free Assessment
Noticing Stucco Damage?
Get a free on-site assessment from a licensed contractor. $0 deposit, no obligation.
GET FREE ASSESSMENT1. The Two Types of Color Systems
Before mixing, the material chemistry must be identified. The tinting process differs drastically between cement and acrylic systems.
Traditional Cement (The Dry Powder System)
This traditional method utilizes dry iron oxide powder pigments.
- The Mechanics: The dry pigment powder must be thoroughly mixed into the gauging water before the dry cement is added to the mixer.
- The Challenge: Because the base cement is naturally grey or white, the pigment must chemically overpower the natural color of the binder. If the water is not mixed thoroughly, the pigment will clump, resulting in distinct, ugly color streaks across the wall.
Acrylic/Synthetic (The Liquid System)
This modern method utilizes liquid colorant bottles, similar to standard paint tint.
- The Mechanics: You pour a precisely measured bottle of liquid pigment into a 5-gallon bucket of wet, premixed acrylic base and blend it with a mechanical drill.
- The Benefit: Acrylic base is typically pure, stark white, allowing for much brighter, cleaner, and more vibrant colors than cement can achieve.
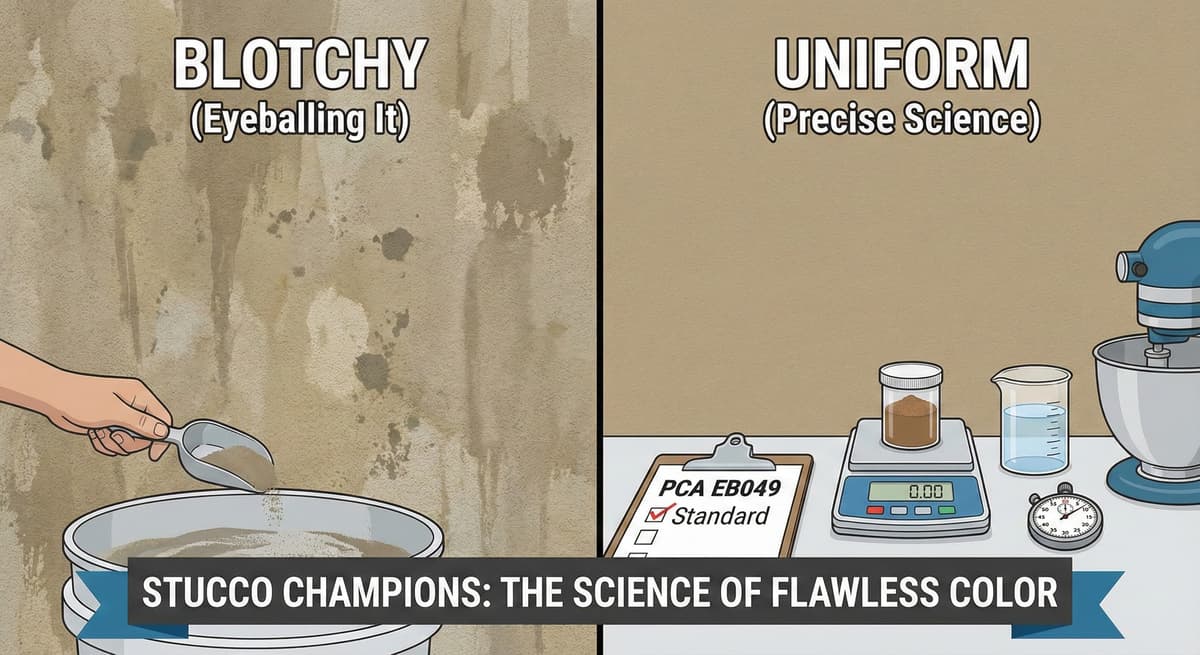
2. The "Batch Consistency" Rule
The number one failure in colored stucco application is "Checkerboarding"—where the homeowner can clearly see where one batch ended and the next batch began on the wall. To prevent this, the Exact Recipe Protocol must be enforced:
- Water Measurement: You cannot use a garden hose to estimate water. You must measure the water using a marked bucket (e.g., exactly 2.5 gallons per batch). If Batch A has slightly more water than Batch B, Batch A will dry significantly lighter.
- Mix Time: You must mix every batch for the exact same duration (e.g., 5 minutes). Over-mixing introduces excessive air into the matrix; under-mixing leaves streaks.
3. The Professional "Boxing" Technique
Even with perfect digital measuring, slight chemical variations occur between batches. Professional plasterers mitigate this risk using a technique called "Boxing."
The Method: Instead of applying one batch until it is empty and then starting a fresh batch, we mix multiple batches into a large trough or "mud tub." We continuously blend the fresh batch into the remaining old batch before carrying it to the wall. This physically dilutes any microscopic color differences, creating a seamless gradient rather than a hard, visible line.
4. Environmental Variables: The Sun Line
You can execute the mix perfectly and still fail if you ignore the ambient weather.
Stucco applied in direct sunlight dries faster—and cures significantly lighter—than stucco applied in the shade. If you apply color to a wall where half is shaded by an overhang and half is baking in the sun, you will likely see a permanent color difference. We combat this by erecting scaffolding tarps to ensure the entire elevation cures in the shade simultaneously.
Conclusion
Adding color to stucco is an exercise in chemistry and discipline. It requires precise measurement, the "Boxing" technique, and a crew large enough to coat an entire wall before the material sets (maintaining a "wet edge"). If you stop halfway through a wall, you will create a permanent "cold joint" line that no amount of blending can hide.
Frequently Asked Questions About Stucco
How much does stucco repair cost in Orange County and Los Angeles?+
Stucco repair typically ranges from $500 for minor crack patching to $5,000+ for full re-stucco of a single elevation. The exact cost depends on the damage type (hairline cracks, water damage, delamination, weep screed failure), the square footage involved, and whether the original three-coat or one-coat stucco system needs to be matched. Stucco Champions provides fixed-price written estimates after a free on-site assessment — no hourly billing, no surprise change orders. See our stucco repair cost guide for detailed pricing by repair type.
How long does stucco last in Southern California?+
Properly installed three-coat stucco lasts 50-80+ years in Southern California's climate. The most common failure points aren't the stucco itself — they're the supporting components: corroded weep screed, deteriorated building paper behind the stucco, and improperly sealed window flashing. Most "stucco failures" are actually moisture-intrusion failures that start at one of these points. Annual visual inspection catches problems before they spread, which is why we offer free weep screed assessments for homeowners in our service area.
Can I repair stucco myself, or do I need a contractor?+
Hairline cracks under 1/8 inch wide can be sealed with elastomeric caulk by a homeowner. Anything larger — pattern cracks, delamination (where stucco pulls away from the wall), water-damaged areas, or chimney/window leak repairs — requires a licensed contractor. Improper DIY repair on these is the #1 cause of repeat failures because the underlying cause (usually moisture) isn't addressed. California's CSLB requires a license for any stucco work over $500. Looking for a highly-rated stucco contractor in Southern California? We are a CSLB-licensed and insured team ready to help.
How do I know if I need stucco repair vs. full re-stucco?+
If less than 30% of an elevation has visible damage, repair is the right call. If you see large areas of cracking, multiple zones of delamination, or the underlying paper and lath have rotted across an entire wall, full re-stucco of that elevation is more cost-effective long-term. Our free assessment includes a moisture survey and lath inspection so you get a defensible recommendation either way — not just a quote pushing whichever option costs more.
Do you offer warranties on stucco work?+
Yes. Stucco Champions provides a written 5-year workmanship warranty on all stucco repairs and a 10-year warranty on full re-stucco. We're a CSLB-licensed and insured contractor (license #1122006 — verifiable at cslb.ca.gov), which means our work is backed by California's contractor licensing board, not just our own promise. Request a free estimate to see the warranty terms in writing before you sign anything.
How long does a stucco repair take?+
Most patch repairs are completed in 1-2 days, including a 24-hour cure time before texture matching and color application. Full re-stucco of a single elevation runs 5-7 working days because each coat (scratch, brown, finish) needs to cure properly before the next is applied. We schedule around weather — California stucco needs daytime temperatures above 50°F with no rain forecast for at least 24 hours after each coat. Our crew shows up on time, every time.