Hidden Costs of DIY Stucco Repairs vs. Hiring Experts

Written by Stucco Champions — Southern California’s Authority on Exterior Plastering.
Stucco Champions Reviews: Why Neighbors Trust Us
In the construction industry, a license and a truck are not enough. Trust is built on communication, cleanliness, and technical execution. At Stucco Champions, we don't rely on slick marketing; we rely on the word of your neighbors.
Whether it is a small patch or a complete estate restucco, our process is designed to eliminate the stress of home improvement. Here is a breakdown of what real homeowners in Southern California are saying about their experience with us, and the technical reality behind the reviews.
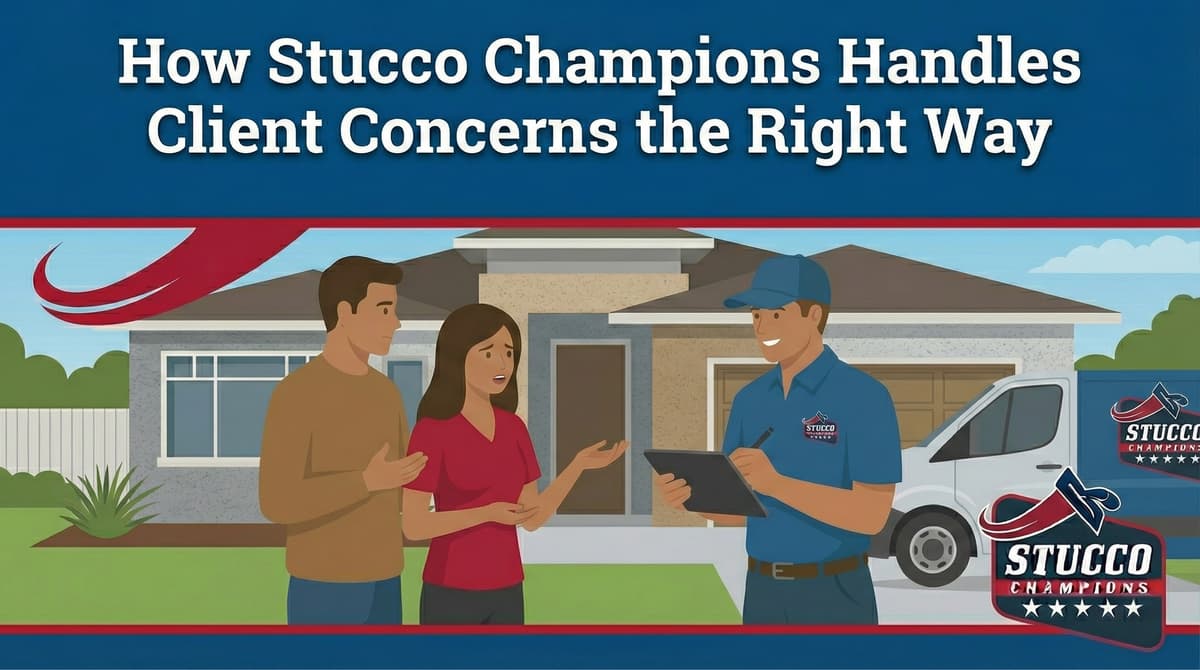
1. The "Worry-Free" Experience
"Our stucco project came out great. Stucco Champions went above and beyond to make this project beautiful, on time and worry free! There was never any mess, they cleaned up every day before leaving."
Why this matters: Stucco is messy. It involves sandblasting, wet cement, and dust.
Our Protocol: We don't just tarp the ground. We mask windows with heavy poly-sheeting, cover pools, and tape off hardscape. Our "End of Day" protocol requires a full site cleanup—hosing down driveways and stacking tools—so you don't feel like you are living in a construction zone.
Free Assessment
Noticing Stucco Damage?
Get a free on-site assessment from a licensed contractor. $0 deposit, no obligation.
GET FREE ASSESSMENT2. Forensic Color Matching
"The team... conducted an original stucco analysis to achieve an exact color match. The professionalism of the crew was evident in every aspect of its work."
The Challenge: Old stucco fades. You cannot buy a matching bag off the shelf.
Our Science: We perform a physical harvest of your existing stucco and send it to the manufacturer's lab (Omega/LaHabra) for analysis. This allows us to create a custom pigment formula that matches the current aged color of your home, not the original color from 10 years ago.
3. Structural Repair (Not Just Patching)
"Stucco Champions did a superb job of entirely removing the old stucco from the chimney stack and replacing it with new stucco that exactly matched..."
The Difference: A handyman patches over a crack. A Stucco Champion removes the failure.
For this chimney, we didn't just skim coat it. We performed a full cut-out, inspected the framing for rot, installed new wire lath, and applied a three-coat system. This ensures the crack doesn't return in six months.
4. Speed & Scheduling
"Stucco Champions were on point with getting back to us... We got the job scheduled within a few days."
Our Logistics: We use modern project management software (like Monday.com) to track every crew. You get a dedicated Project Manager who communicates the schedule daily. No "ghosting," no guessing.
Conclusion: The Proof is in the Plaster
A 5-star review isn't just a compliment; it's confirmation that our technical protocols work. By combining ASTM-compliant installation methods with white-glove customer service, we deliver results that homeowners are proud to share.
Related Resources
Last week, we shared Stucco Problems and How to Prevent Them. Learn how to keep your new stucco looking perfect.