Can You Successfully Stucco Over Foam Board?
Written by Stucco Champions — Southern California’s Authority on Exterior Plastering.
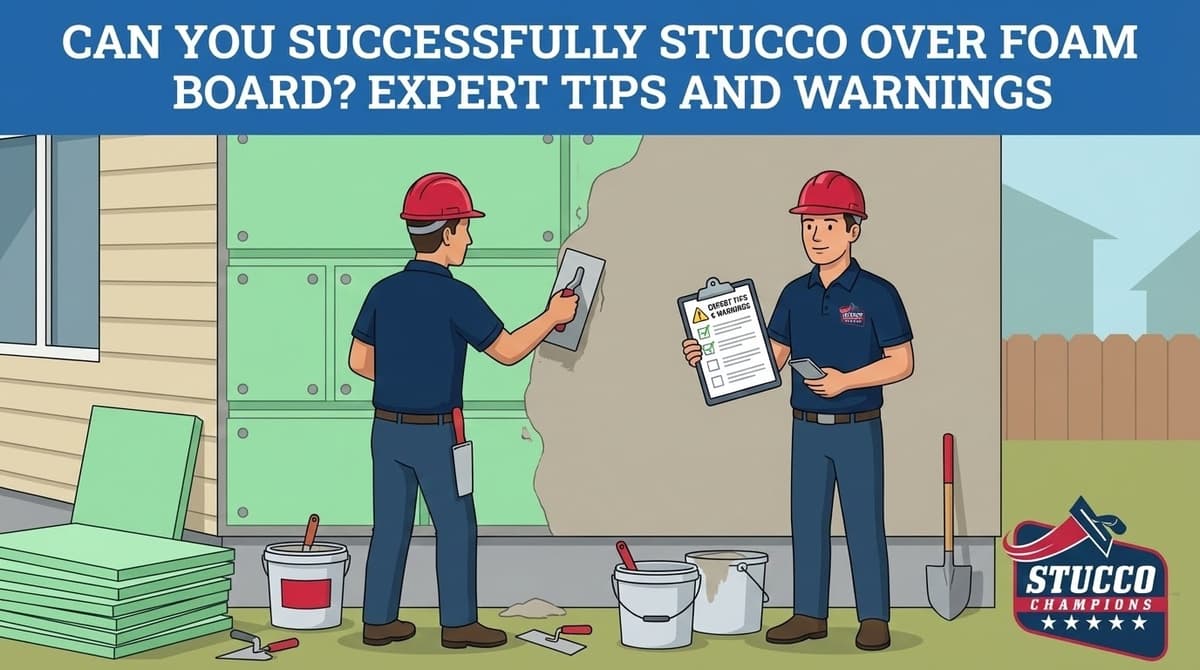
Stucco Over Foam Board: Success Tips & Warnings
If you are trying to fill a decorative gap around a window, create a custom architectural "pop-out," or insulate a small addition, you might be wondering: "Can I just glue foam to the wall and stucco over it?"
The answer is Yes, but only if you treat it as a system. Foam (EPS) is soft and flexible; stucco is hard and brittle. If you don't use the right mesh reinforcement and polymer-modified base coat, the stucco will crack and delaminate from the foam within months. This guide explains the professional method for integrating foam details into your exterior.
1. Material Selection: Not All Foam is Equal
Do not use the pink or blue insulation board from Home Depot intended for underground use. Stucco needs a specific density to bond correctly.
- Use EPS (Expanded Polystyrene): This is the white, beaded foam used in professional EIFS systems. It is breathable and holds a mechanical bond well.
- Density: Look for 1lb or 1.5lb density. Anything softer will dent too easily; anything harder is difficult to rasp flat.
Free Assessment
Noticing Stucco Damage?
Get a free on-site assessment from a licensed contractor. $0 deposit, no obligation.
GET FREE ASSESSMENT2. Adhesion: Glue vs. Mechanical Fasteners
How you attach the foam determines if it stays on the wall.
- Adhesive (Foam-to-Stucco): If attaching foam to an existing brown coat, use a polymer-modified cement adhesive (like Primus or Foam-Tek). Apply it with a notched trowel to the back of the foam.
- Mechanical (Foam-to-Wood): If going over wood sheathing, use plastic washer fasteners (Wind-Lock) screwed into the studs. The washer grabs the foam without crushing it.
Read the "Base Coat & Mesh" steps and get the Material Checklist PDF sent instantly to your inbox.
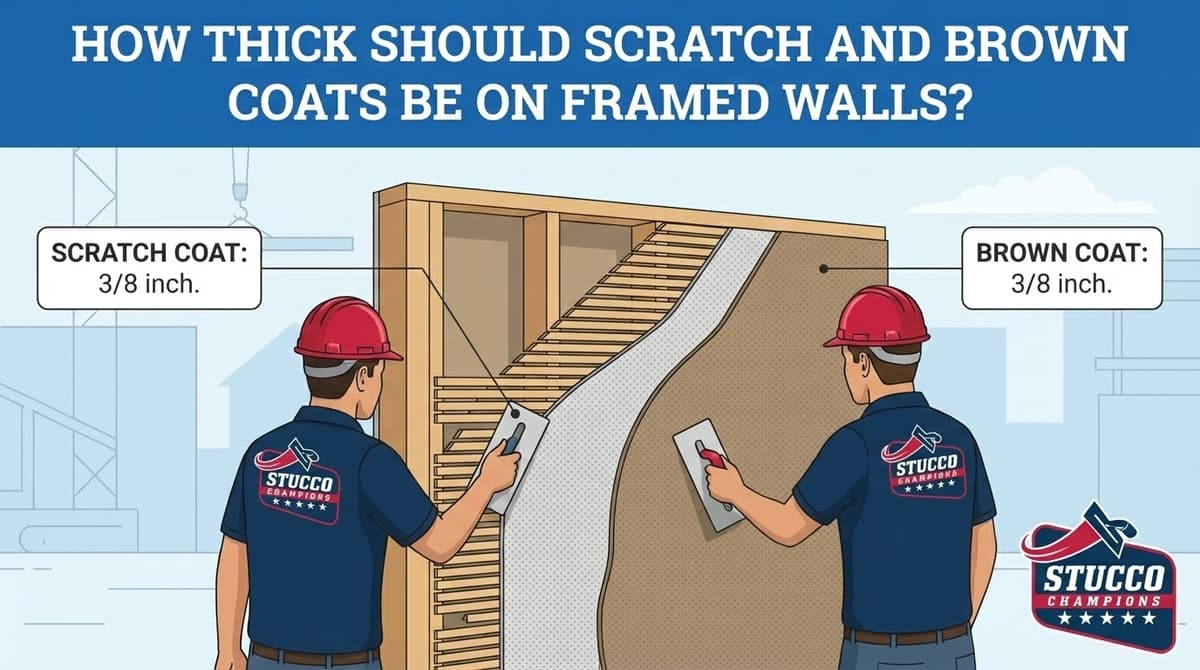
3. The "Base Coat & Mesh" System
You cannot apply finish stucco directly to raw foam. It will crack. You must create an armored shell first.
Step A: Rasping
Foam is rarely perfectly flat. Use a rasp (sandpaper board) to level the joints and roughen the surface. This opens the pores of the EPS beads for better adhesion.
Step B: Base Coat
Apply a layer of Polymer-Modified Base Coat (specifically designed for foam) to the face of the board. Do not use standard scratch coat cement; it is too brittle.
Step C: Mesh Embedment
While the base coat is wet, embed a layer of Alkali-Resistant Fiberglass Mesh.
The Rule: The mesh must be fully encapsulated in the cement. You should not see the color of the mesh, but you should see the grid pattern texture. This mesh acts as the "skin" that prevents cracking.
If the foam detail is near the ground or a doorway (high traffic), standard mesh isn't enough. Upgrade to "High Impact" (20oz) Mesh. It is thicker and prevents dents from kicks or equipment.
4. The Finish Coat
Once the reinforced base coat has cured (usually 24 hours), you can apply the finish.
- Acrylic Finish: Highly recommended over foam. It flexes with the system.
- Cement Finish: Risky over foam due to rigidity, but possible if the base coat is thick and reinforced well.
5. Common Failure Points
Why do foam pop-outs fail?
- Lack of Back-Wrapping: The mesh must wrap around the edges of the foam to the back. If you leave the edge of the foam exposed, it will delaminate.
- No Slope: Horizontal foam surfaces (like window sills) must have a slope to shed water. Standing water will eventually penetrate the system.
Conclusion: It’s a System, Not a Patch
Stuccoing over foam is a fantastic way to add architectural detail and insulation, but it requires specific chemistry. Stick to the EIFS protocol (Adhesive -> Foam -> Base/Mesh -> Finish) and avoid shortcuts. If you skip the mesh or use the wrong cement, gravity will eventually pull your new detail right off the wall.
Related ResourcesLast week, we shared What Is EIFS Stucco?. This is the full-wall version of the foam technique described here.