Cinder Block Wall Stucco Finish: Application & Bonding Guide
Written by Stucco Champions — Southern California’s Authority on Exterior Plastering.
Achieving a Flawless Cinder Block Wall Stucco Finish
Applying a cinder block wall stucco finish (over CMU masonry) is fundamentally different from installing a traditional three-coat stucco system over wood framing. Because both cinder block and stucco are cementitious masonry products, they are highly compatible. Under the right conditions, wet stucco can chemically bond directly to the block without the need for building paper or wire lath.
However, many DIYers assume they can simply trowel cement onto any block wall. A durable cinder block wall stucco finish requires the block to be perfectly clean, highly porous, and structurally sound. This guide explains how to properly test your wall, apply a direct-bond scratch coat, and when wire lath becomes absolutely mandatory.
Free Assessment
Noticing Stucco Damage?
Get a free on-site assessment from a licensed contractor. $0 deposit, no obligation.
GET FREE ASSESSMENT1. The Critical Diagnostic: Porosity
Before you mix a single bag of cement for a cinder block wall stucco finish, you must determine if the block is capable of accepting a chemical bond. The Portland Cement Association (PCA) recommends checking the absorptive characteristic of the base.
Splash a cup of clean water aggressively against the cinder block. If the water instantly darkens the block and absorbs, the masonry is porous and ready for direct plastering. If the water beads up or runs straight off, the block is sealed, heavily painted, or contaminated. A cinder block wall stucco finish will immediately delaminate from a sealed surface.
If the block absorbs water too rapidly (a "thirsty" block), it can pull moisture out of the fresh plaster too fast, causing flash-curing and severe shrinkage cracks. In that case, the wall must be heavily pre-misted with a hose so the block is damp but not dripping wet at the time of application.
2. The Danger of Painted Cinder Block
You cannot apply a cinder block wall stucco finish directly over existing paint, clear sealer, or oily efflorescence. The cement will only bond to the thin layer of paint, and when the paint inevitably peels, massive sheets of heavy stucco will crash to the ground.
PCA guidance strictly dictates that painted surfaces must have the coating mechanically removed (usually via sandblasting) if a direct plaster bond is desired. Do not rely on a thin cement "scratch coat" or a liquid bonding agent to overcome thick, glossy paint.
3. Direct Apply vs. Wire Lath
Depending on the results of your water test, you have two distinct paths to achieving a cinder block wall stucco finish:
- Direct-Apply Method: If the block is raw, clean, and highly porous, you can often apply the stucco directly to the masonry. Modern standards usually require painting the block with a liquid bonding agent (like Weld-Crete) first, or applying a cement-rich "dash-bond" slurry coat to guarantee adhesion.
- The Lath Method: If the paint cannot be removed, or if the wall is highly suspect, you must abandon the direct-bond method. Instead, you must mechanically attach heavy metal wire lath to the cinder block using hardened masonry anchors. The stucco will then lock into the wire lath, ignoring the painted block entirely.
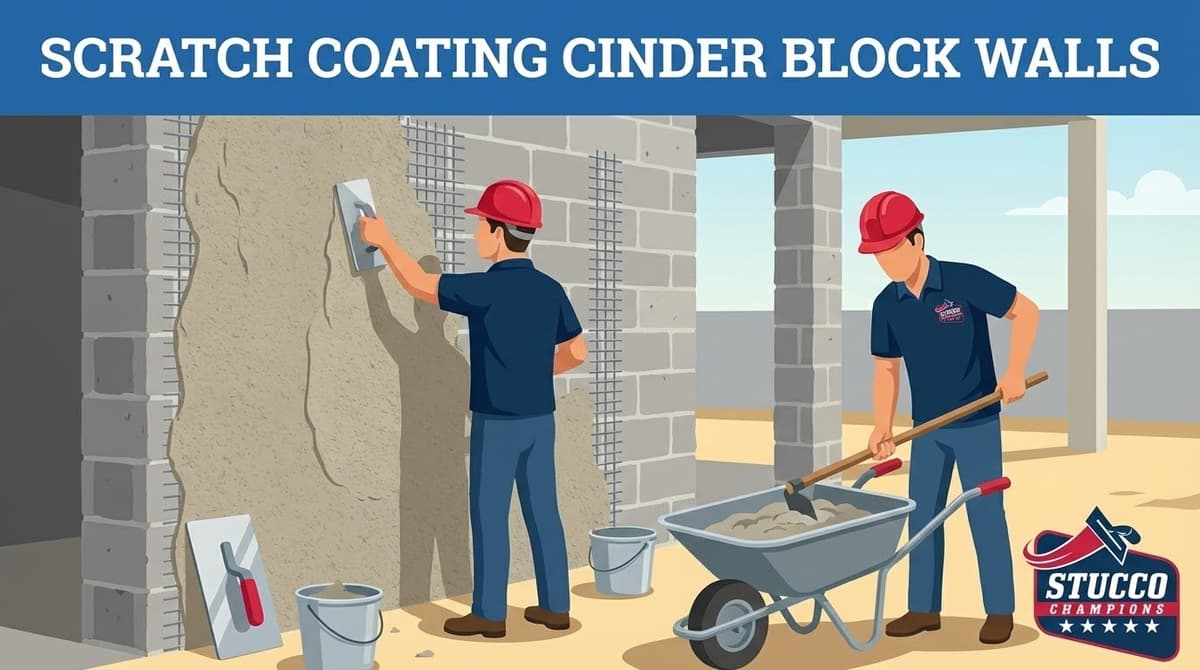
4. The Two-Coat Masonry Protocol
Unlike wood-framed houses that require three coats of plaster, a cinder block wall stucco finish is typically applied as a two-coat system (as per ASTM C926 standards for solid masonry).
The cinder block itself provides the rigid structural backing, so the heavy "scratch" and "brown" leveling coats are combined into a single, thicker base coat. This is why you cannot simply copy wood-framed stucco tutorials when working on cinder block retaining walls or detached garages.
5. Common Mistakes to Avoid
To ensure your cinder block wall stucco finish lasts for decades without delaminating, avoid these amateur mistakes:
- Troweling wet stucco directly over painted or sealed CMU block.
- Failing to aggressively pressure wash algae, dirt, and efflorescence off the wall.
- Letting the block stay bone-dry on a hot day (which sucks the hydration out of the plaster).
- Using interior drywall screws to attach wire lath to concrete block.
- Assuming that a fresh layer of stucco will stop a cinder block retaining wall from physically leaning or settling.
Bottom Line
A cinder block wall stucco finish is one of the most durable, bulletproof exterior upgrades possible, provided the substrate is respected. Raw, open-textured block will easily accept direct plaster. Painted, sealed, or dense block will absolutely require coating removal, a liquid bonding agent, or mechanically attached metal lath.
Diagnose the porosity of the wall first, and then choose the appropriate plaster system. If you are unsure about the structural integrity of your CMU wall, contact a licensed stucco contractor before you begin.
Frequently Asked Questions About Stucco
How much does stucco repair cost in Orange County and Los Angeles?+
Stucco repair typically ranges from $500 for minor crack patching to $5,000+ for full re-stucco of a single elevation. The exact cost depends on the damage type (hairline cracks, water damage, delamination, weep screed failure), the square footage involved, and whether the original three-coat or one-coat stucco system needs to be matched. Stucco Champions provides fixed-price written estimates after a free on-site assessment — no hourly billing, no surprise change orders. See our stucco repair cost guide for detailed pricing by repair type.
How long does stucco last in Southern California?+
Properly installed three-coat stucco lasts 50-80+ years in Southern California's climate. The most common failure points aren't the stucco itself — they're the supporting components: corroded weep screed, deteriorated building paper behind the stucco, and improperly sealed window flashing. Most "stucco failures" are actually moisture-intrusion failures that start at one of these points. Annual visual inspection catches problems before they spread, which is why we offer free weep screed assessments for homeowners in our service area.
Can I repair stucco myself, or do I need a contractor?+
Hairline cracks under 1/8 inch wide can be sealed with elastomeric caulk by a homeowner. Anything larger — pattern cracks, delamination (where stucco pulls away from the wall), water-damaged areas, or chimney/window leak repairs — requires a licensed contractor. Improper DIY repair on these is the #1 cause of repeat failures because the underlying cause (usually moisture) isn't addressed. California's CSLB requires a license for any stucco work over $500. Looking for a highly-rated stucco contractor in Southern California? We are a CSLB-licensed and insured team ready to help.
How do I know if I need stucco repair vs. full re-stucco?+
If less than 30% of an elevation has visible damage, repair is the right call. If you see large areas of cracking, multiple zones of delamination, or the underlying paper and lath have rotted across an entire wall, full re-stucco of that elevation is more cost-effective long-term. Our free assessment includes a moisture survey and lath inspection so you get a defensible recommendation either way — not just a quote pushing whichever option costs more.
Do you offer warranties on stucco work?+
Yes. Stucco Champions provides a written 5-year workmanship warranty on all stucco repairs and a 10-year warranty on full re-stucco. We're a CSLB-licensed and insured contractor (license #1122006 — verifiable at cslb.ca.gov), which means our work is backed by California's contractor licensing board, not just our own promise. Request a free estimate to see the warranty terms in writing before you sign anything.
How long does a stucco repair take?+
Most patch repairs are completed in 1-2 days, including a 24-hour cure time before texture matching and color application. Full re-stucco of a single elevation runs 5-7 working days because each coat (scratch, brown, finish) needs to cure properly before the next is applied. We schedule around weather — California stucco needs daytime temperatures above 50°F with no rain forecast for at least 24 hours after each coat. Our crew shows up on time, every time.