The #1 Guide to Selecting the Right Sand for Stucco projects
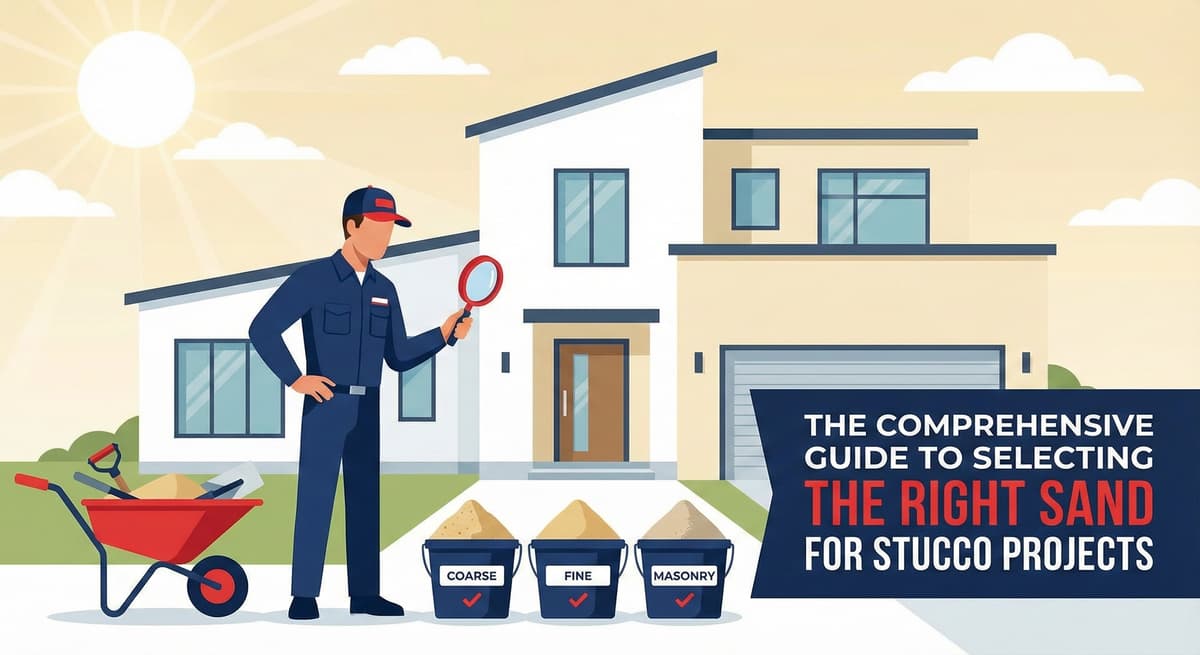
The Comprehensive Guide to Selecting the Right Sand for Stucco Projects
 Written by Stucco Champions — Southern California’s Authority on Exterior Plastering.
Free Assessment
Noticing Stucco Damage?
Get a free on-site assessment from a licensed contractor. $0 deposit, no obligation.
GET FREE ASSESSMENTThe Skeleton of Stucco: A Comprehensive Guide to Selecting the Right Sand
When we mix stucco, cement is the glue, but sand is the skeleton. It makes up roughly 70% of the volume of your wall. The type, shape, and cleanliness of the sand you choose dictates the strength of the scratch coat and the beauty of the finish coat. Using the wrong sand isn't just an aesthetic issue; it's a structural liability. In this guide, we break down the difference between "Washed Plaster Sand" and "Silica Sand," and why grabbing a bag of generic play sand from Home Depot is a mistake that could ruin your project.1. The Gold Standard: Washed Plaster Sand (ASTM C144)
For the structural layers of stucco—the Scratch and Brown coats—you need aggregate that provides compressive strength.- Why "Washed"? Sand dug straight from the ground contains silt, clay, and organic salts. These impurities kill the chemical bond of the cement. Washed sand has been sluiced to remove these fines.
- Angularity Matters: [Image of sand grain size comparison] Good plastering sand is "sharp" or angular. The jagged edges lock together like puzzle pieces when the cement cures. River sand is often too round (smooth), leading to weaker walls.
2. Sourcing: Bulk Yards vs. Bagged Goods
Where you buy your sand depends on the scope of your repair.The Material Yard (Professional Route)
For re-stuccoing a whole house or a large addition, we go to dedicated Lath & Plaster yards (like Hub or Westside). Pros: Consistent "pile" (color/texture match), bulk pricing, and adherence to ASTM C144 grading. Cons: Requires a dump truck or trailer for delivery.Bagged Sand (The DIY Route)
For small patches, bagged sand from a hardware store is convenient, but you must read the label. Look For: "All-Purpose Sand" or "Concrete Sand" (Coarse/Medium). Avoid: "Play Sand." (See warning below). ⚠️ The Play Sand Myth Many homeowners grab "Play Sand" because it feels soft. Do not use Play Sand for base coats. It is typically too fine and the grains are rounded. This lacks the structural "bite" needed to hold the weight of the wall. It also causes excessive shrinkage cracking as it dries.3. The Finish Coat: Silica vs. Plaster Sand
The rules change when we apply the final color coat. The size of the sand grain determines the texture of your home.Coarse/Plaster Sand (16/20 Mesh)
Used for heavy textures like Spanish Lace or Machine Dash. The large grains create deep valleys and shadows, which is excellent for hiding imperfections in older walls.Silica Sand (20/30 Mesh)
This is a manufactured, uniform sand used for Sand Finishes and Santa Barbara Smooth finishes. The Benefit: Because the grains are identical in size, it allows for a tight, consistent trowel pass without the "drag marks" caused by larger rocks found in bulk plaster sand.4. Matching Existing Texture
If you are patching a hole, you cannot just use whatever sand you have. You must match the "aggregate profile" of the existing wall.- Rough Wall? Use All-Purpose/Concrete Sand.
- Smooth Wall? Use Fine Silica or specially graded "Velvet" sand.
Conclusion: It’s Not Just "Dirt"
Selecting the right sand is the first step in a successful stucco project. For structural strength, stick to coarse, washed plaster sand. For refined finishes, upgrade to graded silica. At Stucco Champions, we filter our sand selection based on the specific architectural needs of your Southern California home. Related Resources Last week, we shared Comprehensive Guide to Stucco Crack Repair. If you are mixing sand for a patch, this guide is essential.Frequently Asked Questions About Stucco
How much does stucco repair cost in Orange County and Los Angeles?+
Stucco repair typically ranges from $500 for minor crack patching to $5,000+ for full re-stucco of a single elevation. The exact cost depends on the damage type (hairline cracks, water damage, delamination, weep screed failure), the square footage involved, and whether the original three-coat or one-coat stucco system needs to be matched. Stucco Champions provides fixed-price written estimates after a free on-site assessment — no hourly billing, no surprise change orders. See our stucco repair cost guide for detailed pricing by repair type.
How long does stucco last in Southern California?+
Properly installed three-coat stucco lasts 50-80+ years in Southern California's climate. The most common failure points aren't the stucco itself — they're the supporting components: corroded weep screed, deteriorated building paper behind the stucco, and improperly sealed window flashing. Most "stucco failures" are actually moisture-intrusion failures that start at one of these points. Annual visual inspection catches problems before they spread, which is why we offer free weep screed assessments for homeowners in our service area.
Can I repair stucco myself, or do I need a contractor?+
Hairline cracks under 1/8 inch wide can be sealed with elastomeric caulk by a homeowner. Anything larger — pattern cracks, delamination (where stucco pulls away from the wall), water-damaged areas, or chimney/window leak repairs — requires a licensed contractor. Improper DIY repair on these is the #1 cause of repeat failures because the underlying cause (usually moisture) isn't addressed. California's CSLB requires a license for any stucco work over $500. Looking for a highly-rated stucco contractor in Southern California? We are a CSLB-licensed and insured team ready to help.
How do I know if I need stucco repair vs. full re-stucco?+
If less than 30% of an elevation has visible damage, repair is the right call. If you see large areas of cracking, multiple zones of delamination, or the underlying paper and lath have rotted across an entire wall, full re-stucco of that elevation is more cost-effective long-term. Our free assessment includes a moisture survey and lath inspection so you get a defensible recommendation either way — not just a quote pushing whichever option costs more.
Do you offer warranties on stucco work?+
Yes. Stucco Champions provides a written 5-year workmanship warranty on all stucco repairs and a 10-year warranty on full re-stucco. We're a CSLB-licensed and insured contractor (license #1122006 — verifiable at cslb.ca.gov), which means our work is backed by California's contractor licensing board, not just our own promise. Request a free estimate to see the warranty terms in writing before you sign anything.
How long does a stucco repair take?+
Most patch repairs are completed in 1-2 days, including a 24-hour cure time before texture matching and color application. Full re-stucco of a single elevation runs 5-7 working days because each coat (scratch, brown, finish) needs to cure properly before the next is applied. We schedule around weather — California stucco needs daytime temperatures above 50°F with no rain forecast for at least 24 hours after each coat. Our crew shows up on time, every time.