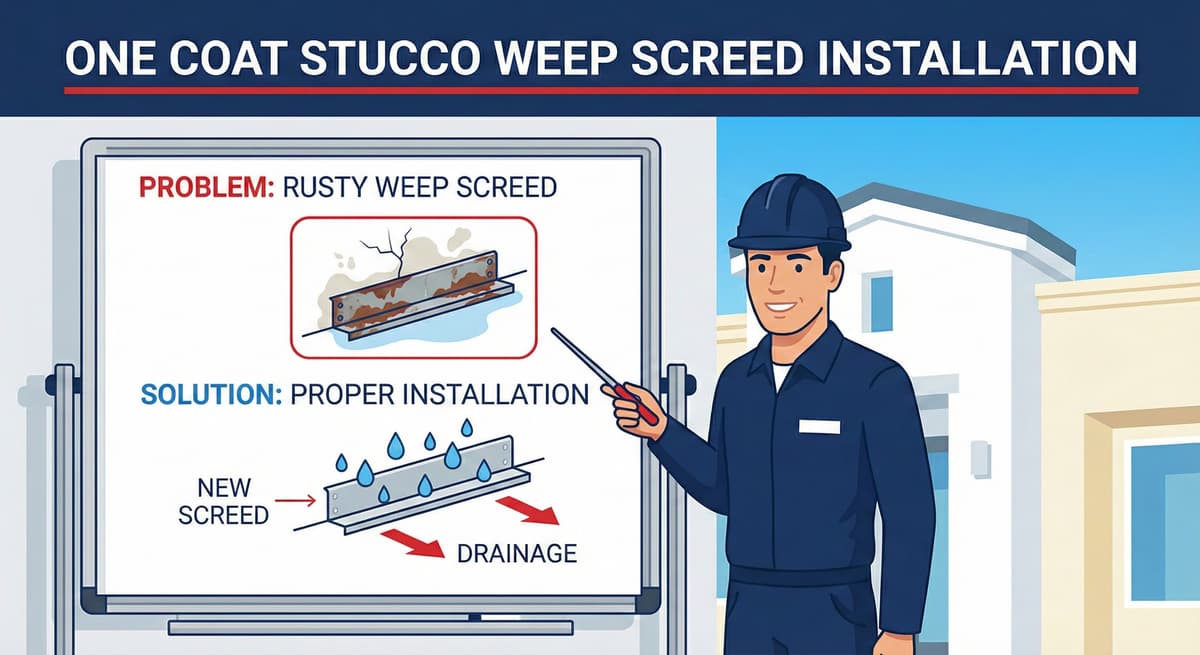
One Coat Stucco Weep Screed Installation
Written by Stucco Champions — Southern California’s Authority on Exterior Plastering.
One-Coat Stucco Weep Screed Installation: The 1-3/8" Rule
When installing a "One-Coat" stucco system (which typically involves 1 inch of rigid foam insulation), you cannot use standard hardware. The most common failure we see in these systems is the use of a standard 7/8" weep screed, which is too shallow to accommodate the foam.
To ensure proper drainage and a flush finish, you must use a 1-3/8" Foundation Weep Screed. This specific profile provides the necessary depth for the foam (1 inch) plus the base coat (3/8 inch). This guide breaks down the precision cutting and fastening techniques required to install this critical flashing correctly.
1. The Math: Why 1-3/8 Inch?
Unlike traditional stucco where the wire sits against the wall, a One-Coat system pushes the finish out.
The Equation: 1" EPS Foam Board + 3/8" Fiber-Reinforced Base Coat = 1-3/8" Total Depth.
If you use a smaller screed, the foam will overhang the metal, trapping water and leading to rot. The 1-3/8" screed acts as a track for the foam to rest in.
Free Assessment
Noticing Stucco Damage?
Get a free on-site assessment from a licensed contractor. $0 deposit, no obligation.
GET FREE ASSESSMENT2. Preparation & Clearance
Before you cut a single piece of metal, establish your grade line. ASTM C1063 and local California codes are strict about ground clearance to prevent moisture wicking.
⚠️ The Clearance Mandate
- Earth/Soil: 4 inches clearance minimum.
- Paved Surfaces (Concrete/Pavers): 2 inches clearance minimum.
The "Drop" Rule: The bottom edge of the weep screed should hang approximately 1 inch below the sill plate (where the wood framing meets the concrete foundation). This ensures that if water drains out, it drips onto the concrete foundation wall, not onto the wood framing.
3. Fabrication: Cutting Corners Correctly
You cannot just butt two pieces of metal together at a corner. You must create a lapped joint to prevent leaks.
Tools Needed: Aviation Snips (Green/Red handle) or "M3" straight cutters, Speed Square, Sharpie.
For Outside Corners:
- Mark the Flange: Measure 1-3/8" back from the end of the screed on the top nailing flange.
- The 45-Degree Cut: Draw a 45-degree line from that mark toward the nose of the screed. Cut along this line.
- The Nose Cut: Snip the bottom "nose" (the drip edge) vertically.
- Result: When you place two pieces together cut in this mirror image, the flanges will overlap flat against the wall, creating a sharp 90-degree corner without a gap.
For Inside Corners:
- The Measurement: Measure 1-3/8" along the front lip (nose) of the screed.
- The Reverse Cut: Draw a 45-degree line back toward the flange. Cut this angle.
- Overlap: When joined with the adjacent piece, the noses should meet perfectly in the corner, while the flanges overlap on the wall.
4. Splicing Joints (Straight Runs)
On long walls, you will need to join two 10-foot sticks of screed. Do not butt them edge-to-edge.
The Lap Method:
1. Cut a small "V" notch in the nose of one piece.
2. Slide the second piece inside the first piece by about 2 inches.
3. This "nesting" creates a continuous channel for the foam and prevents the metal from twisting.
5. Fastening Protocol
Secure the screed to the shear wall or studs.
Fasteners: Use 1-1/4" galvanized roofing nails or wide-crown staples.
Spacing: Place a fastener every 16 inches (hitting studs) along the top flange.
Pro Tip: Do not overdrive the nails. If you warp the flange, the foam board won't sit flat in the track later.
Conclusion: The Track for Your System
In a One-Coat system, the weep screed is more than just a drain; it is the "starter track" for your foam insulation. If this metal is crooked or the wrong size, every sheet of foam you install afterwards will be misaligned. Take the time to level it, lap it, and secure it properly.
Related Resources
Last week, we shared Understanding Weep Screed Installation for 3-Coat Systems. If you aren't using foam, you need a different screed profile.
Frequently Asked Questions About Stucco
How much does stucco repair cost in Orange County and Los Angeles?+
Stucco repair typically ranges from $500 for minor crack patching to $5,000+ for full re-stucco of a single elevation. The exact cost depends on the damage type (hairline cracks, water damage, delamination, weep screed failure), the square footage involved, and whether the original three-coat or one-coat stucco system needs to be matched. Stucco Champions provides fixed-price written estimates after a free on-site assessment — no hourly billing, no surprise change orders. See our stucco repair cost guide for detailed pricing by repair type.
How long does stucco last in Southern California?+
Properly installed three-coat stucco lasts 50-80+ years in Southern California's climate. The most common failure points aren't the stucco itself — they're the supporting components: corroded weep screed, deteriorated building paper behind the stucco, and improperly sealed window flashing. Most "stucco failures" are actually moisture-intrusion failures that start at one of these points. Annual visual inspection catches problems before they spread, which is why we offer free weep screed assessments for homeowners in our service area.
Can I repair stucco myself, or do I need a contractor?+
Hairline cracks under 1/8 inch wide can be sealed with elastomeric caulk by a homeowner. Anything larger — pattern cracks, delamination (where stucco pulls away from the wall), water-damaged areas, or chimney/window leak repairs — requires a licensed contractor. Improper DIY repair on these is the #1 cause of repeat failures because the underlying cause (usually moisture) isn't addressed. California's CSLB requires a license for any stucco work over $500. We're a CSLB-licensed and insured contractor — see our contractor team for credentials.
How do I know if I need stucco repair vs. full re-stucco?+
If less than 30% of an elevation has visible damage, repair is the right call. If you see large areas of cracking, multiple zones of delamination, or the underlying paper and lath have rotted across an entire wall, full re-stucco of that elevation is more cost-effective long-term. Our free assessment includes a moisture survey and lath inspection so you get a defensible recommendation either way — not just a quote pushing whichever option costs more.
Do you offer warranties on stucco work?+
Yes. Stucco Champions provides a written 5-year workmanship warranty on all stucco repairs and a 10-year warranty on full re-stucco. We're a CSLB-licensed and insured contractor (license #1122006 — verifiable at cslb.ca.gov), which means our work is backed by California's contractor licensing board, not just our own promise. Request a free estimate to see the warranty terms in writing before you sign anything.
How long does a stucco repair take?+
Most patch repairs are completed in 1-2 days, including a 24-hour cure time before texture matching and color application. Full re-stucco of a single elevation runs 5-7 working days because each coat (scratch, brown, finish) needs to cure properly before the next is applied. We schedule around weather — California stucco needs daytime temperatures above 50°F with no rain forecast for at least 24 hours after each coat. Our crew shows up on time, every time.