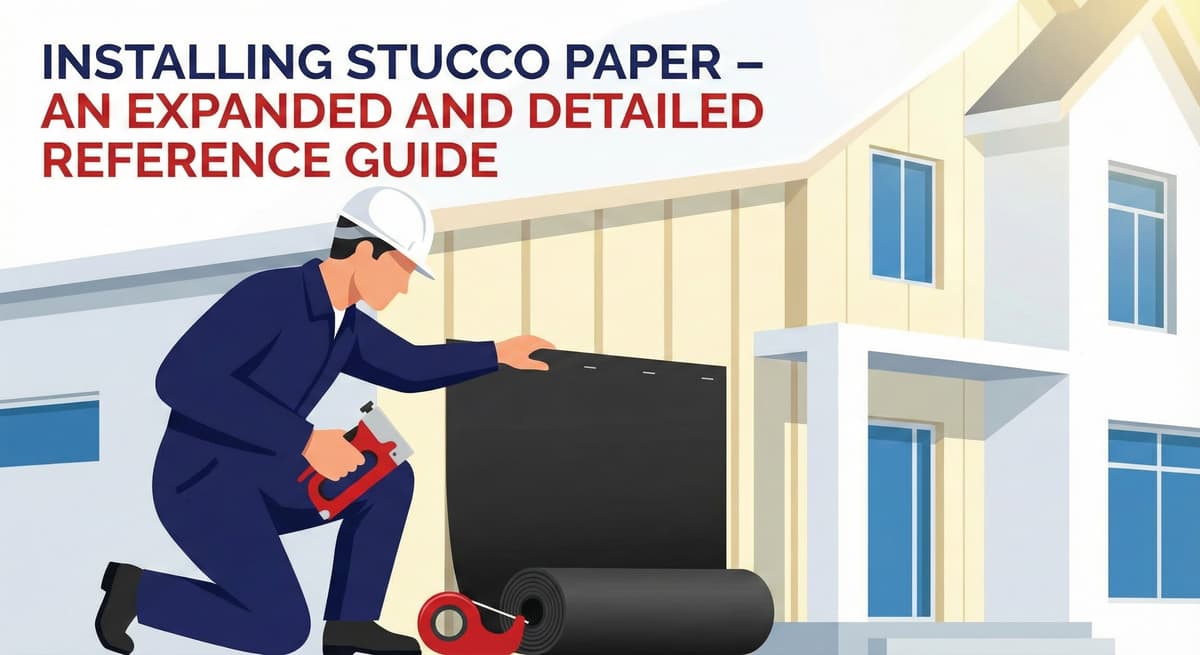
Installing Stucco Paper: A Guide to Water Resistive Barriers
There is a massive misconception in the construction world that stucco is waterproof. It is not. Stucco is porous by design—it absorbs rainwater and allows it to pass through. The true hero of a stucco wall is what lies beneath the cement: the Water Resistive Barrier (WRB), commonly known as Stucco Paper.
If the stucco paper is installed incorrectly, water will penetrate the wood framing, causing catastrophic dry rot, mold, and structural failure. This guide explains the science of the WRB and the strict building codes required to install it correctly.
1. What is Stucco Paper?
Stucco paper is fundamentally different from roofing felt or standard plastic house wrap (like Tyvek). The industry standard in California is Grade D Asphalt-Infused Kraft Paper.
- Water Resistance vs. Vapor Permeability: Grade D paper is designed to stop bulk liquid water (rain) from passing through, but it remains highly vapor permeable (breathable). This means if moisture somehow gets into the wall cavity, it can evaporate out as a gas.
- The Rating System: You will see paper rated as "10-Minute" or "60-Minute." This refers to how long it takes for pooling water to penetrate the paper in a lab test. For modern construction, 60-Minute paper is the professional standard.
Free Assessment
Noticing Stucco Damage?
Get a free on-site assessment from a licensed contractor. $0 deposit, no obligation.
GET FREE ASSESSMENT2. The "Two-Layer" Rule for Wood Sheathing
According to the International Building Code (IBC) and California Building Code (CBC), if you are applying stucco over wood sheathing (OSB or Plywood), you MUST use two separate layers of Grade D paper (or a specialized double-ply paper).
When the wet stucco base coat is troweled onto the wall, the cement absorbs into the first layer of paper, bonding to it and wrinkling it. The first layer sacrifices its waterproofing ability to hold the cement. The second layer underneath remains flat and pristine, acting as the true drainage plane where the water slides down safely.
3. The "Shingle" Installation Method
Water obeys gravity. Therefore, stucco paper must be installed from the bottom of the wall up to the top, overlapping like roof shingles.
Step-by-Step Installation:
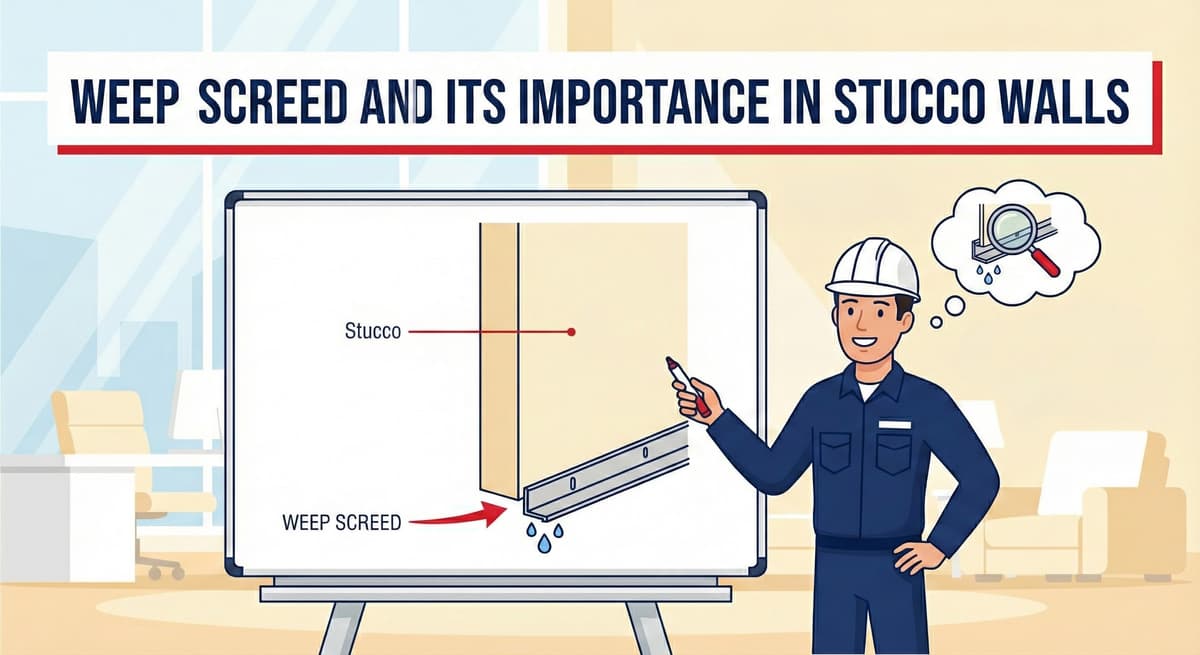
- Start at the Weep Screed: The very first sheet of paper must be installed at the bottom of the wall, lapping over the top flange of the foundation weep screed. This ensures water drains out of the wall and not behind the metal.
- Horizontal Overlaps: As you work your way up the wall, each new horizontal course of paper must overlap the piece below it by a minimum of 2 inches.
- Vertical Overlaps: When you start a new roll horizontally, the vertical seams must overlap by a minimum of 6 inches.
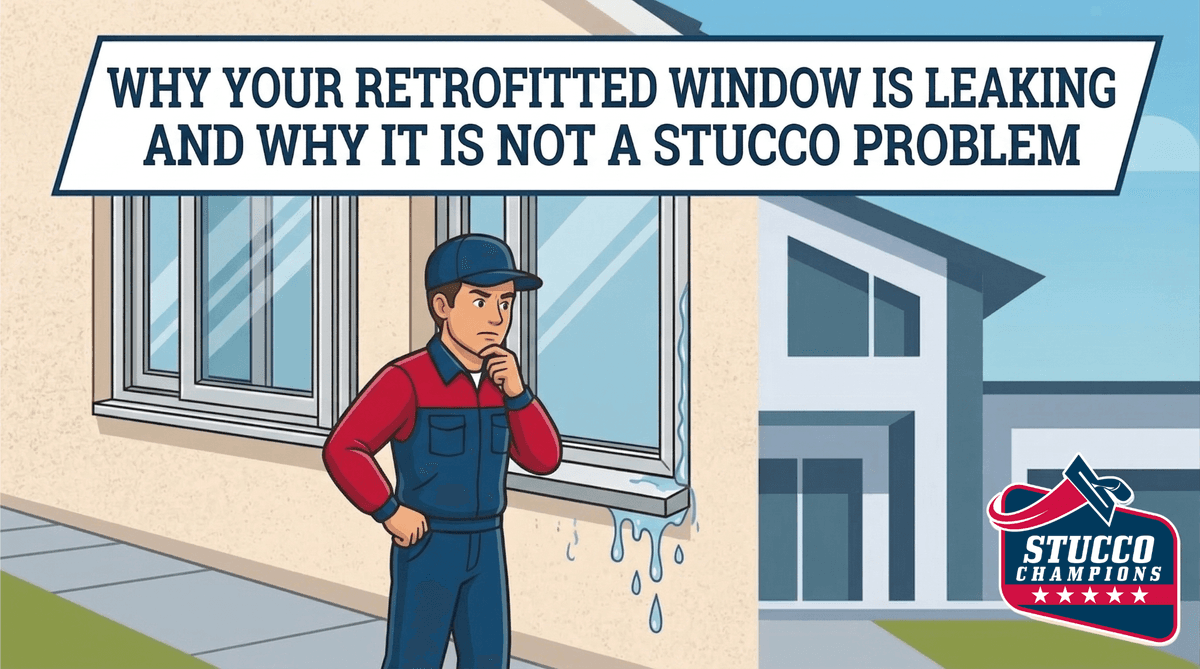
- Window Flashing Integration: This is where most leaks occur. The stucco paper must slide under the window's bottom nailing flange (sill flashing) and go over the top nailing flange (head flashing). If the paper goes behind the top flange, water will funnel directly into the house.
4. Fastening the Paper
The paper should be stapled to the wood sheathing just enough to hold it in place until the wire lath is installed. Over-stapling creates unnecessary holes in your waterproofing layer. Use a hammer tacker with 3/8" staples, hitting only the studs where possible.
Conclusion: The Ultimate Defense
You can have the most beautiful, perfectly troweled Santa Barbara finish in the world, but if the paper underneath is installed upside-down or lacks the proper double-layer over OSB, the wall will rot from the inside out. At Stucco Champions, we treat the WRB as the most critical step of the entire cladding process.
Frequently Asked Questions About Stucco
How much does stucco repair cost in Orange County and Los Angeles?+
Stucco repair typically ranges from $500 for minor crack patching to $5,000+ for full re-stucco of a single elevation. The exact cost depends on the damage type (hairline cracks, water damage, delamination, weep screed failure), the square footage involved, and whether the original three-coat or one-coat stucco system needs to be matched. Stucco Champions provides fixed-price written estimates after a free on-site assessment — no hourly billing, no surprise change orders. See our stucco repair cost guide for detailed pricing by repair type.
How long does stucco last in Southern California?+
Properly installed three-coat stucco lasts 50-80+ years in Southern California's climate. The most common failure points aren't the stucco itself — they're the supporting components: corroded weep screed, deteriorated building paper behind the stucco, and improperly sealed window flashing. Most "stucco failures" are actually moisture-intrusion failures that start at one of these points. Annual visual inspection catches problems before they spread, which is why we offer free weep screed assessments for homeowners in our service area.
Can I repair stucco myself, or do I need a contractor?+
Hairline cracks under 1/8 inch wide can be sealed with elastomeric caulk by a homeowner. Anything larger — pattern cracks, delamination (where stucco pulls away from the wall), water-damaged areas, or chimney/window leak repairs — requires a licensed contractor. Improper DIY repair on these is the #1 cause of repeat failures because the underlying cause (usually moisture) isn't addressed. California's CSLB requires a license for any stucco work over $500. Looking for a highly-rated stucco contractor in Southern California? We are a CSLB-licensed and insured team ready to help.
How do I know if I need stucco repair vs. full re-stucco?+
If less than 30% of an elevation has visible damage, repair is the right call. If you see large areas of cracking, multiple zones of delamination, or the underlying paper and lath have rotted across an entire wall, full re-stucco of that elevation is more cost-effective long-term. Our free assessment includes a moisture survey and lath inspection so you get a defensible recommendation either way — not just a quote pushing whichever option costs more.
Do you offer warranties on stucco work?+
Yes. Stucco Champions provides a written 5-year workmanship warranty on all stucco repairs and a 10-year warranty on full re-stucco. We're a CSLB-licensed and insured contractor (license #1122006 — verifiable at cslb.ca.gov), which means our work is backed by California's contractor licensing board, not just our own promise. Request a free estimate to see the warranty terms in writing before you sign anything.
How long does a stucco repair take?+
Most patch repairs are completed in 1-2 days, including a 24-hour cure time before texture matching and color application. Full re-stucco of a single elevation runs 5-7 working days because each coat (scratch, brown, finish) needs to cure properly before the next is applied. We schedule around weather — California stucco needs daytime temperatures above 50°F with no rain forecast for at least 24 hours after each coat. Our crew shows up on time, every time.