What Caulking Should I Use for Stucco? Cracks, Lath, Etc.

Written by Stucco Champions — Southern California’s Authority on Exterior Plastering.
Understanding Caulking Choices for Stucco: Polyurethane vs. Acrylic
When a crack appears in your stucco, or a gap opens up around a window frame, your first instinct is to grab a tube of caulk. But choose the wrong tube, and you can cause permanent damage to your home's exterior.
Stucco is a masonry product; it is porous, dusty, and moves with the weather. Standard indoor caulking will fail within weeks. This guide explains the three chemical families of exterior sealants and why "100% Silicone" is the enemy of a stucco wall.
1. Polyurethane: The Structural Heavyweight
Best For: Waterproofing around windows, doors, and where wood trim meets stucco.
Profile: Extremely sticky, flexible, and durable (20+ years).
Why We Use It: Polyurethane bonds aggressively to masonry and wood. It remains flexible, allowing the different materials to expand and contract without tearing the seal.
Top Pick: Sikaflex 1A
This is the industry standard. It is a "Construction Grade" sealant that resists UV degradation and can be painted once cured (typically 5-7 days).
Free Assessment
Noticing Stucco Damage?
Get a free on-site assessment from a licensed contractor. $0 deposit, no obligation.
GET FREE ASSESSMENT2. Textured Acrylic: The Cosmetic Blender
Best For: Hairline cracks in the middle of a wall.
Profile: Water-based, easy to clean, and contains aggregate (sand).
Why We Use It: Standard caulk dries smooth and shiny. On a rough stucco wall, a smooth line looks like a scar. Textured Acrylics (like Mor-Flexx or Sashco) have sand mixed in. When applied, they mimic the grit of the stucco, making the repair invisible once painted.
3. The "Forbidden" Tube: 100% Silicone
⚠️ NEVER Use Silicone on Stucco
Silicone is great for bathrooms and glass, but it is a disaster for stucco.
The Reason: Nothing sticks to silicone—not even paint or new stucco. If you fill a crack with silicone, you can never paint that spot again. The paint will "fish eye" and separate. To fix it, we have to physically grind the silicone out of the wall, turning a small crack into a large repair.
4. Application Techniques: The "Concave" Joint
How you apply it matters as much as what you apply.
The Tooling Rule: Do not leave a bulging bead. Use a tooling spatula or your finger (dipped in soapy water) to press the sealant into the joint, creating a concave (inward) curve. This shape allows the sealant to stretch like a rubber band when the joint expands.
5. Backer Rods: The Deep Gap Solution
If a gap is deeper than 1/2 inch, you cannot just fill it with caulk. It will sag and fail.
The Fix: Insert a foam Backer Rod first. This fills the void and provides a backing for the sealant to push against, ensuring proper adhesion to the sides of the joint (Two-Point Adhesion).
Conclusion: Read the Label
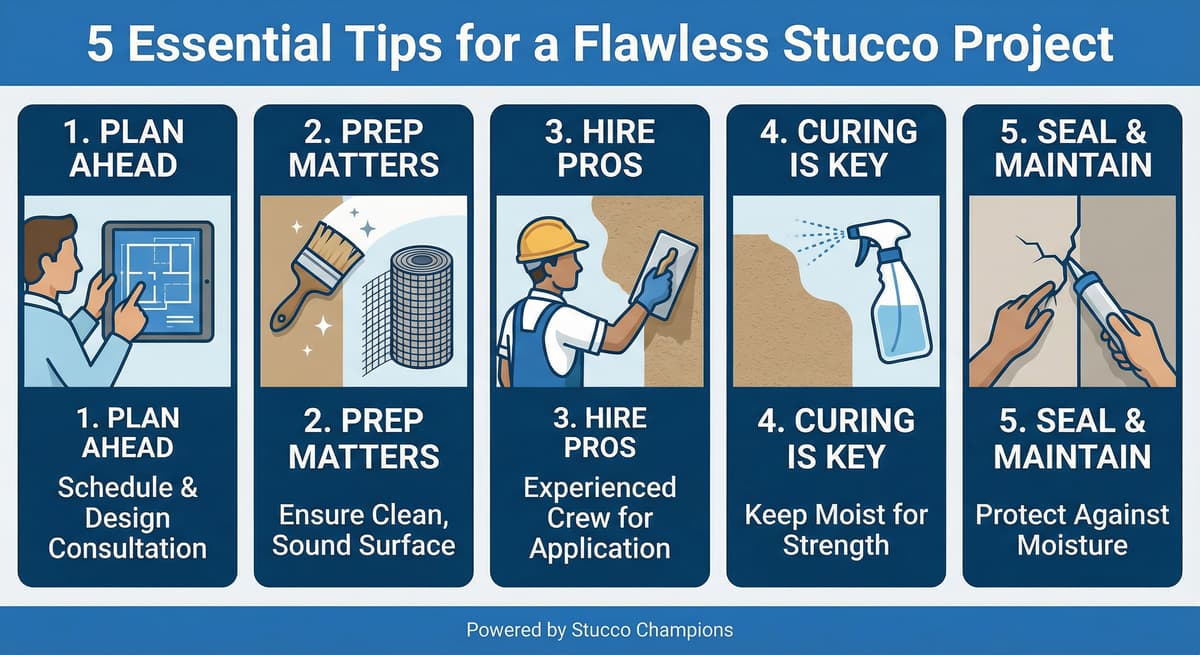
Before you buy, look for "Paintable" and "Exterior." Avoid anything labeled "100% Silicone." For structural gaps, use Polyurethane (Sikaflex). For cosmetic cracks, use Textured Acrylic. Using the right chemistry ensures your repair is both watertight and invisible.
Related Resources
Last week, we shared How to Expertly Patch Small Holes. If your damage is too big for caulk, learn how to patch it properly.