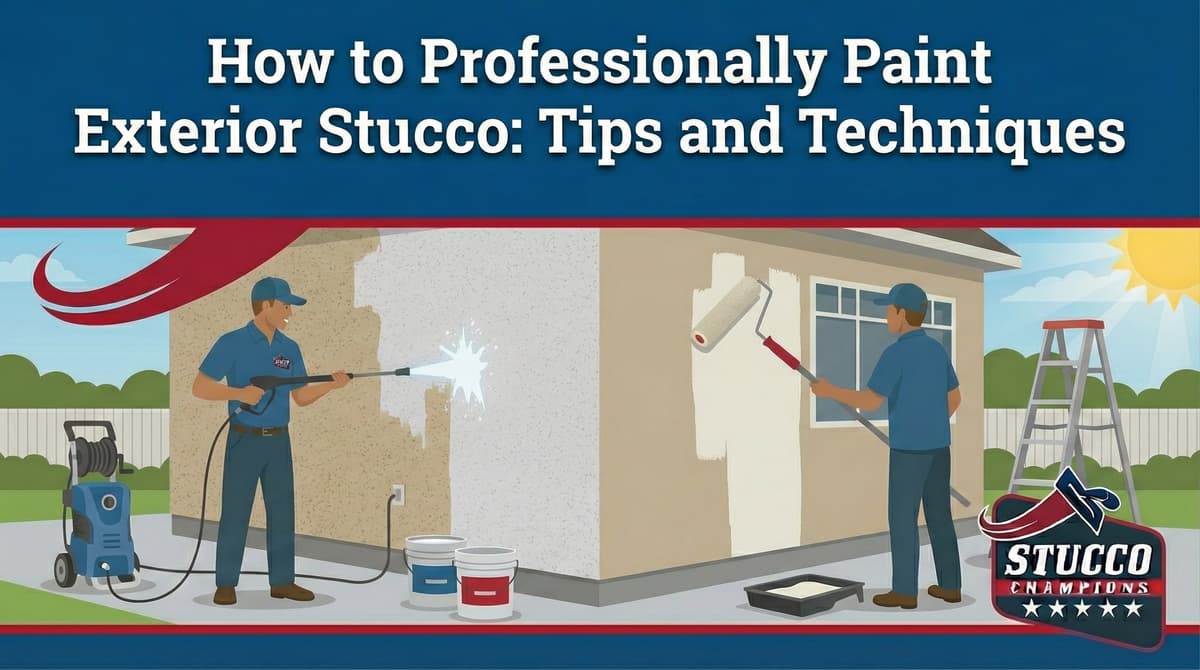
Expert Tips for Painting Exterior Stucco
Written by Stucco Champions — Southern California’s Authority on Exterior Plastering.
How to Professionally Paint Exterior Stucco: Protocols and Techniques
Painting stucco is fundamentally different from painting wood siding or fiber cement. Stucco is a porous, highly alkaline material designed to "breathe." Applying the wrong product, or skipping critical surface preparation, risks trapping moisture inside the wall cavity, leading to bubbling, peeling, and potential framing rot.
This guide covers the technical protocols required to coat stucco correctly, ensuring the building envelope remains protected.
Free Assessment
Noticing Stucco Damage?
Get a free on-site assessment from a licensed contractor. $0 deposit, no obligation.
GET FREE ASSESSMENT1. The Pre-Check: Assessing the Substrate
Before any coating is applied, the condition of the masonry must be diagnosed.
The Water Test: Splash water on the wall. If it darkens immediately, the stucco is highly porous and will require a specialized masonry primer to prevent the paint from flashing (soaking in unevenly). If it beads up, the surface is already sealed, and the new coating must be formulated to bond to the old one.
New cement stucco is highly alkaline. If you apply standard paint over fresh stucco or new patches before they have cured (typically 28 days), the high pH will chemically burn through the paint, causing "saponification" (a soapy breakdown of the coating). If painting must occur sooner, a specialized Alkali-Resistant Primer (pH tolerant up to 13) must be used.
2. Preparation: The Soft Wash Protocol
Stucco texture acts as a trap for dirt, efflorescence (salts), and biological growth. A new coating will fail if applied over a dirty substrate.
We mandate a Soft Wash technique—utilizing high-volume water flow at low-to-moderate pressure. High-PSI pressure washing can easily etch the cement, expose the lath, and blow out the finish coat. The goal is to lift contaminants without damaging the fragile masonry.
3. The "Spray and Back-Roll" Technique
While airless spraying is fast, it is insufficient for textured stucco. A sprayer applies material to the peaks of the texture but often fails to penetrate the millions of tiny "pinholes" and valleys in the cement.
The Protocol:
- A heavy coat of material is sprayed onto the wall.
- A second technician immediately follows with a thick-nap roller (1.0" - 1.25"), physically pushing the wet paint into the pores and pinholes.
This mechanical "back-rolling" action is mandatory to create a continuous, monolithic film that seals the envelope.
4. Product Selection: Permeability Matters
The primary cause of stucco paint failure is utilizing a "non-breathable" coating. Moisture vapor generated inside the home must be able to escape through the exterior walls. If it hits an impermeable barrier of cheap paint, vapor pressure will push the paint off the wall, causing blistering.
- 100% Acrylic High-Build: The industry standard. It is durable, color-fast, and highly breathable (high Perm rating).
- Elastomeric Coatings: A thick, rubberized coating designed to bridge hairline cracks. Note: Only specify high-perm elastomeric coatings to ensure breathability.
- Fog Coat: For unpainted, traditional cement stucco only. This is not paint; it is a breathable cement stain that chemically bonds with the wall.
Conclusion
Stucco coating is the final line of defense against water intrusion. Do not treat it as a simple aesthetic upgrade. By utilizing alkali-resistant primers, breathable acrylics, and the back-roll technique, you ensure a finish that protects the structure for decades.
Frequently Asked Questions About Stucco
How much does stucco repair cost in Orange County and Los Angeles?+
Stucco repair typically ranges from $500 for minor crack patching to $5,000+ for full re-stucco of a single elevation. The exact cost depends on the damage type (hairline cracks, water damage, delamination, weep screed failure), the square footage involved, and whether the original three-coat or one-coat stucco system needs to be matched. Stucco Champions provides fixed-price written estimates after a free on-site assessment — no hourly billing, no surprise change orders. See our stucco repair cost guide for detailed pricing by repair type.
How long does stucco last in Southern California?+
Properly installed three-coat stucco lasts 50-80+ years in Southern California's climate. The most common failure points aren't the stucco itself — they're the supporting components: corroded weep screed, deteriorated building paper behind the stucco, and improperly sealed window flashing. Most "stucco failures" are actually moisture-intrusion failures that start at one of these points. Annual visual inspection catches problems before they spread, which is why we offer free weep screed assessments for homeowners in our service area.
Can I repair stucco myself, or do I need a contractor?+
Hairline cracks under 1/8 inch wide can be sealed with elastomeric caulk by a homeowner. Anything larger — pattern cracks, delamination (where stucco pulls away from the wall), water-damaged areas, or chimney/window leak repairs — requires a licensed contractor. Improper DIY repair on these is the #1 cause of repeat failures because the underlying cause (usually moisture) isn't addressed. California's CSLB requires a license for any stucco work over $500. Looking for a highly-rated stucco contractor in Southern California? We are a CSLB-licensed and insured team ready to help.
How do I know if I need stucco repair vs. full re-stucco?+
If less than 30% of an elevation has visible damage, repair is the right call. If you see large areas of cracking, multiple zones of delamination, or the underlying paper and lath have rotted across an entire wall, full re-stucco of that elevation is more cost-effective long-term. Our free assessment includes a moisture survey and lath inspection so you get a defensible recommendation either way — not just a quote pushing whichever option costs more.
Do you offer warranties on stucco work?+
Yes. Stucco Champions provides a written 5-year workmanship warranty on all stucco repairs and a 10-year warranty on full re-stucco. We're a CSLB-licensed and insured contractor (license #1122006 — verifiable at cslb.ca.gov), which means our work is backed by California's contractor licensing board, not just our own promise. Request a free estimate to see the warranty terms in writing before you sign anything.
How long does a stucco repair take?+
Most patch repairs are completed in 1-2 days, including a 24-hour cure time before texture matching and color application. Full re-stucco of a single elevation runs 5-7 working days because each coat (scratch, brown, finish) needs to cure properly before the next is applied. We schedule around weather — California stucco needs daytime temperatures above 50°F with no rain forecast for at least 24 hours after each coat. Our crew shows up on time, every time.