
Top-Rated Stucco Contractor in Southern California: Forensic Repair & Zero Deposit. — Expert Stucco Repair in Orange County & Los Angeles
Zero financial risk. We fund 100% of labor and materials out of pocket. No deposits, no upfront draws, and no surprise cash requests. You pay absolutely nothing until completed milestones are signed off.

Tailored Restoration vs. Unnecessary Teardowns — We Recommend Only What You Need.
Find Out How Bad It Really Is
Most damage is hidden behind the surface. Get a free assessment before it gets worse.
See What's Wrong — FreeHow It Works
Our ASTM-Compliant Stucco Restoration Process
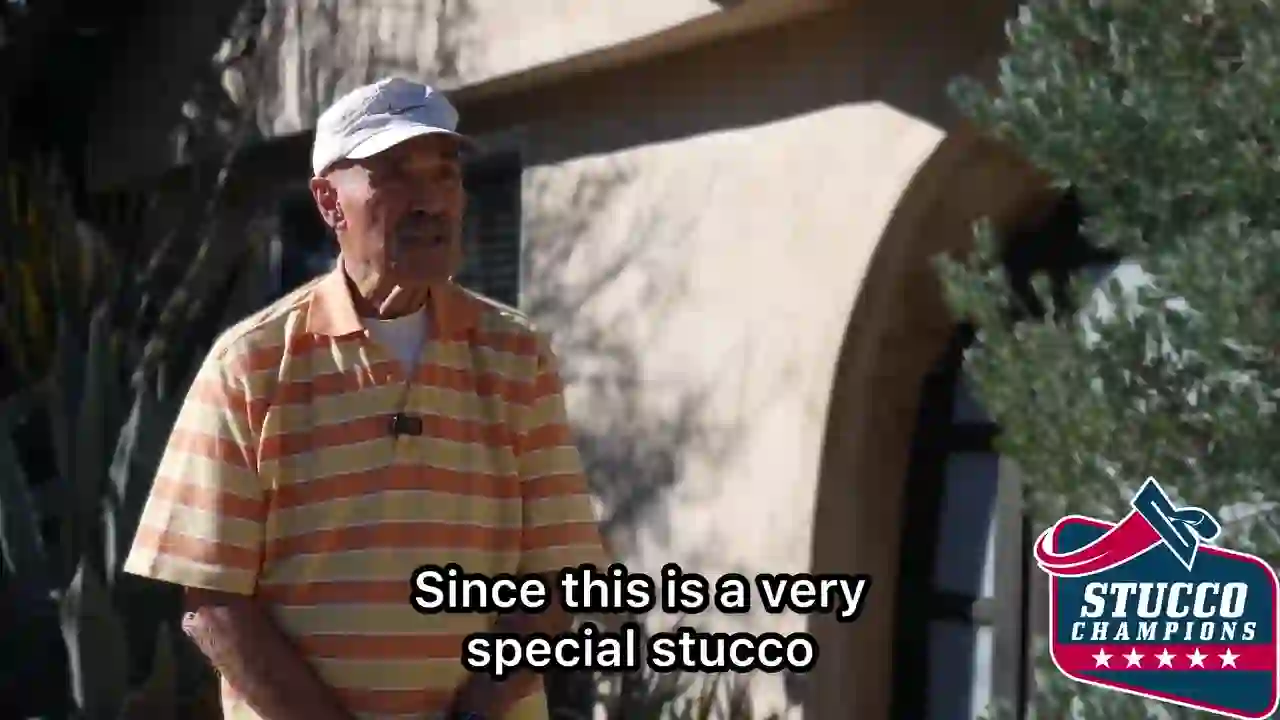
Forensic Wall Diagnosis
We perform a thorough walkthrough with electronic moisture meters to diagnose whether your stucco is structurally sound, has localized cracks, or is severely compromised.
Tailored 3-Level Estimate
We recommend the exact scope required—Level 1 (cosmetic texture overlay), Level 2 (surface crack repair), or a full ASTM-compliant 3-coat rebuild ONLY when structurally appropriate. Zero deposit.
Code-Compliant Execution
Our licensed crew executes. We rebuild compromised wall assemblies to strict ASTM C926 standards when appropriate, and you pay absolutely nothing until completed milestones are signed off.
The Three Technical Levels of Stucco Restoration
We diagnose your walls using non-destructive moisture scanners and physical sounding tests. Based on the structural integrity of your home's substrate, we recommend the exact tier of restoration required—never overcharging for unnecessary teardowns, and never cutting corners on structural water intrusion.
Cosmetic Texture Change
Your stucco substrate, galvanized metal lath, and building paper are completely sound, but you want to upgrade the aesthetic (perfect for sand-to-smooth conversions).
- ✓Thorough pressure wash of all existing surfaces.
- ✓Apply an advanced synthetic chemical bonding agent layer.
- ✓Embed a high-tensile fiberglass reinforcement mesh matrix.
- ✓Apply the final premium, hand-troweled smooth finish coat.
Surface Crack Repair
Your home has localized hairline cracks, texture failures, or shallow surface cracking, but the plaster, lath, paper, sheathing, and framing remain firm and structurally sound.
- ✓Clean and V-groove localized surface cracks where needed.
- ✓Remove loose finish or failed patch material without opening sound wall assemblies.
- ✓Apply compatible bonding agents and crack-bridging reinforcement over repaired surface areas.
- ✓Blend the repair into the surrounding texture or prepare the wall for a finish upgrade.
- ✓Apply the custom elastomeric or cement finish system.
Full Envelope Rebuild
Wind-driven rain, salt air, or structural movement have caused severe plaster delamination, structural cracking, rusted wire lath, or dry rot in the original wood sheathing and framing.
- ✓Strip compromised plaster and wire completely down to the structural studs.
- ✓Excavate and repair structural cracks or failed wall sections at the framing level.
- ✓Repair framing dry rot, framing damage, and replace wood sheathing.
- ✓Install dual Grade D 60-minute weather-resistive barriers (WRBs).
- ✓Fasten hot-dipped galvanized 2.5 lb/yd² self-furred metal wire lath.
- ✓Apply traditional 3-coat ASTM C926 Portland cement rebuild (scratch, brown, and moist cure).
Our Engineering Commitment: We Recommend Only What is Structurally Required
Many contractors will insist on an expensive, full-envelope teardown (Level 3) for every home. We stand by our professional integrity: we only perform traditional ASTM C926 3-coat cement rebuilds when a substrate is structurally compromised. If your substrate is sound, Level 1 or 2 restoration provides equal durability at a fraction of the cost.
Stucco Repair Projects in Orange County & LA
Real stucco work by our licensed crew in Orange County & LA. Swipe to view more — tap any photo to enlarge.
The Zero-Risk Guarantee: You Pay $0 Until Work Is Fully Approved.
Schedule your free structural assessment. Zero financial risk: we fund all labor and materials out of pocket, billing only upon completed milestones.
Or for a quick response:
Text us at (949) 444-0044Expert Resources