Code Requirements for Sheathing Installation Guide
Written by Stucco Champions — Southern California’s Authority on Exterior Plastering.
Code Requirements for Sheathing Installation: The Shear Wall Standard
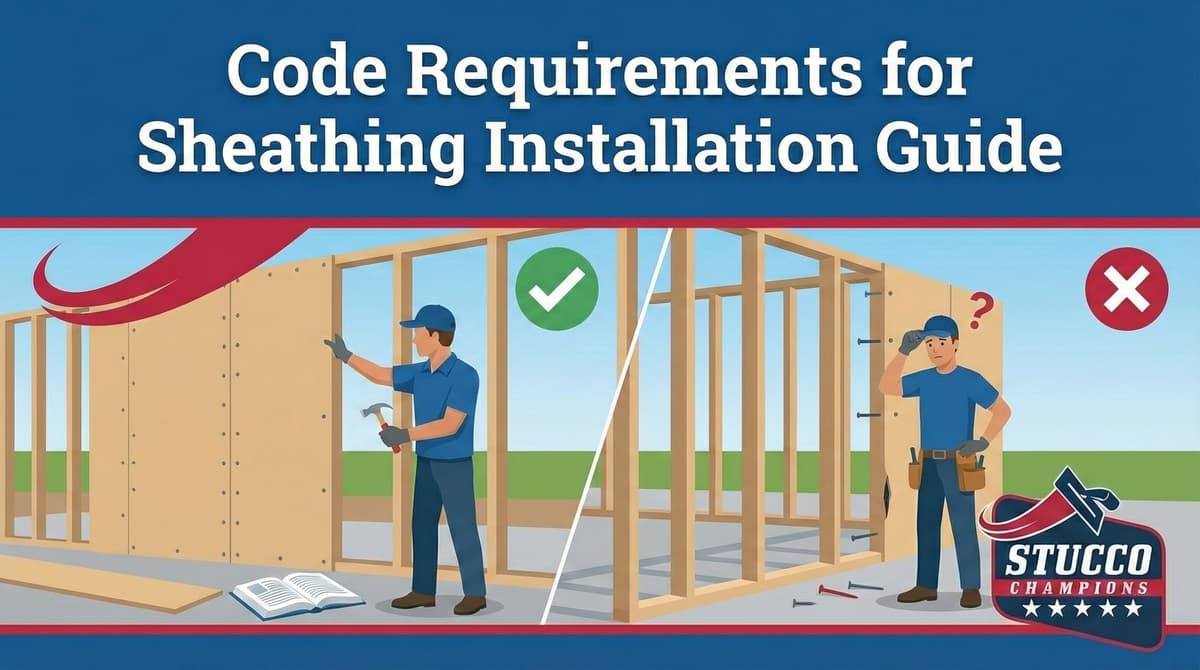
Before a single piece of lath is stapled, the structural integrity of your home relies on the wood sheathing underneath. In Southern California, plywood and OSB panels are not just "backing" for stucco; they are engineered Shear Walls designed to resist lateral forces from wind and earthquakes.
If the sheathing is installed incorrectly—without proper gapping or nail patterns—the entire stucco system will fail. It will buckle, crack, and potentially detach during a seismic event. This guide breaks down the critical IRC (International Residential Code) mandates for substrate installation.
1. Approved Materials: What Holds the Wall?
According to IRC R703, structural sheathing must be APA-rated. The two standards are:
- Plywood (CDX): Offers superior moisture resistance and stiffness. Ideal for custom homes and coastal zones.
- OSB (Oriented Strand Board): The industry standard. Strong and cost-effective, but edges can swell if exposed to rain during construction.
- Thickness: Minimum 7/16 inch for 16-inch stud spacing. If studs are 24-inch on center, upgrade to 1/2 inch or thicker to prevent bowing.
Free Assessment
Noticing Stucco Damage?
Get a free on-site assessment from a licensed contractor. $0 deposit, no obligation.
GET FREE ASSESSMENT2. The "Buckling" Prevention: Expansion Gaps
Wood is hygroscopic; it expands when it absorbs moisture (from wet stucco or humidity).
The Code: You must leave a 1/8-inch gap between all panel edges.
The Failure: If panels are butted tight, they will expand and buckle outward. This creates a ridge ("telegraphing") that cracks the stucco finish in a grid pattern.
Pro Tip: Use a Nail
Carpenters often use a 10d common nail as a spacer between sheets during installation to ensure a consistent 1/8" gap.
3. The Fastening Schedule: Seismic Strength
Shear strength comes from the nails. If you don't use enough nails, the plywood will rip off the studs during an earthquake.
| Zone | Nail Spacing | Purpose |
|---|---|---|
| Panel Edges | Every 6 inches | Transfers shear load to the perimeter framing. |
| Field (Center) | Every 12 inches | Prevents the panel from bowing outward. |
| High-Wind/Seismic | Every 3-4 inches | Required in specific engineered zones (e.g., hillsides). |
⚠️ Do Not Overdrive
Nails must be flush with the surface. If you overdrive the nail (bury the head), you crush the wood fibers and reduce the holding power by up to 50%. This is an automatic fail during inspection.
4. Orientation: Strength Axis
Panels have a "Strength Axis" (usually the long dimension).
Vertical Installation: Most common for walls. All edges must be blocked (nailed to framing).
Horizontal Installation: Stronger for resisting racking, but horizontal seams must be blocked or staggered to maintain integrity.
5. Inspection Checklist
Before we apply paper and lath, verify the following:
- Gap Check: Is there a 1/8" gap between all sheets?
- Nail Depth: Are heads flush, not buried?
- Blocking: Are all horizontal seams backed by wood blocking?
- Rot Check: Is there any water damage on the bottom edge near the foundation?
Conclusion: The Skeleton Matters
A stucco wall is only as stable as the wood beneath it. By ensuring your sheathing meets shear wall codes and expansion requirements, you protect the stucco from movement-related cracking. At Stucco Champions, we inspect the substrate rigorously before covering it up.
Related Resources
Last week, we shared Sheathing for Stucco: Plywood vs. OSB. Dive deeper into material selection.