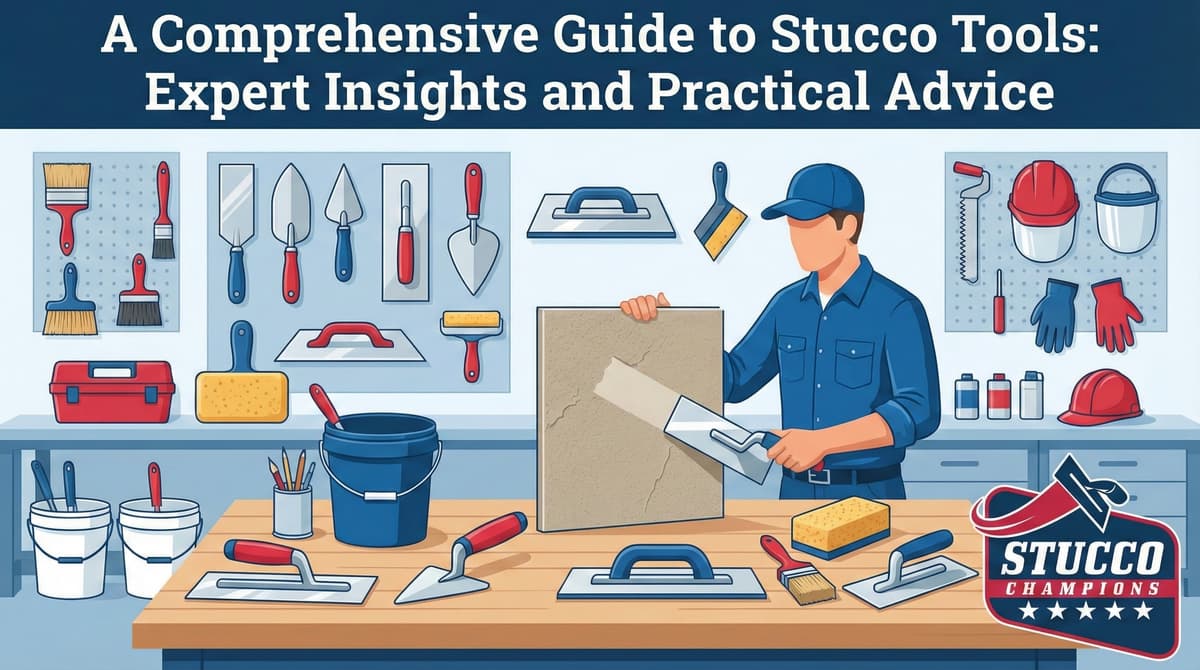
A Comprehensive Guide to Stucco Tools: Expert Insights and Practical Advice
Written by Stucco Champions — Southern California’s Authority on Exterior Plastering.
A Comprehensive Guide to Stucco Tools: Expert Insights and Practical Advice
Stucco application is an ancient trade, and while the materials have evolved, the tools remain surprisingly traditional. Whether you are a DIYer attempting a small patch or an apprentice looking to build your kit, understanding the specific purpose of each tool is critical. Using a concrete trowel for stucco, or the wrong float for texture, will result in a sloppy finish that fails to bond.
This guide breaks down the essential arsenal of a professional plasterer, from the lathing phase to the final texture coat.
1. Lathing Tools: The Foundation
Before you mix mud, you must build the skeleton. Lathing tools need to be robust enough to cut steel and drive fasteners into wood framing.
- Aviation Snips ("Tin Snips"): You need "Midwest" or "Wiss" offset snips (Green handle for right cut, Red for left). These are essential for cutting galvanized wire lath and corner beads cleanly without mangling the metal.
- Hammer Tacker: A slap-stapler is faster than a trigger gun for attaching building paper. It acts like a hammer, driving staples with impact.
- Lathing Hatchet: A specialized hammer with a waffle-head for driving nails and a sharp axe-blade on the back for cutting wire mesh in a pinch.
Free Assessment
Noticing Stucco Damage?
Get a free on-site assessment from a licensed contractor. $0 deposit, no obligation.
GET FREE ASSESSMENT2. Application Tools: Getting Mud on the Wall
Once the paper and wire are up, the heavy lifting begins.
The Hawk
This is the square board used to hold a pile of mortar.
Pro Tip: Choose Magnesium over Aluminum. Magnesium is lighter and develops a "grain" that holds the wet stucco better, preventing it from sliding off onto your boots.
The Trowel
The extension of your hand.
Pool Trowel (Rounded): Best for finish coats. The rounded corners prevent "digging in" and leaving lines in the texture.
Square Trowel: Best for base coats (Scratch & Brown) where you need to move bulk material quickly and cut sharp corners.
⚠️ Don't Use a Brick Trowel
Brick trowels (pointed triangle shape) are for laying masonry units. They are useless for spreading stucco on a flat wall. You need a flat, rectangular plastering trowel.
3. Leveling Tools: The Rod & Darby
Getting the mud on is easy; getting it flat is hard.
The Darby: A long (3-4 foot) two-handed trowel used to "screed" or flatten the brown coat while it is wet.
The Rod: An aluminum straightedge (6-8 feet) used to shave off high spots and identify low spots across a large wall.
4. Texture Tools: The Finish
The float you use determines the texture you get.
Float Selection Guide
- Green Sponge Float: The MVP of stucco tools. It brings the sand aggregate to the surface, creating the classic "Sand Finish." It opens the pores for breathability.
- Hard Rubber Float: Used for compacting the wall. It creates a denser, harder surface often used as a base for acrylics.
- Plastic Float: Used for "Swirl" or "Worm" finishes where you want to drag the large aggregate to create patterns.
5. The Scarifier (Scratcher)
This looks like a metal rake. It is used solely on the first coat (Scratch Coat) to cut horizontal grooves into the wet cement. These grooves provide the mechanical key for the second coat to bond to.
Conclusion: Buy Quality
Cheap tools rust, bend, and fatigue your arm. In plastering, balance is everything. A well-balanced trowel makes the material feel lighter. Investing in professional-grade brands like Marshalltown or Kraft is worth the cost, even for a single project.
Related Resources
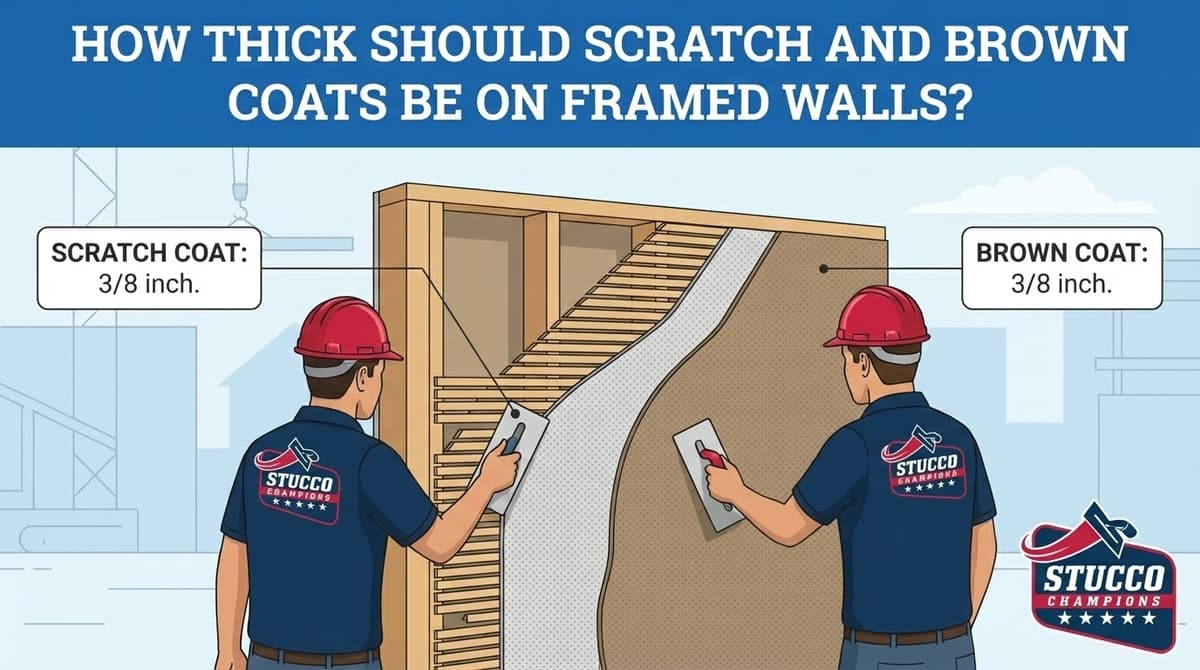
Last week, we shared Stucco Scratch Coat vs. Brown Coat. Learn how these tools are used in the application sequence.