

Written by Stucco Champions — Southern California’s Authority on Exterior Plastering.
The Rules of the Road: Navigating Stucco Control Joint Codes (ASTM C1063)
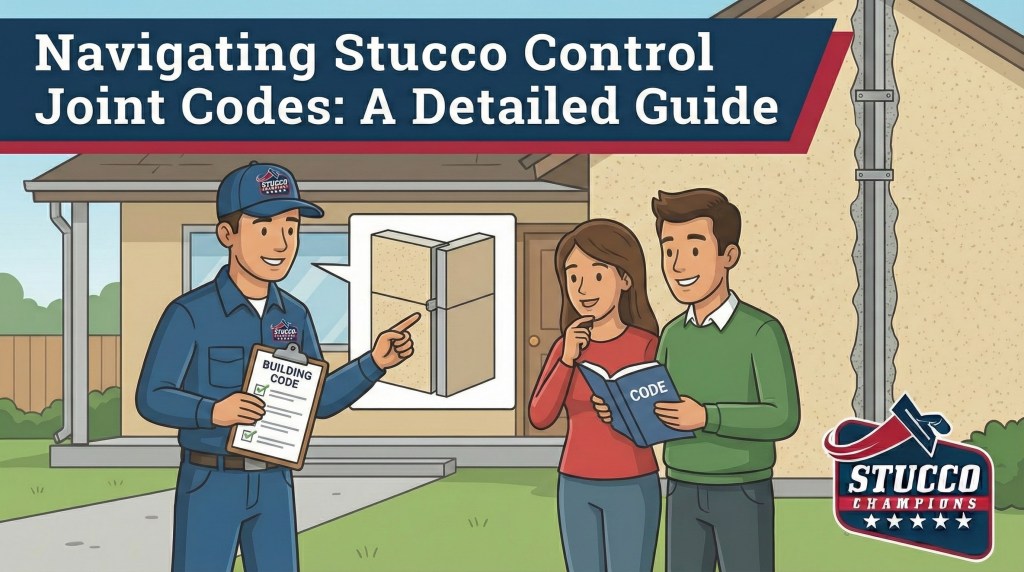
If you look at a large commercial building or a well-built custom home, you will notice vertical or horizontal lines breaking up the stucco fields. These are Control Joints (often called Expansion Joints). While architects often dislike them for disrupting clean lines, they are the single most important component for preventing random cracking.
Stucco cures, shrinks, and moves with our Southern California seismic shifts and heat cycles. If you don't give the stucco a place to crack (the joint), it will choose a place for itself—usually right across your beautiful smooth finish.
1. The Code: ASTM C1063
The "bible" for lathing and accessories is ASTM C1063 (Standard Specification for Installation of Lathing and Furring). This code dictates exactly where and how joints must be placed to maintain structural integrity.
According to ASTM C1063, you cannot have an unlimited expanse of stucco. You must break the wall into smaller panels using control joints:
- Walls: Maximum panel size of 144 square feet.
- Ceilings/Soffits: Maximum panel size of 100 square feet.
- Maximum Length: No single dimension of a panel can exceed 18 feet in either direction.
The 2.5-to-1 Rule
Many contractors miss this one: The length-to-width ratio of any panel cannot exceed 2.5 to 1. This means you cannot have a long, skinny strip of stucco (like a 2ft high band running 20ft long) without a vertical break, as the tension will snap it.
2. Installation Methods: The "M" vs. The "Two-Piece"
There are two primary ways to create these stress-relief points:
Option A: The Single-Piece "M" Joint
Also known as the "M-Slide" or accordion joint. This is a pre-manufactured galvanized or vinyl component with a V or M profile in the center.
Pros: Fast installation, cost-effective, self-draining.
Cons: Highly visible industrial look.
Option B: Back-to-Back Casing Beads
This method uses two Plaster Stops installed back-to-back with a gap between them.
The Requirement: You must leave a sufficient gap (typically 3/8" to 1/2") between the metals to allow for a Backer Rod and high-quality Sealant.
Pros: Cleaner, "architectural" look.
Cons: More expensive (requires two pieces of metal + caulking labor).
This is the most common failure we see. For a control joint to work, the metal lath (wire mesh) behind it must be cut. If you install a control joint on top of continuous wire, the wire will hold the wall together, preventing the joint from opening, and the stucco will crack elsewhere. The lath must be tied to the joint, but the joint must separate the two panels completely.
3. Strategic Placement
Beyond the square footage rules, joints should be placed at high-stress points:
- Framing Changes: Where wood framing meets masonry or steel.
- Penetrations: While not strictly mandatory in residential code for every window, it is best practice to align joints with the corners of windows or doors to prevent re-entrant corner cracks.
- Floor Lines: On multi-story homes, a horizontal expansion joint at the floor line accounts for the compression of the wood rim joist (shrinkage of the lumber).
4. Cost vs. Maintenance
Installing control joints adds upfront cost—typically charging by the linear foot for installation and (in the case of Option B) caulking. However, the long-term savings are significant. A wall without joints will require expensive crack repair and resurfacing within 3-5 years, whereas a properly jointed wall can remain crack-free for decades.
5. Professional Interpretation
Navigating ASTM C1063 can be confusing. While DIY is possible for small patches, laying out control joints for a new custom home or a large re-stucco requires professional planning to ensure the lines align with windows and architectural features aesthetically while meeting code.
Last week, we shared Understanding Stucco Control and Expansion Joints: An Essential Guide. If you are planning a project, reviewing the difference between "Control" (shrinkage) and "Expansion" (structural) joints is critical.